Spider Bite First Aid: Spot It, Treat It, Stay Safe!
Spider Bite First Aid: What to Do When BittenSpider bites are common, and while most are harmless, some can cause serious health issues. Knowing how to treat a spider bite properly minimises discomfort and prevents complications. This blog post will guide you through the essential first-aid steps for spider bites.Identifying a Spider BiteSpider bites often appear as tiny, red marks on the skin, similar to other insect bites. However, some spider bites may have distinct characteristics, depending on the nature of the venom. These distinct characteristics can present themselves as:Pain: The bite area may be painful, ranging from mild to severe.Swelling: The bite site may swell and become inflamed.Redness: The skin around the bite soon turns reddish.Itching: The area might feel itchy.Blistering: While some spider bites (like a brown recluse) can cause blisters or necrotic tissue, not all do.Muscle cramps or spasms: In extreme cases a person may suffer from muscle spasms.Nausea and vomiting: Another example of a severe case is that a person may feel nauseated after being bitten by a spider.Fever: some people might end up with a fever followed by a spider bite.First Aid for Spider BitesIf you suspect you've been bitten by a spider, follow these first-aid steps:Clean the wound: Wash the bite area with mild soap and water to prevent infection.Apply a cold compress: Apply a cold compress or ice pack to the bite for 15 minutes at a time, several times a day, to reduce swelling and pain.Elevate the affected area: If possible, elevate the bitten limb to help reduce swelling.Take over-the-counter pain medication: If you're experiencing pain, take an over-the-counter pain reliever like acetaminophen or ibuprofen.Monitor for signs of infection: Watch for signs of infection, such as increased redness, swelling, pain, or pus. If you notice any of these signs, seek medical attention immediately.If the signs worsen- seek immediate help, if the person is having difficulty breathing or has chest pain then it is imperative that you take immediate action. .main{ border:3px solid #0f7c90; border-radius:20px; position: relative; font-family:roboto; font-weight: 400; color: #000; } .main-two{ position: absolute; top:-25px; left:45px; background-color:white; } .img-div{ border-radius : 100%; padding:2px 7px; background-color:#0f7c90; margin-right:5px; width: 50px; height: 50px; } .img{ width:30px; object-fit:contain; height:auto; border-radius : 100%; } @media only screen and (max-width: 600px) { .heading{ font-size:20px; } .img{ width:20px; object-fit:contain; height:auto; border-radius : 100%; } .img-div{ width: 40px; height: 40px; } .main-two{ left:25px; } } Want to learn more about spider bites and how to treat them? Our First Aid courses offer complete training to help you handle critical situations. Whether you want to improve your skills or workplace safety, these courses help build confidence and expertise. View our Emergency First Aid at Work (EFAW) and Level 3 First Aid at Work courses. These courses meet the UK legal requirements and help you keep people safe. When to Seek Medical AttentionWhile most spider bites can be treated at home, it's essential to seek medical attention if you experience any of the following:Severe pain: If the pain is intense or worsening, seek medical help immediately.Muscle cramps or spasms: Muscle cramps or spasms can indicate a severe reaction to the venom and require medical treatment.Difficulty breathing: If you experience difficulty breathing, wheezing, or chest tightness, seek emergency medical attention immediately.Nausea and vomiting: Persistent nausea and vomiting can also indicate a severe reaction and require medical treatment.Signs of infection: If the bite shows signs of infection, such as increased redness, swelling, pain, or pus, seek medical attention promptly.Bite from a known dangerous spider: If you know you were bitten by a potentially dangerous spider, such as a black widow or brown recluse, seek medical attention immediately, even if you don't have any symptoms.Preventing Spider BitesWhile it's impossible to prevent all spider bites, you can take steps to reduce your risk:Wear protective clothing: When working in areas where spiders may be present, wear long sleeves, pants, and gloves.Inspect clothing and gear: Shake out clothing, shoes, and gear before wearing or using them, especially if they've been stored in a garage or shed.Be cautious in dark or undisturbed areas: Spiders often prefer dark, secluded spaces. Be cautious when working in such areas, like attics, basements, and crawl spaces.Keep your home clean: Regularly clean and declutter your home to reduce spider habitats.Seal cracks and openings: Seal cracks and openings in your home's foundation and walls to prevent spiders from entering.ConclusionSpider bites are common, but most turn out to be harmless and can be treated at home with basic first aid. However, knowing when to seek medical attention is imperative, as some spider venomous spiders can cause severe reactions. By carefully following the tips in this article, you can be prepared to handle any spider bites effectively and prevent or reduce any potential complications.
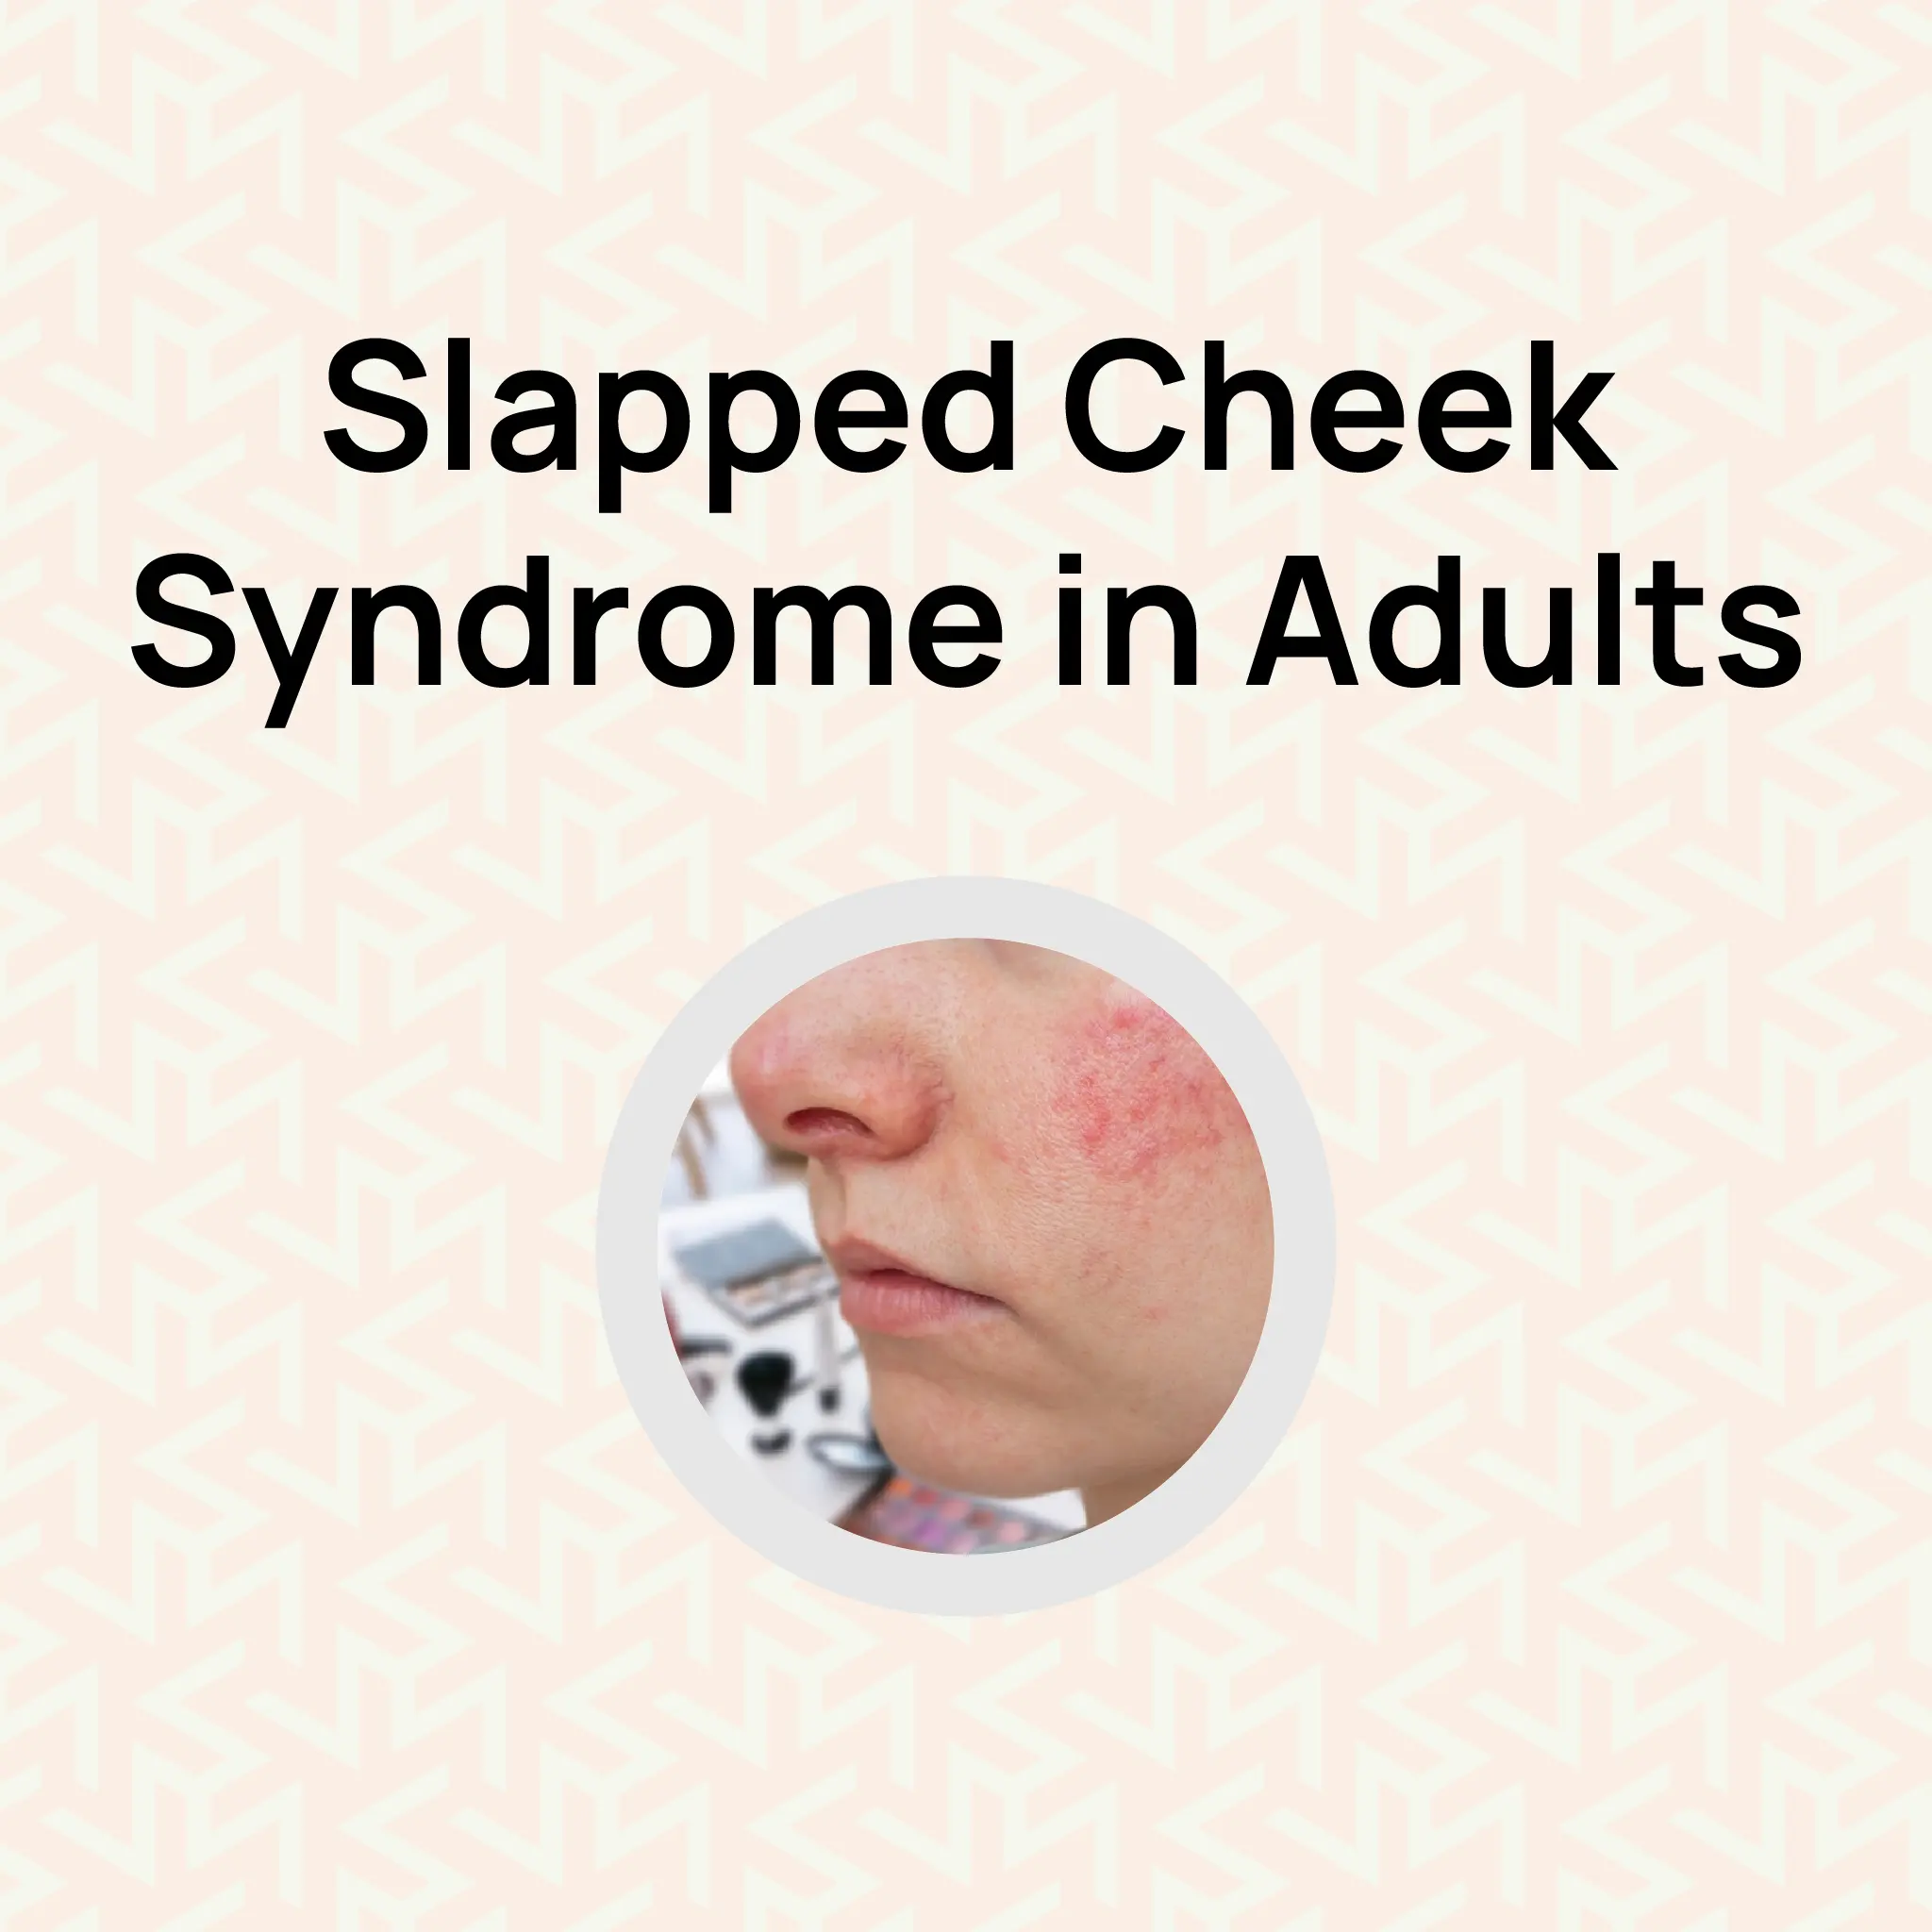
Slapped Cheek Syndrome in Adults: Symptoms, Treatment, and More
What is Slapped Cheek Syndrome?The fifth disease, slapped cheek syndrome, is a viral disease caused by parvovirus B19. It is commonly linked to children, although it is also possible at other ages of life. This condition�s name comes from the bright red rash, which is easily distinguishable on the skin of the cheeks, resembling a slap mark.Can Adults Get Slapped Cheek Syndrome?Yes, adults can get slapped cheek syndrome. Though it is more frequent in children and babies, adults are not safe from the viruses that cause this infection. Old people, individuals with low immunity, and those without previously encountered the virus are more vulnerable to the disease. Symptoms of Slapped Cheek in AdultsThe symptoms of slapped cheek syndrome in adults may differ from the signs observed in children. Here are some common signs:Facial Rash: A bright red rash on the cheeks, although not as distinct in adult patients.Joint Pain: Adults can develop joint pain or stiffness in different body parts, such as the wrists, knees, and ankles.Fatigue: A constant sleepy sensation for no apparent reason.Flu-like Symptoms: Fever, sore throat, headache, and cold.Body Rash: A red, lace-like rash may appear on the arms, chest, or legs.If you are experiencing these symptoms, especially after contacting a patient with slapped cheek syndrome, seek a doctor�s attention for a diagnosis.How to Treat Slapped Cheek Syndrome in AdultsLike all other viral illnesses, slapped cheek syndrome cannot be cured; only the symptoms can be treated. However, the condition is usually not severe and clears up. Here are some tips for managing the symptoms:Pain Relief: Use over-the-counter medications such as paracetamol or ibuprofen to treat joint pain and fever.Stay Hydrated: Drink plenty of water and other fluids to avoid dehydration.Rest: Give your body time to recover by getting enough sleep and avoiding exertion-related activities.Soothing Creams: Relieve itchy rashes with calamine lotion or antihistamines.� .main{ border:3px solid #0f7c90; border-radius:20px; position: relative; font-family:roboto; font-weight: 400; color: #000; } .main-two{ position: absolute; top:-25px; left:45px; background-color:white; } .img-div{ border-radius : 100%; padding:2px 7px; background-color:#0f7c90; margin-right:5px; width: 50px; height: 50px; } .img{ width:30px; object-fit:contain; height:auto; border-radius : 100%; } @media only screen and (max-width: 600px) { .heading{ font-size:20px; } .img{ width:20px; object-fit:contain; height:auto; border-radius : 100%; } .img-div{ width: 40px; height: 40px; } .main-two{ left:25px; } } Ready to Learn More? Want to learn more about slapped cheek syndrome management? Our First Aid courses offer complete training to help you handle critical situations. Whether you want to improve your skills or workplace safety, these courses help build confidence and expertise. View our Emergency First Aid at Work (EFAW) and Level 3 First Aid at Work courses. These courses meet the UK legal requirements and help you keep people safe. Slapped Cheek Syndrome in Children and BabiesSlapped cheek syndrome is usually mild in children and babies and lasts about 2�3 weeks. Some signs include bright red cheeks resembling slapped cheeks, mild fevers, and sometimes congestion or a sore throat. It may also spread to the body but is commonly not itchy.Learn how to perform first aid in schools in case of an emergency.When to Seek Medical AttentionSymptoms last for more than a couple of weeks.You are pregnant, as the virus can affect the baby�s development.You have a weak immune system due to a medical condition or medication.You experience severe joint pain or swelling that interferes with daily activities.ConclusionWhile slapped cheek syndrome is usually a childhood disease, adults are not immune to it. Some adults may experience joint pain in addition to the slapped cheek rash. Therefore, having an understanding of the signs and how the condition can be managed is very important. If you think you have developed it, remember that the condition is often relatively mild and does not require treatment. However, if symptoms persist or worsen after 48 hours, a doctor should be consulted.
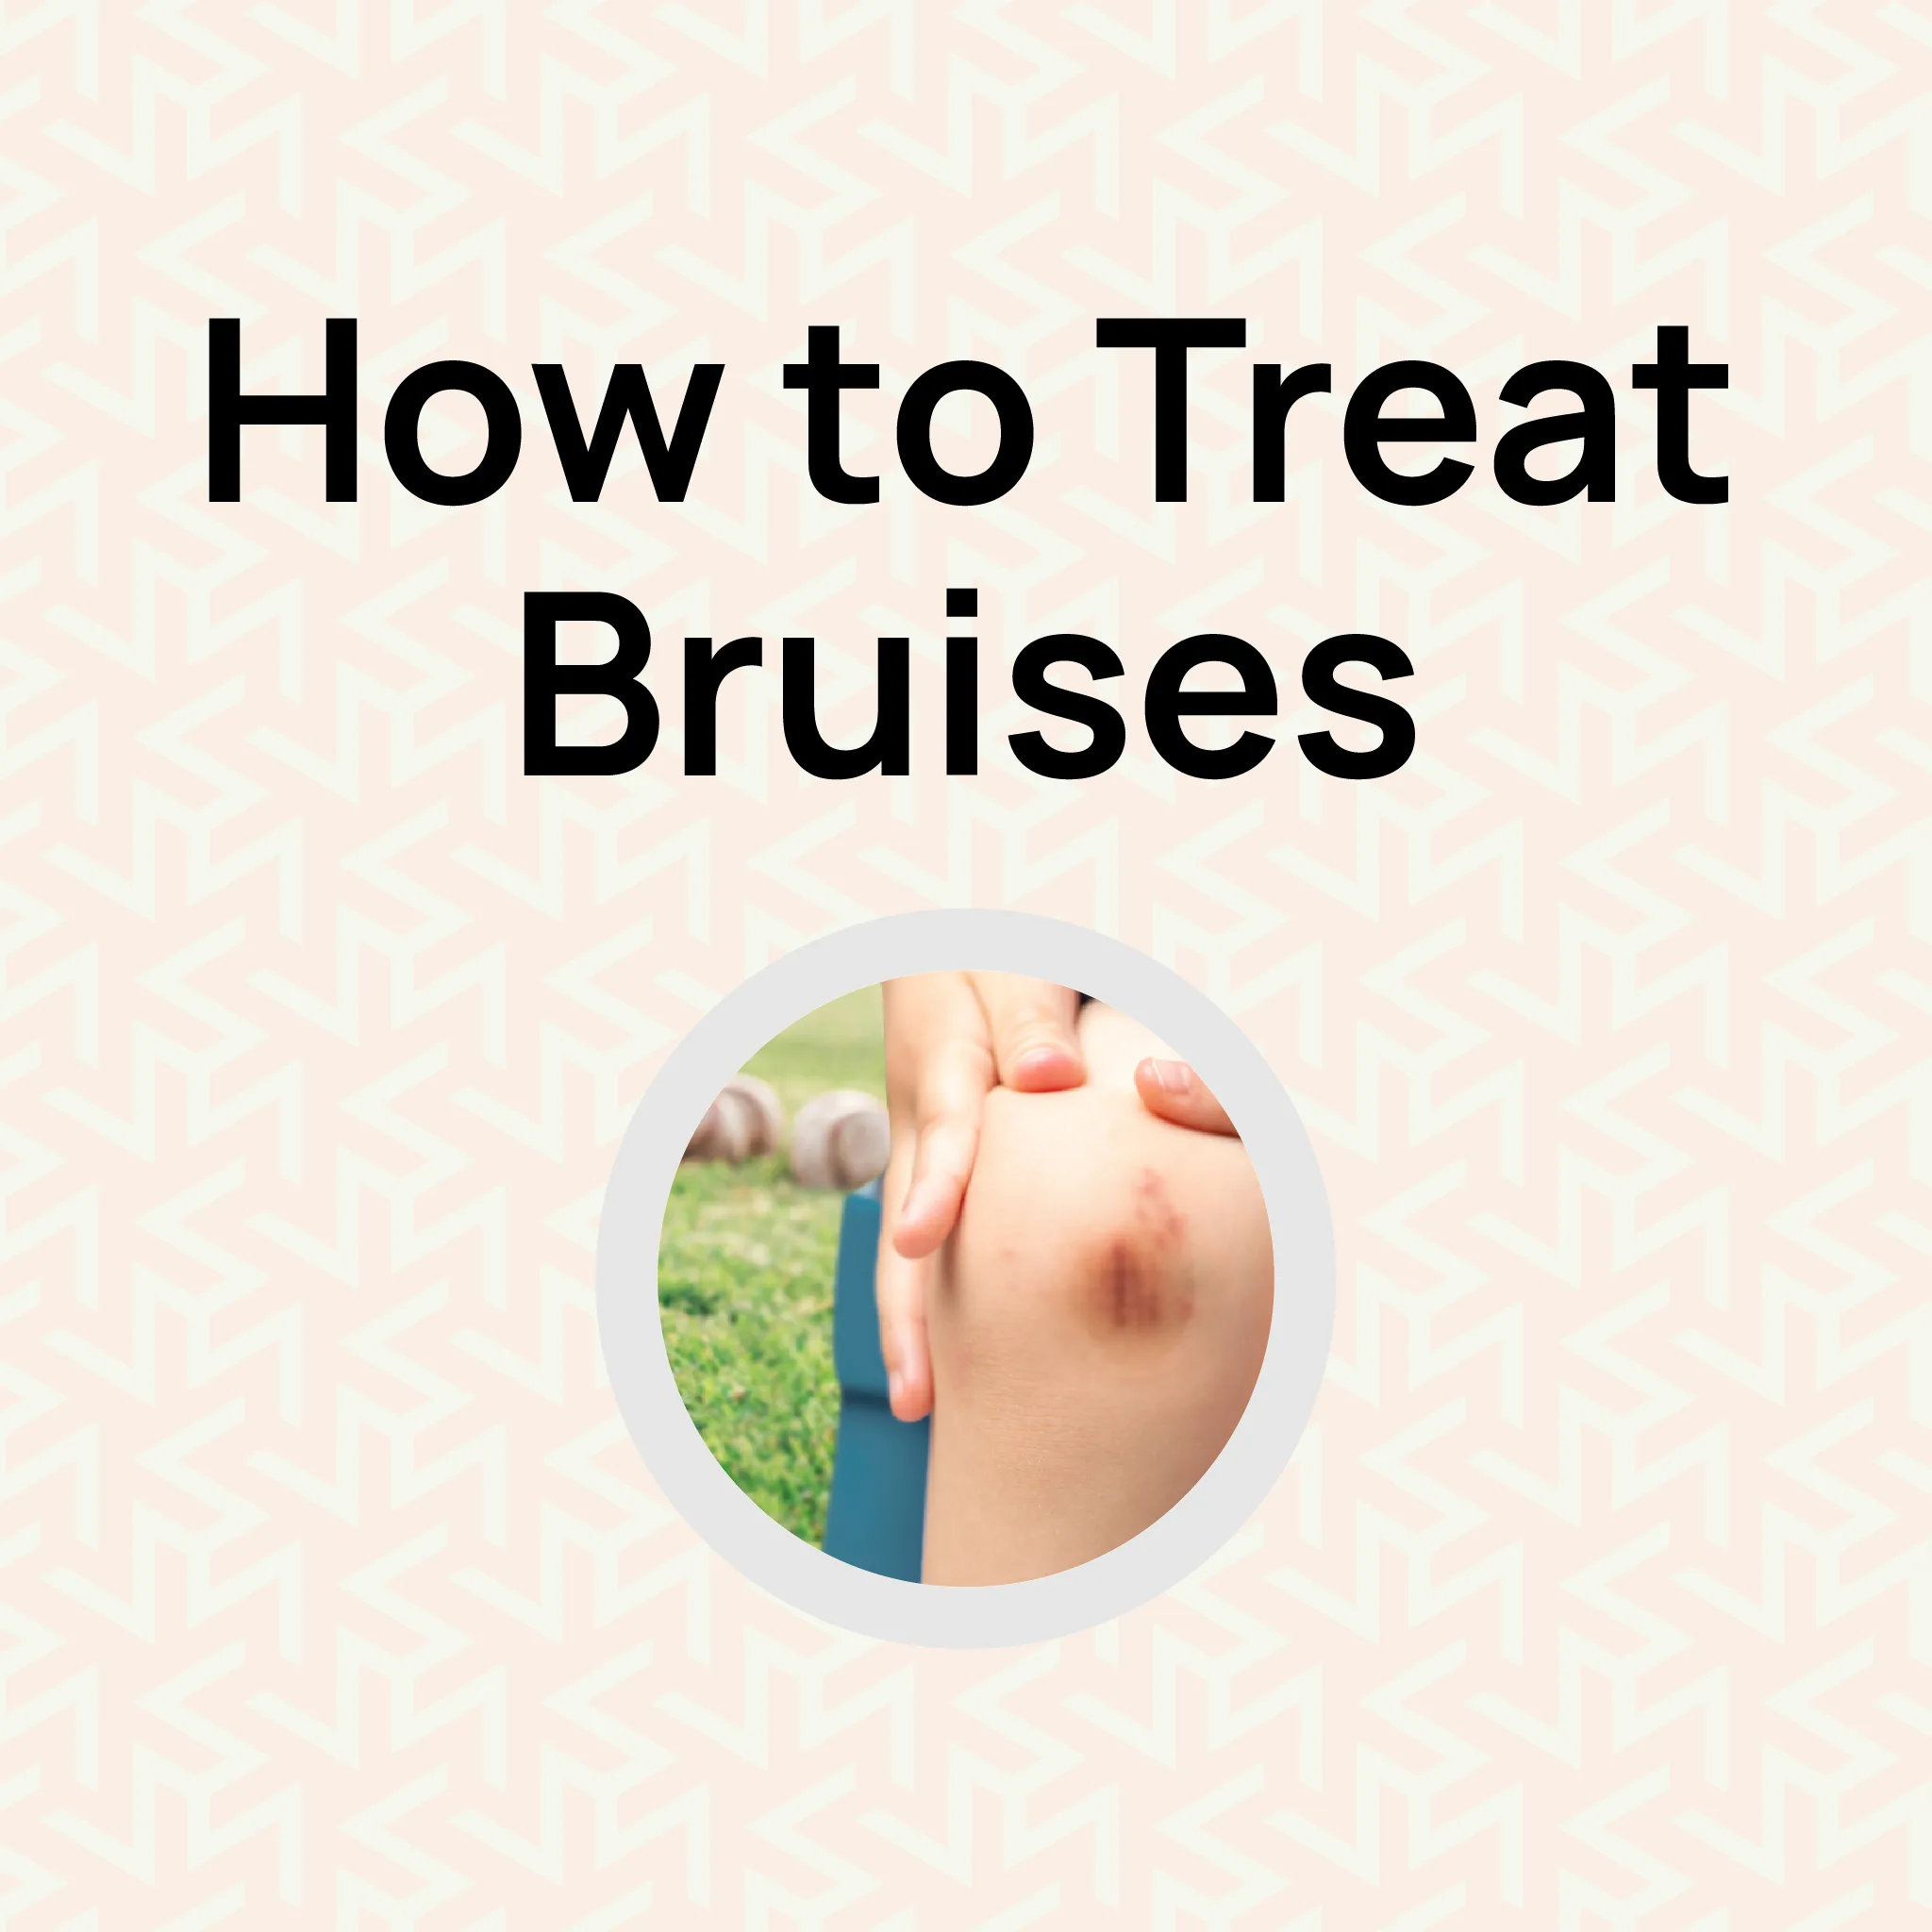
How to Treat Bruises
Bruising is not a disease but rather a response that the body gives to injury caused by impact, such as a fall. Information on the causes of bruising, optimal management techniques, how to deal with it, and how to minimise its appearance can be very helpful. Check out all the information presented here, including how best to treat bruises using first aid measures, natural cures, and treatments.What is Bruising?A bruise is caused by a tear in blood vessels beneath the skin. The trapped blood causes a bruise to be black, purple, or blue in colour, depending on the injury's healing stage. This process indicates that the blood vessels have been damaged, and you do not experience life-threatening pain when you get a bruise, but you should be more careful.How Long Do Bruises Last?Generally, bruises can take between 7 to 14 days to disappear, depending on their size and the area of the body where they are found. Healing is characterised by colour changes from reddish or purplish-blue to greenish-yellow until the wound finally disappears. Minor bruising can heal much faster than larger or deeper ones, especially if the area is often used or can easily be bumped.How to Treat Bruises: First Aid TipsImmediate first aid can significantly reduce the severity of a bruise. These simple methods are able to increase the healing of bruises:Rest and Protect: Do not apply pressure to the injured area to prevent further injury.Elevate: If possible, keep the bruised area above heart level to decrease blood flow and swelling.Apply Ice: Use an ice pack wrapped in a thin towel and leave it in place for 20 minutes. Repeat several times for a day or two after the injury. This helps reduce swelling and pain.Compression: If the bruised area is swelling, put an elastic bandage around it, but ensure it�s not too tight.Avoid Bandaging: You don�t need to bandage a bruise if the skin isn't broken.Pain Relief: Consider taking a nonprescription pain reliever if needed. .main{ border:3px solid #0f7c90; border-radius:20px; position: relative; font-family:roboto; font-weight: 400; color: #000; } .main-two{ position: absolute; top:-25px; left:45px; background-color:white; } .img-div{ border-radius : 100%; padding:2px 7px; background-color:#0f7c90; margin-right:5px; width: 50px; height: 50px; } .img{ width:30px; object-fit:contain; height:auto; border-radius : 100%; } @media only screen and (max-width: 600px) { .heading{ font-size:20px; } .img{ width:20px; object-fit:contain; height:auto; border-radius : 100%; } .img-div{ width: 40px; height: 40px; } .main-two{ left:25px; } } Ready to Learn More? Learn to treat bruises more effectively. Our First Aid courses offer complete training to help you handle critical situations. Whether you want to improve your skills or workplace safety, these courses help build confidence and expertise. View our Emergency First Aid at Work (EFAW) and Level 3 First Aid at Work courses. These courses meet the UK legal requirements and help you keep people safe. How to Reduce Bruising QuicklyWhile there is no instant cure for bruises, the following tips can help in accelerating the healing process:Warm Compresses: After 48 hours, switch to warm compresses to increase blood flow and promote healing.Topical Treatments: Arnica gel or Vitamin K creams are popular for reducing discolouration and swelling.Massage Gently: Lightly massaging the area can improve circulation, but avoid it if it causes pain.Home Remedies for BruisesNatural remedies can complement traditional methods for treating bruises. The following are some of the effective options:Aloe Vera: Known for its anti-inflammatory properties, fresh aloe vera gel can soothe the skin and reduce swelling.Apple Cider Vinegar: When mixed with water, it may be used to enhance circulation when applied gently to the bruise.Turmeric Paste: Mix turmeric with water or honey and apply it to the bruise for its anti-inflammatory benefits.Pineapple or Papaya: These fruits contain an enzyme called bromelain, which may help reduce swelling and promote healing when consumed or applied to the area.When to See a DoctorMost bruises heal without medical intervention, but consult a healthcare professional if you:Experience painful swelling of the bruised region.Suspect a bruise has been caused by child abuse, domestic violence, or elder abuse.I still have pain three days after a minor injury.Have frequent, large, or painful bruises.Notice bruising that appears without injury, which may be a sign of an autoimmune disease.Have bruises that begin suddenly or seem to develop for no reason.Have a personal or family history of easy bruising or bleeding.Notice a lump over the bruise, which may be a sign of pooling blood, also called a hematoma.Experience unusual bleeding, such as from the nose or gums.ConclusionBruises are caused by minor injuries and do not require medical intervention. However, having first aid knowledge and practising self-treatment can alleviate pain and shorten the recovery period. Bruises can thus be treated early by strictly following the first aid precautions while looking out for any warning signs.
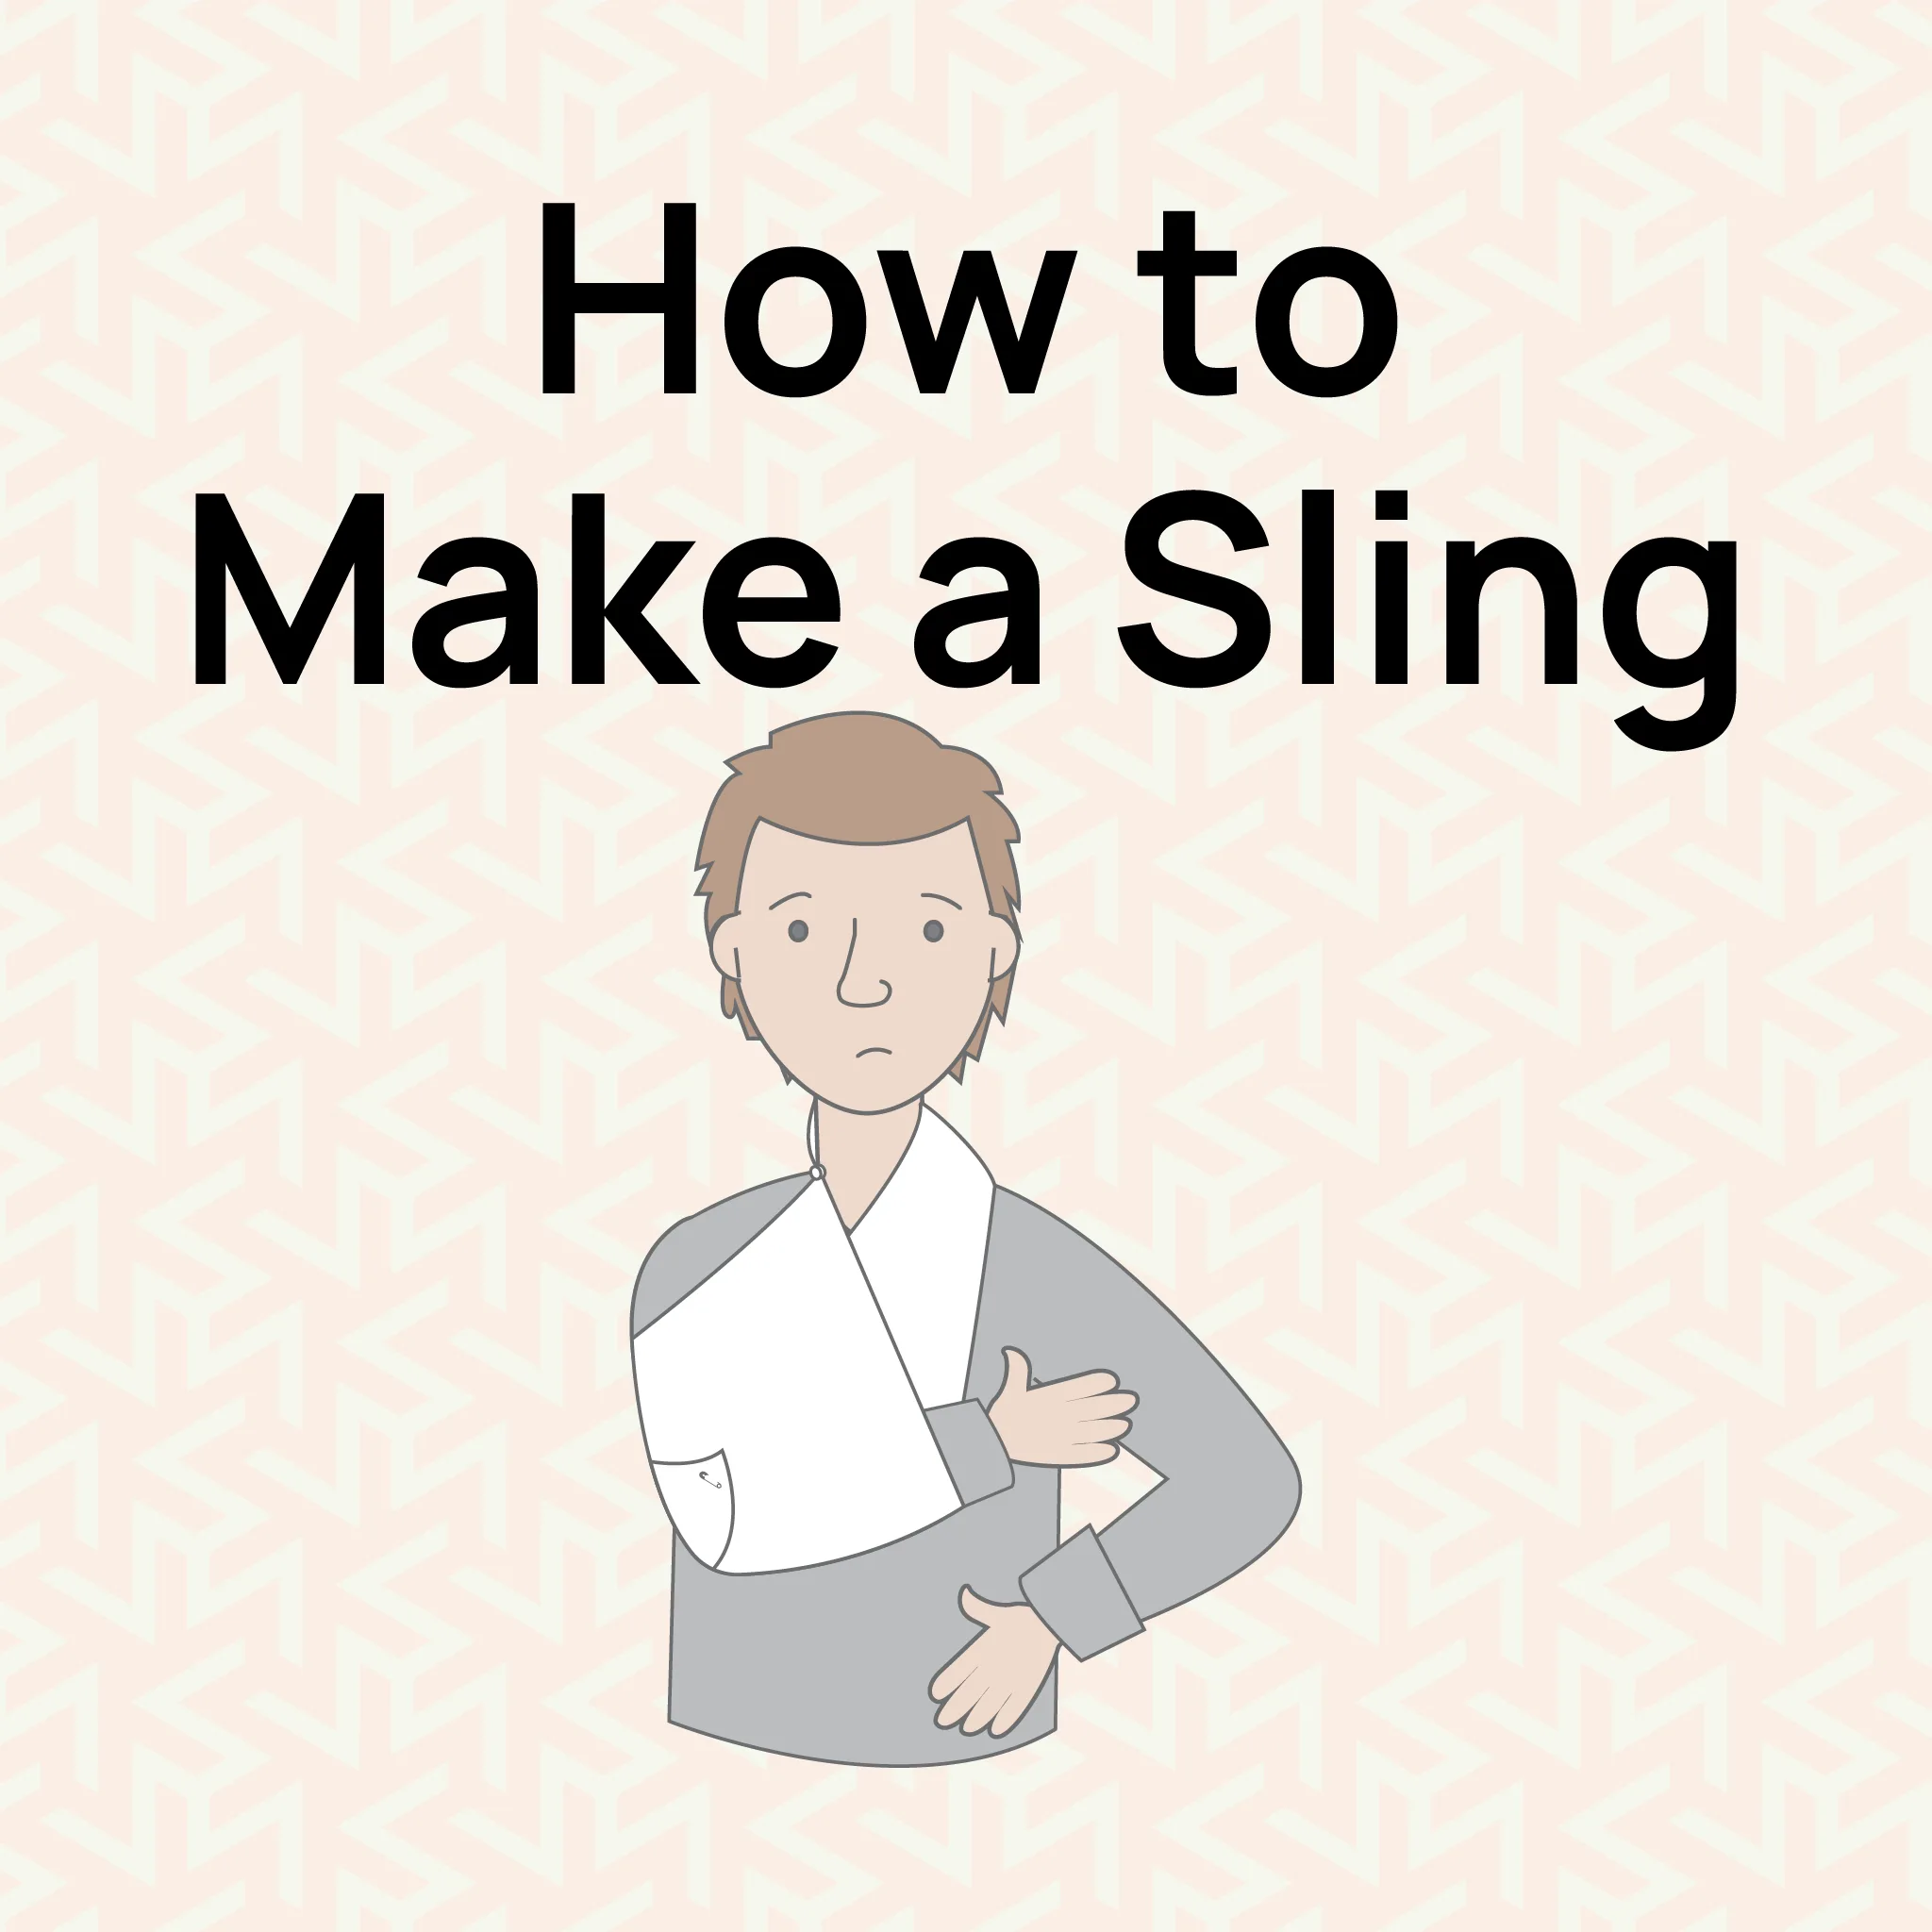
How to Make a Sling for Your Arm
An arm sling is crucial when one has a strained arm, shoulder, or wrist or after sustaining an injury or undergoing surgery. Knowing how to make a sling for your arm is very important, especially when an accident happens in remote areas where a doctor cannot be accessed immediately. Here are step-by-step instructions on how a sling can be fashioned using a triangular bandage or an improvised sling.Step-by-Step Triangular Bandage Sling InstructionsThe first step involves gathering your materials. To create the sling, you will require a triangular bandage or, alternatively, a large piece of cloth about 40 inches long. Once you have your materials ready, carefully position the injured arm. The arm should be bent gently at the elbow to form a 90-degree angle, with the forearm resting comfortably on the chest.Next, place the triangular bandage over the arm. Spread it evenly so that the apex of the triangle points toward the elbow to provide proper coverage and support for the injured arm. Then, take the two long ends of the bandage and tie them securely behind the neck, forming a loop to hold the arm in place. Adjust the sling so it is neither too tight nor too loose to ensure comfort and support.Finally, fold the loose end of the bandage at the elbow, secure it with a safety pin, or tuck it in neatly. This ensures the arm is well-supported and the sling is positioned correctly. Following these steps, you will successfully create a simple arm sling bandage to support an injured arm.� .main{ border:3px solid #0f7c90; border-radius:20px; position: relative; font-family:roboto; font-weight: 400; color: #000; } .main-two{ position: absolute; top:-25px; left:45px; background-color:white; } .img-div{ border-radius : 100%; padding:2px 7px; background-color:#0f7c90; margin-right:5px; width: 50px; height: 50px; } .img{ width:30px; object-fit:contain; height:auto; border-radius : 100%; } @media only screen and (max-width: 600px) { .heading{ font-size:20px; } .img{ width:20px; object-fit:contain; height:auto; border-radius : 100%; } .img-div{ width: 40px; height: 40px; } .main-two{ left:25px; } } Ready to Learn More? Want to gain life-saving skills and confidence in handling emergencies? Our First Aid courses offer complete training to help you handle critical situations. Whether you want to improve your skills or workplace safety, these courses help build confidence and expertise. View our Emergency First Aid at Work (EFAW) and Level 3 First Aid at Work courses. These courses meet the UK legal requirements and help you keep people safe. Difference Between Arm Sling and Elevation SlingArm slings and elevation slings both provide support but serve distinct purposes. An arm sling is used to prevent the movement of the arm, making it suitable for cases of fractures, strains, or dislocations. On the other hand, an elevation sling is designed to raise the arm higher. Its purpose is to reduce swelling or control bleeding, commonly applied in situations requiring compression or elevation to decrease inflammation.After Applying a Sling, How Elevated Should the Patient's Hand Be?When properly positioned in the sling, the patient�s hand should be slightly above heart level. This helps enhance blood flow, reduce swelling, and alleviate pain. Ensure the sling supports the arm securely without excessive pressure, which could increase the patient�s discomfort or impede blood circulation.The Importance of Arm Sling Instructions with PicturesThe application of visual aids, such as arm sling instructions with pictures, substantially improves sling-making accuracy. Photographs or diagrams can be invaluable for people unfamiliar with the process. Visual aids ensure the sling is applied correctly and securely, allowing it to support the injured arm adequately.Final TipsKnowing how to make a sling for arm injuries is invaluable during emergencies, as it allows immediate action to be taken. Ensure the material is clean and strong, and check the sling frequently for comfort. Adjust the fit as necessary to minimise strain or discomfort for the patient. In cases of severe injuries, always consult a qualified medical professional.By learning the basics of sling application, including arm and elevation slings, proper hand elevation, and the use of visual aids, you can provide early and practical support for an injured arm in critical situations.
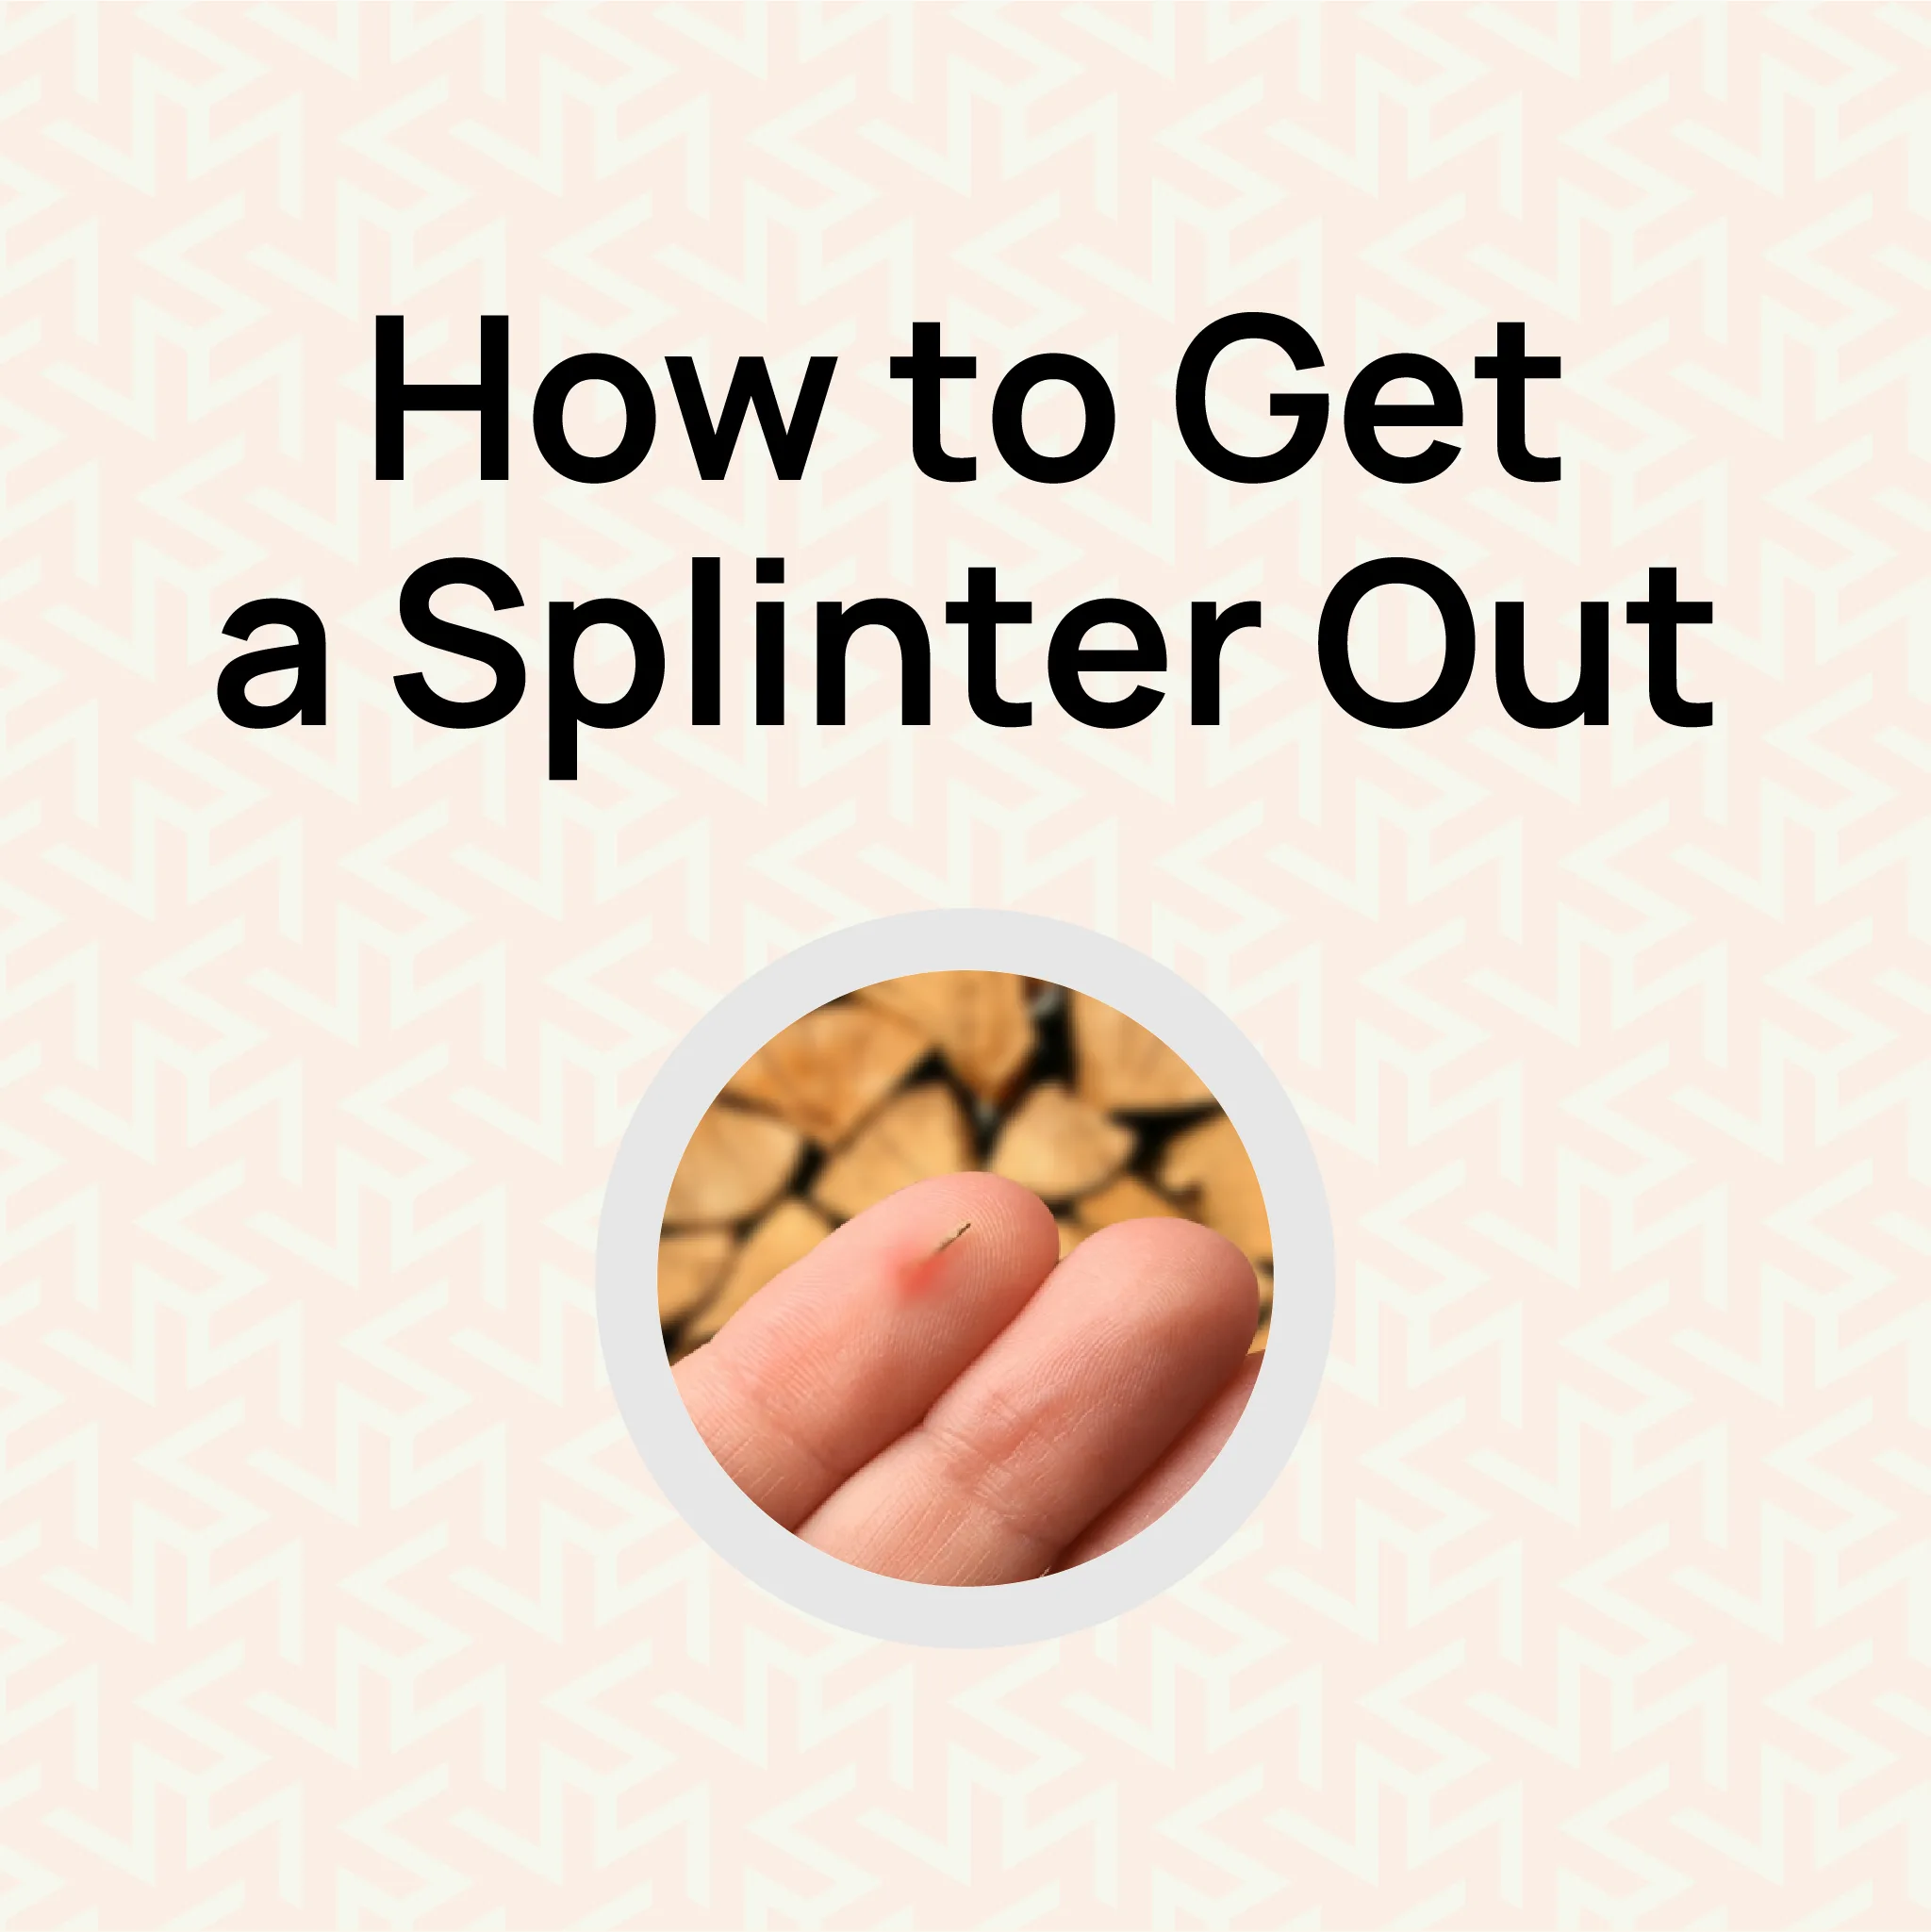
How to Get a Splinter Out
Splinters are typically tiny and usually an irritationirritating, but they can become an infection concern and should not be overlooked. Whether you have a splinter that is more serious and extends deep under your skin or simply a small one, different methods of removalremoval methods are important to avoid getting an infection.Step-by-step Guide for safe removal of a splinterStep 1: Assess the SplinterBefore removing a splinter, it�s important to examine the area closely to determine the it�s depth and angle. If it is shallow and clearly visible, removal is usually straightforward. However, deeply embedded splinters may require extra care to avoid causing more damage to the skin.Step 2: Gather Your First Aid ToolsAs with most splinter removals, the key to safety is preparation. For safe removal, the tools you are going to need include a pair of tweezers, a magnifying glass to view the splinter closely, rubbing alcohol or antiseptic to clean the tweezers and needle, a sterilized needle in case the it is deep, and a bandage to cover the area after removal of the shard.Step 3: How to Remove a SplinterIf you have a splinter and wish to remove it, you should wash your hands and the affected area with soap and water. This step reduces the probability of getting an infection. After that, clean the tools you are going to use, such as the tweezers and needle, with rubbing alcohol.If the shard is deep into the skin, use the needle to prick the affected area to bring it closer to the surface. Once it�s in a reachable position, use the tweezers to grab it and then draw it out in the same angle it penetrated the skin to ensure it does not break.Step 4: Clean and Protect the WoundOnce the splinter has been extracted, wash the site one more time with an antiseptic to eliminate any germs sticking close to the skin surface. Lastly, be sure to cover the area with a bandage to further prevent the wound from getting infected as it heals. .main{ border:3px solid #0f7c90; border-radius:20px; position: relative; font-family:roboto; font-weight: 400; color: #000; } .main-two{ position: absolute; top:-25px; left:45px; background-color:white; } .img-div{ border-radius : 100%; padding:2px 7px; background-color:#0f7c90; margin-right:5px; width: 50px; height: 50px; } .img{ width:30px; object-fit:contain; height:auto; border-radius : 100%; } @media only screen and (max-width: 600px) { .heading{ font-size:20px; } .img{ width:20px; object-fit:contain; height:auto; border-radius : 100%; } .img-div{ width: 40px; height: 40px; } .main-two{ left:25px; } } Ready to Learn More? Know how to get your splinter out safely. Our First Aid courses offer complete training to help you handle critical situations. Whether you want to improve your skills or workplace safety, these courses help build confidence and expertise. View our Emergency First Aid at Work (EFAW) and Level 3 First Aid at Work courses. These courses meet the UK legal requirements and help you keep people safe. How to Get a Deep Splinter OutPulling out a deep splinter is a very delicate procedure. Avoid excessive digging, as this may compound the situation by worsening the wound and increasing the risk of an infection. If the shardfragment is not easily visible or removable, or if it is sore or oozing pus, it is better to let a physician remove it rather than tryingtry it yourself.Signs of a Splinter InfectionA splinter infection occurs when bacteria get into the affected area. There are some signs to watch out for, including reddening of the skin near the wound, skin inflammation, visible pus, discharge or fluid coming from the wound, increased pain, and the wounded area becoming warm. Such an infection can lead to more serious consequences if not treated.How to Treat an Infected Splinter at HomeAn infection should be treated with considerable precaution from the comfort of your home. First, wash the affected body part with warm water mixed with soap or warm water containing Epsom salt to help ease the skin and reduce inflammation. If the splinter is very painful, once you have removed it, wash the area with an antiseptic solution. To avoid further infection, use an over-the-counter antibiotic ointment and a clean dressing on the wound.If the infection does not improve or worsens, it is time to seek professional medical help.Preventing Splinter InfectionsSuccess in the prevention of one illness can lead to success in the prevention of others. Who said that �prevention is better than cure�? In the event of exposure to potentially splinter-causing materials, clean any cuts promptly and properly to minimizeminimise the chances of developing an infection. During woodworking operations, gardening, or handling sharp objects, protective gloves can offer additional protection.ConclusionBeing aware of how to remove a splinter and care for it can help spare anyone hours of discomfort or complications. Whether you are removing a splinter it or teaching someone how to handle an infected splinter one at home, adhering to these steps increases the chances of successful splinter removal and prevents potential infections. Prompt application of the proper measures after an injury occurs can prevent minor harm from developing into significant damage.

Stinging Nettle Treatment
What is a Stinging Nettle Rash?A stinging nettle rash is caused by the tiny hairs on the stinging nettle plant as they discharge chemicals on the skin, which make the skin burn, turn red, and swell up. The reaction is often mild, but it can sometimes become unbearable if left untreated.Symptoms of A Nettle StingSome of the most common symptoms that people experience from a Nettle sting are:BurningItchingA sharp PainBlistersRednessSwellingThese symptoms should get better within a few days.Symptoms of An Allergic reaction to Nettle StingIt is highly unlikely, however, that some people can suffer from an allergic reaction from a Nettle Sting; if you have any of the following symptoms seek immediate medical help.Trouble BreathingDifficulty swallowingVomiting or NauseaIncreased heart rateFeeling dizzyWheezingFurthermore, a person may experience swelling around the mouth, throat or under the skin; these symptoms can be life-threatening and require immediate medical attention.How to Treat Nettle StingsThere are several effective ways to relieve and treat stinging nettles, using both home remedies and professional advice:Cold CompressIt is recommended to apply a cold compress to decrease the size of the swollen area and reduce the pain sensation originating from a nettle sting. Medical Practitioners also recommends a cold pack or cold water compress to help reduce irritation.Oatmeal BathsMedical professionals say oatmeal can help reduce itching and redness, soothing inflamed skin.Baking Soda PasteBaking soda is a popular remedy for nettle stings, helping reduce the sting's impact and minimise inflammation. Multiple health resources support this method.ToothpasteToothpaste is another home remedy used to soothe itching and reduce swelling.Medications and CreamsFor persistent stings or severe reactions, antihistamines or hydrocortisone creams may be recommended. These are widely endorsed for their hormone-balancing abilities and are commonly used to address inflammatory processes and allergic reactions. .main{ border:3px solid #0f7c90; border-radius:20px; position: relative; font-family:roboto; font-weight: 400; color: #000; } .main-two{ position: absolute; top:-25px; left:45px; background-color:white; } .img-div{ border-radius : 100%; padding:2px 7px; background-color:#0f7c90; margin-right:5px; width: 50px; height: 50px; } .img{ width:30px; object-fit:contain; height:auto; border-radius : 100%; } @media only screen and (max-width: 600px) { .heading{ font-size:20px; } .img{ width:20px; object-fit:contain; height:auto; border-radius : 100%; } .img-div{ width: 40px; height: 40px; } .main-two{ left:25px; } } Stay Prepared and Save Lives! Learn more about the effective treatment for stinging nettles and other common emergencies! Our First Aid courses offer complete training to help you handle critical situations. Whether you want to improve your skills or workplace safety, these courses help build confidence and expertise. View our Emergency First Aid at Work (EFAW) and Level 3 First Aid at Work courses. These courses meet the UK legal requirements and help you keep people safe. What Helps Nettle Stings?According to medical practitioners, other alternatives include calamine lotion and antihistamines, which can help prevent scratching and reduce the risk of additional allergic reactions. Several healthcare providers have highlighted aloe vera gel as an effective remedy for nettle stings due to its cooling effect.Emergency Care for Stinging Nettle RashIf the sting worsens or home remedies and essential treatments are ineffective, it is advised to seek medical attention. Emergency first aid and professional assistance may be required in severe cases.How Long Do Nettle Stings Last?Usually, nettle stings are painful for half an hour to a few hours. However, some individuals may experience discomfort in their bones that persists longer. A healthcare provider should assess symptoms that persist without improvement for several days.
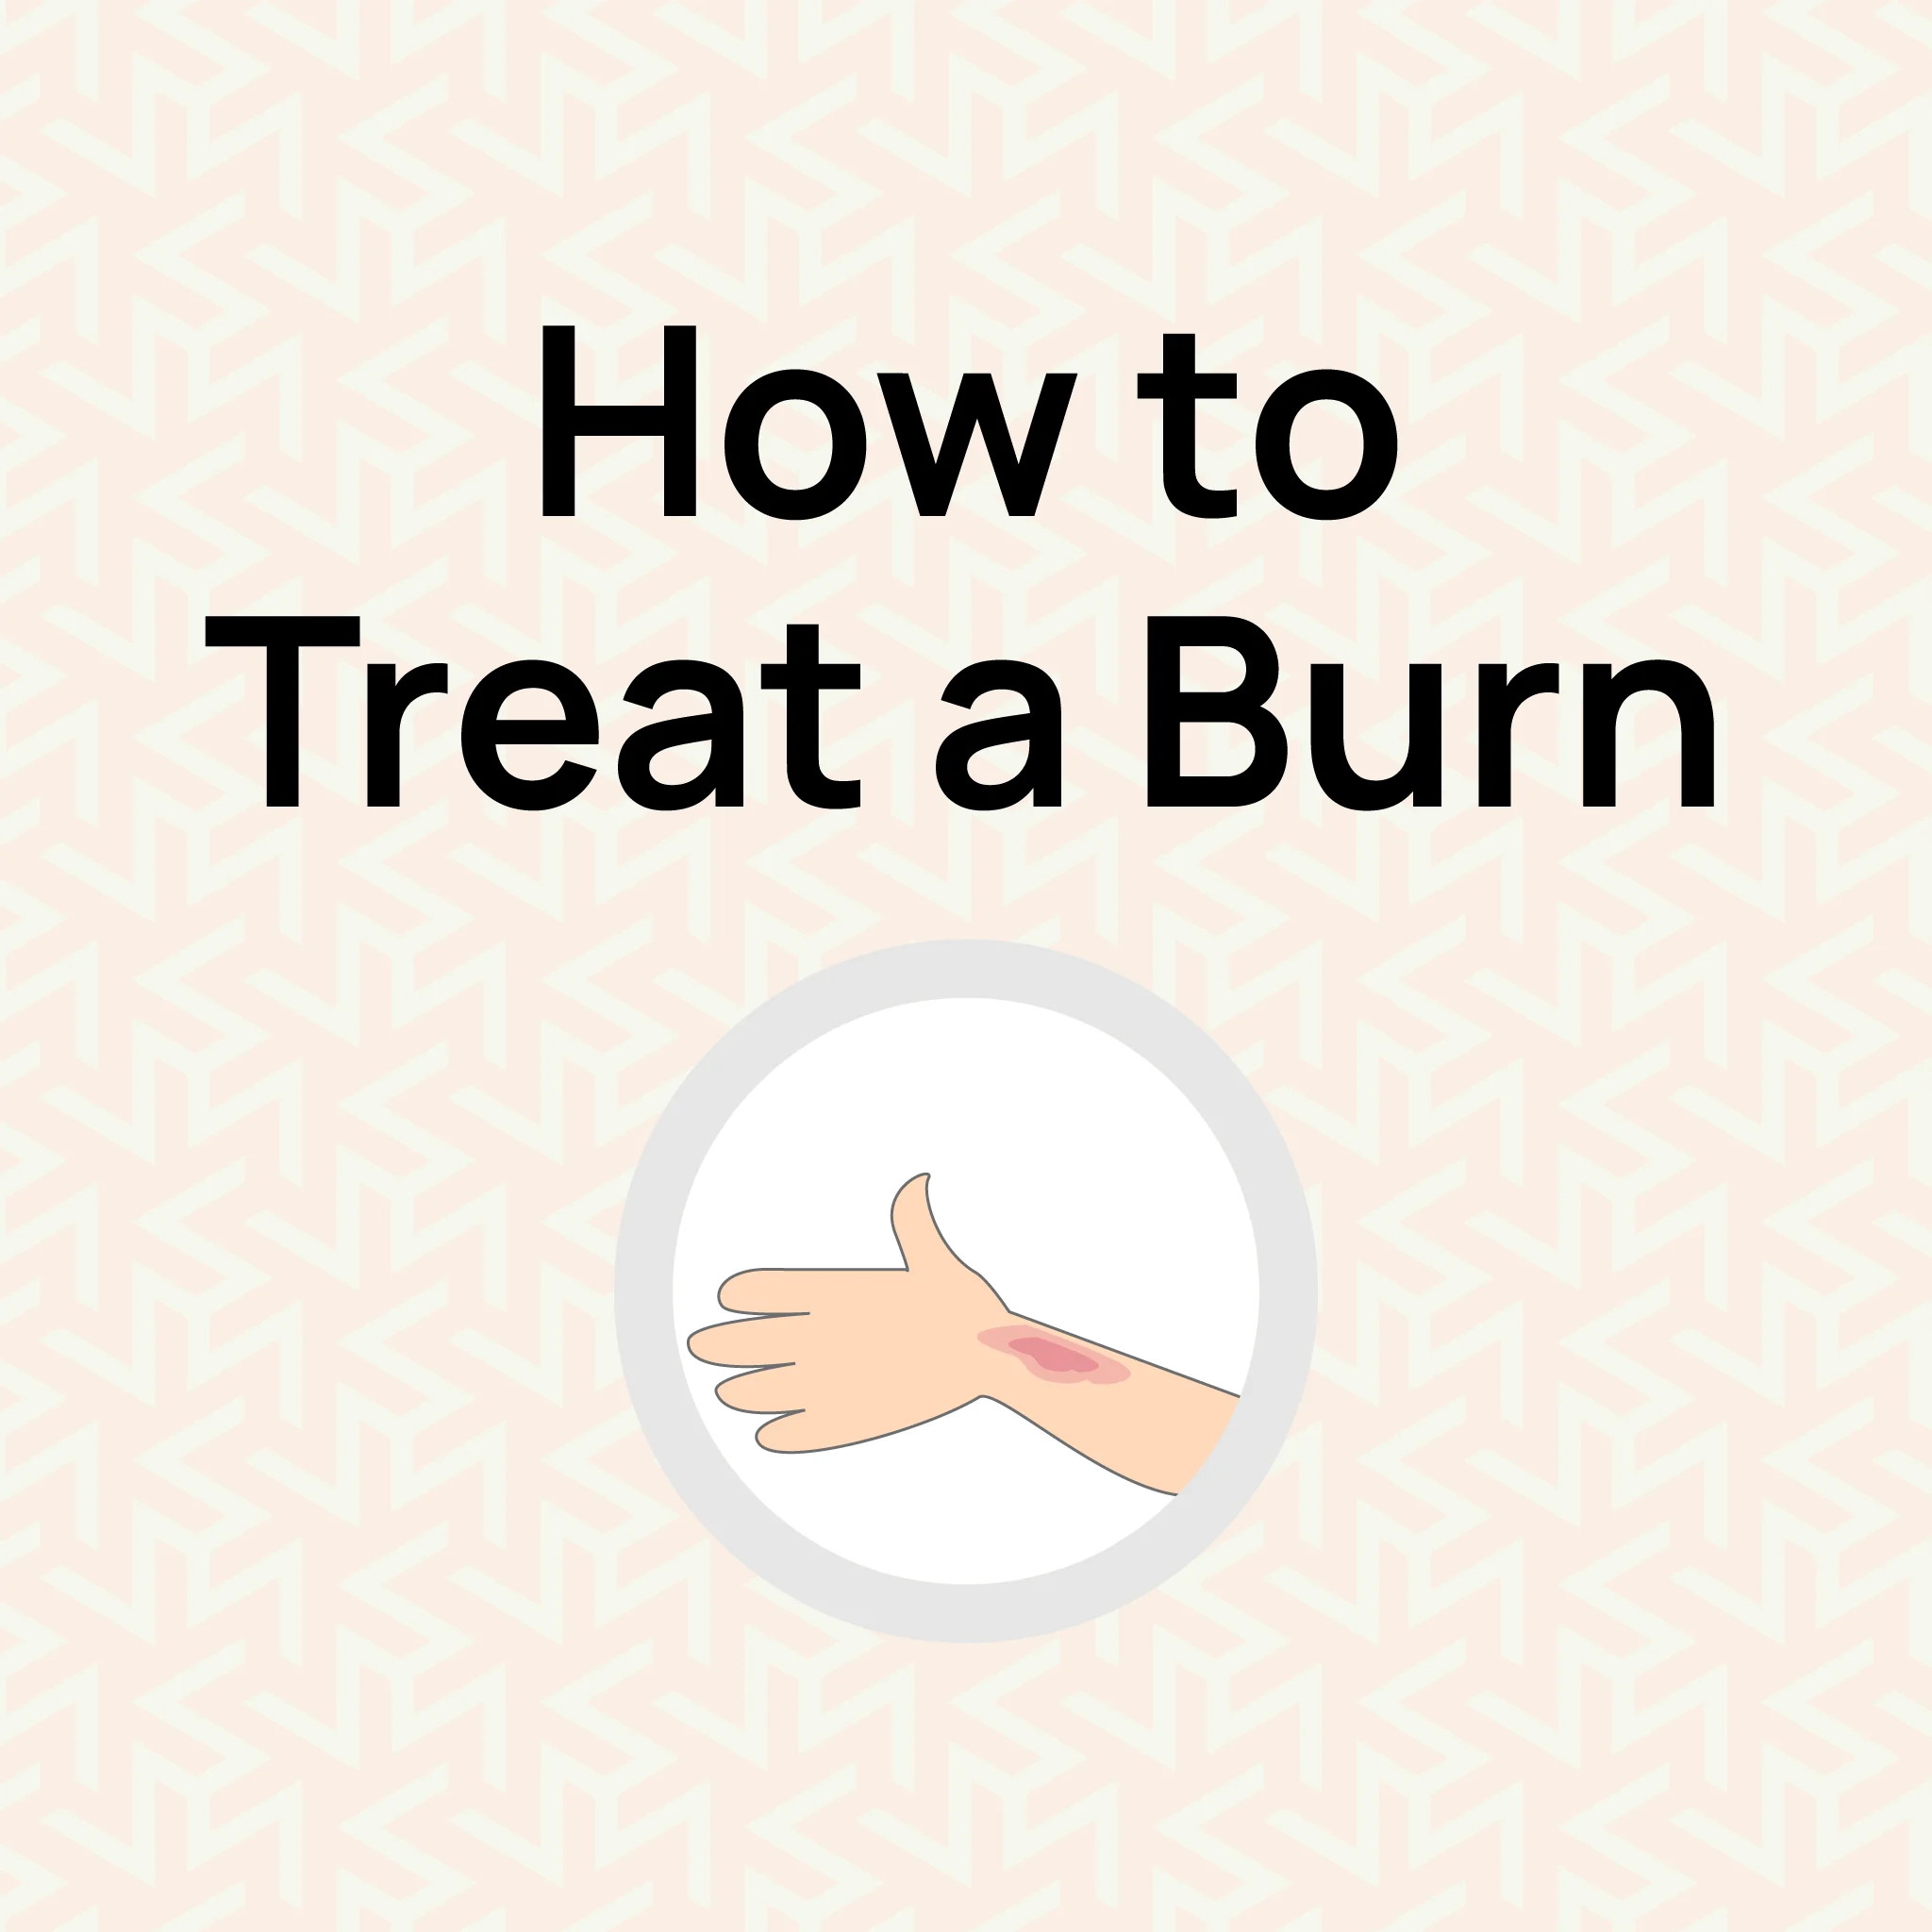
How to Treat a Burn: Essential First Aid Tips
Understanding BurnsBurns can be classified according to severity�first, second, and third-degree�and can be caused by heat, chemicals, electricity, and radiation, among others. The types are first-degree burns, which only affect the epidermis and are marked with redness and pain; second-degree burns, which also produce swelling and the formation of blisters; and third-degree burns, which affect all the layers of the skin and may require medical treatment at once. It is essential to recognise that first aid for burns needs to be done without delay to help minimise pain and improve the healing process.Burn First Aid Steps: What You Need to KnowStop the Burn: Quickly remove yourself or the person from the source of the burn (like fire or hot object). Take off any jewellery or clothing near the burn unless it�s stuck before the area swells.Cool the Burn: Run lukewarm water over the burn area for at least 20 minutes. If water isn�t available, use cold milk or canned liquids.Cover the Burn: Cover the burn with a clean, non-stick bandage or cloth after cooling. Avoid using cotton, as it can stick to the burn.Always remember to act quickly to reduce the damage.Please note:Do not wrap cling film tightly around the burn, as the area needs room to swell. You can cover the burn with a clean plastic bag if the burn is on a hand or foot. Avoid ice, creams, or gels, as these can damage the skin and increase the risk of infection. Also, do not break any blisters that may form, as this can lead to infection.First Aid for Different Types of BurnsSimple or first-degree burns are usual and can be experienced at home. Applying a thin layer of burn relief gel immediately underneath the water and dressing the area with a clean bandage is highly recommended. Burns classified under scalds�burns caused by hot water, steam, and similar agents�should also be cooled and dressed with a non-sticky dressing. Do not burst any formed blisters, as they help shield the skin layer. Scalds with steam water are a frequent result of accidents at home. The burn can be cooled under running water and treated with an antiseptic agent or a burn reliever gel. Applying a bandage on the affected part protects the burn from infections. Chemical burns, for their part, are quite different and require special treatment. Any contaminated clothing must be removed cautiously, and the affected parts must be washed with cool water for at least 20 minutes. Do not apply any creams on the skin unless advised by a doctor, and consult a physician immediately. .main{ border:3px solid #0f7c90; border-radius:20px; position: relative; font-family:roboto; font-weight: 400; color: #000; } .main-two{ position: absolute; top:-25px; left:45px; background-color:white; } .img-div{ border-radius : 100%; padding:2px 7px; background-color:#0f7c90; margin-right:5px; width: 50px; height: 50px; } .img{ width:30px; object-fit:contain; height:auto; border-radius : 100%; } @media only screen and (max-width: 600px) { .heading{ font-size:20px; } .img{ width:20px; object-fit:contain; height:auto; border-radius : 100%; } .img-div{ width: 40px; height: 40px; } .main-two{ left:25px; } } Ready to Learn More? Understanding first aid for burns can make a significant difference in emergencies. Our First Aid courses offer complete training to help you handle critical situations. Whether you want to improve your skills or workplace safety, these courses help build confidence and expertise. View our Emergency First Aid at Work (EFAW) and Level 3 First Aid at Work courses. These courses meet the UK legal requirements and help you keep people safe. Common Myths About Burn TreatmentThere are several myths related to burn management. For example, when a person applies toothpaste on any burning area, it leads him or her to more disaster as it can cause irritation and increase the risk of infection. Likewise, putting ice on a burn makes some sense to reduce the pain but damages the tissue anew. They should, therefore, not use treatment methods with which they have no confidence, such as pouring water on the burns, but should stick to standard initial treatment procedures for burn injuries.Burn First Aid EssentialsIt is necessary to have adequate burn kit stock for emergencies. Basic burn care products include burn relief gel, antiseptic cream, and sterile burn dressings. They are some supplies that make the best impact to give an instant response and quick recovery.
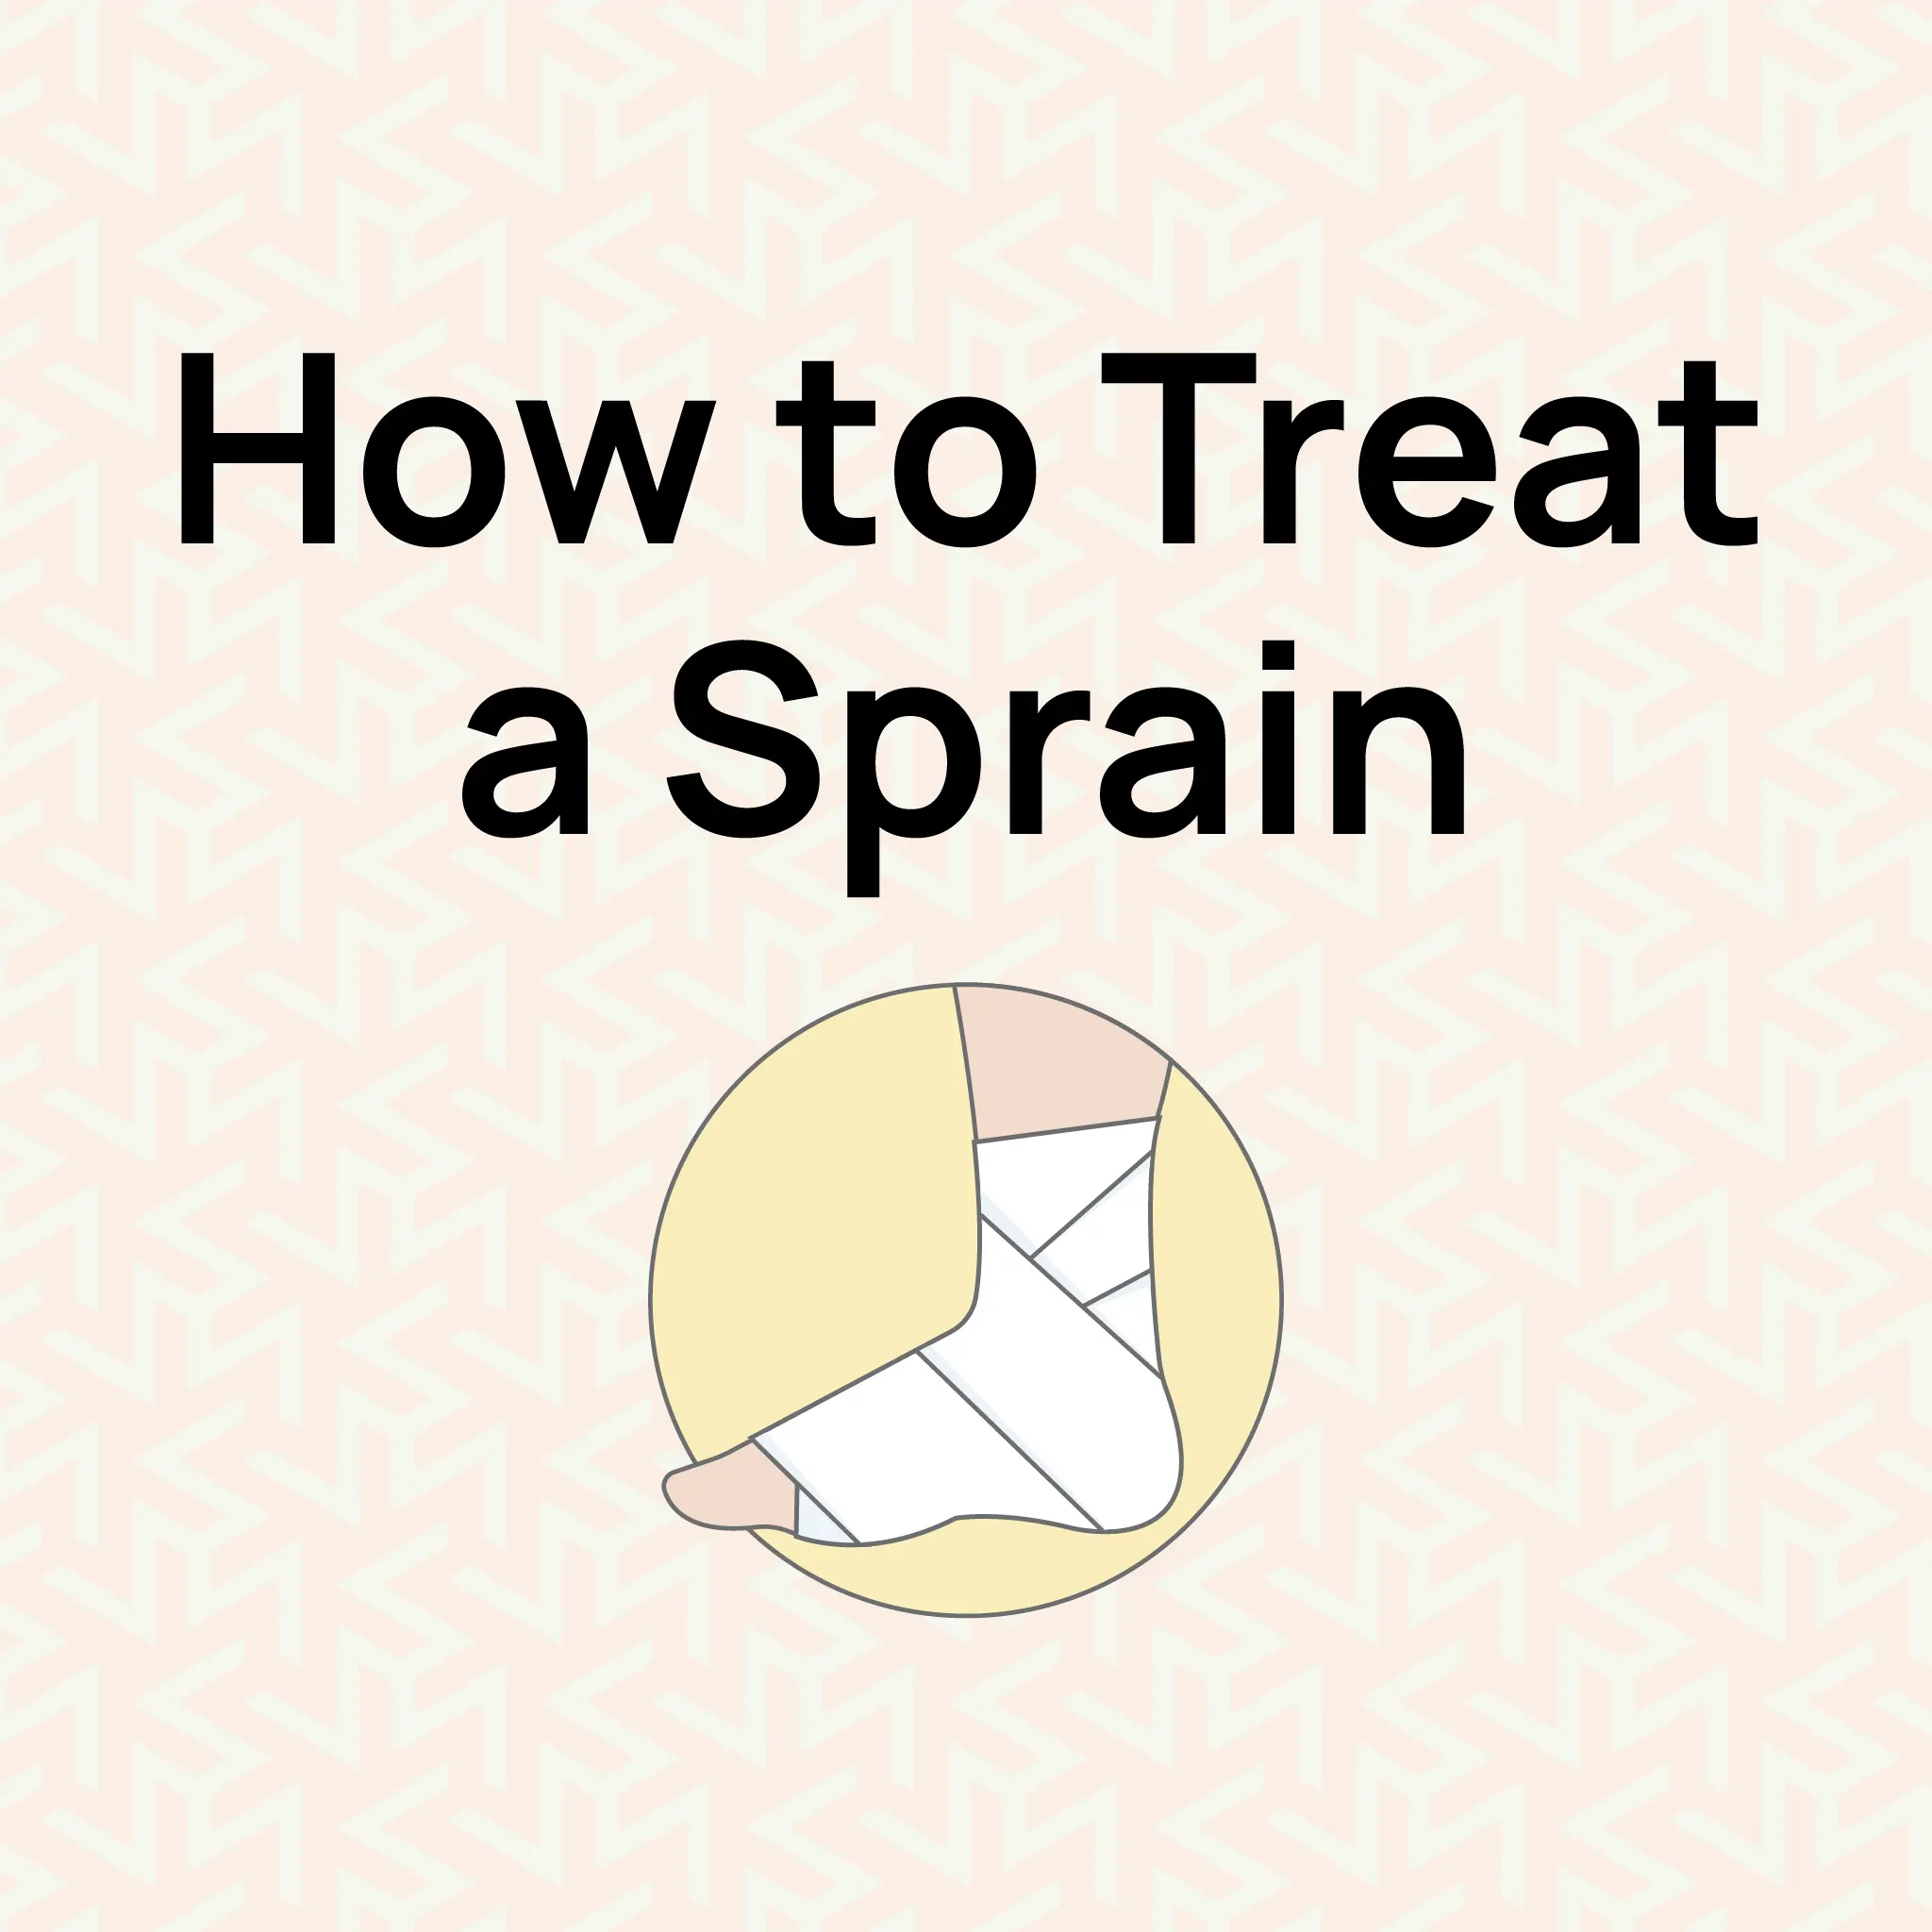
Sprain First Aid - Identifying Signs and Symptoms and its Treatment
What is a Sprain?A sprain is a partial or complete tear of a ligament, the bands of connective tissue consisting of fibres that bind two or more bones together and which stretch and sometimes rupture in response to stress. It usually occurs when the joint is turned or when there is an additional force on the joint, such as when one falls or engages in other sports activities. Symptoms of a sprain include pain, swelling, discolouration of the skin, and lack of movement of the joint. It is necessary to know the type of sprain to administer first aid, so that the healing process can begin as soon as possible.How to Treat Sprains and StrainsSprain and Strain are easy to mix up because they can feel quite similar in the beginning. A sprain usually happens when a joint twists suddenly and the ligaments around it get stretched too far, which is common with ankle or wrist injuries. A strain is slightly different because it affects muscles or tendons and often happens after lifting something heavy or overusing a muscle. Even though they involve different tissues, the first few first-aid steps are mostly the same and are aimed at keeping swelling down and helping the injured area settle.Ligament or muscle injuries causing sprains and strains may vary, but offering first aid at the early stages is crucial. To manage a sprain, it is good to apply the RICE approach, which is the most recommended. Let�s begin by understanding what RICE means and how it can be carried out correctly. .main{ border:3px solid #0f7c90; border-radius:20px; position: relative; font-family:roboto; font-weight: 400; color: #000; } .main-two{ position: absolute; top:-25px; left:45px; background-color:white; } .img-div{ border-radius : 100%; padding:2px 7px; background-color:#0f7c90; margin-right:5px; width: 50px; height: 50px; } .img{ width:30px; object-fit:contain; height:auto; border-radius : 100%; } @media only screen and (max-width: 600px) { .heading{ font-size:20px; } .img{ width:20px; object-fit:contain; height:auto; border-radius : 100%; } .img-div{ width: 40px; height: 40px; } .main-two{ left:25px; } } Ready to Learn More? Learning about sprain treatment and understanding first aid basics can significantly impact emergencies. Our First Aid courses offer complete training to help you handle critical situations. Whether you want to improve your skills or workplace safety, these courses help build confidence and expertise. View our Emergency First Aid at Work (EFAW) and Level 3 First Aid at Work courses. These courses meet the UK legal requirements and help you keep people safe. What Does RICE Stand For?The RICE formula is a helpful four-letter word to remember the directives for dealing with sprains and preventing further harm. Here's what it stands for:Rest: Do not put any pressure on the injured so that it can heal.Ice: Use a cold pack for 15�20 minutes every 1�2 hours during the initial 48 hours. This helps minimise inflammation and dull the pain.Compression: Cover the injured part with an elastic bandage to minimise inflammation and bleeding. Ensure the bandage is snug but not too tight to avoid restricting blood circulation. Learn how to dress a wound appropriately.Elevation: Place the injured limb slightly above heart level to reduce swelling caused by congestion.By remembering RICE, treatment can be easily administered early, enhancing recovery.When to Seek Professional HelpThe RICE first aid method can be used in case of mild to moderate sprains. However, severe injuries may require medical attention. It should be consulted with a healthcare professional in case:You are not able to put weight on the affected limb.Pain and swelling persist or worsen after 48 hours.The joint appears deformed or unstable.Preventing Sprains and StrainsTo prevent future injuries, it is important to practice the following preventative measures:Warm up before physical activity.Wear appropriate footwear.Make your muscles stronger around your joints.Pay attention to rough surfaces when walking or running.ConclusionProviding immediate first aid for a Sprain is essential to reduce swelling and support joint stability. Recognising symptoms such as pain, bruising, and restricted movement allows quick action. Following the recommended treatment steps helps prevent complications and promotes recovery. It is important to seek professional medical help when symptoms persist or worsen. Early response plays a key role in achieving better outcomes.
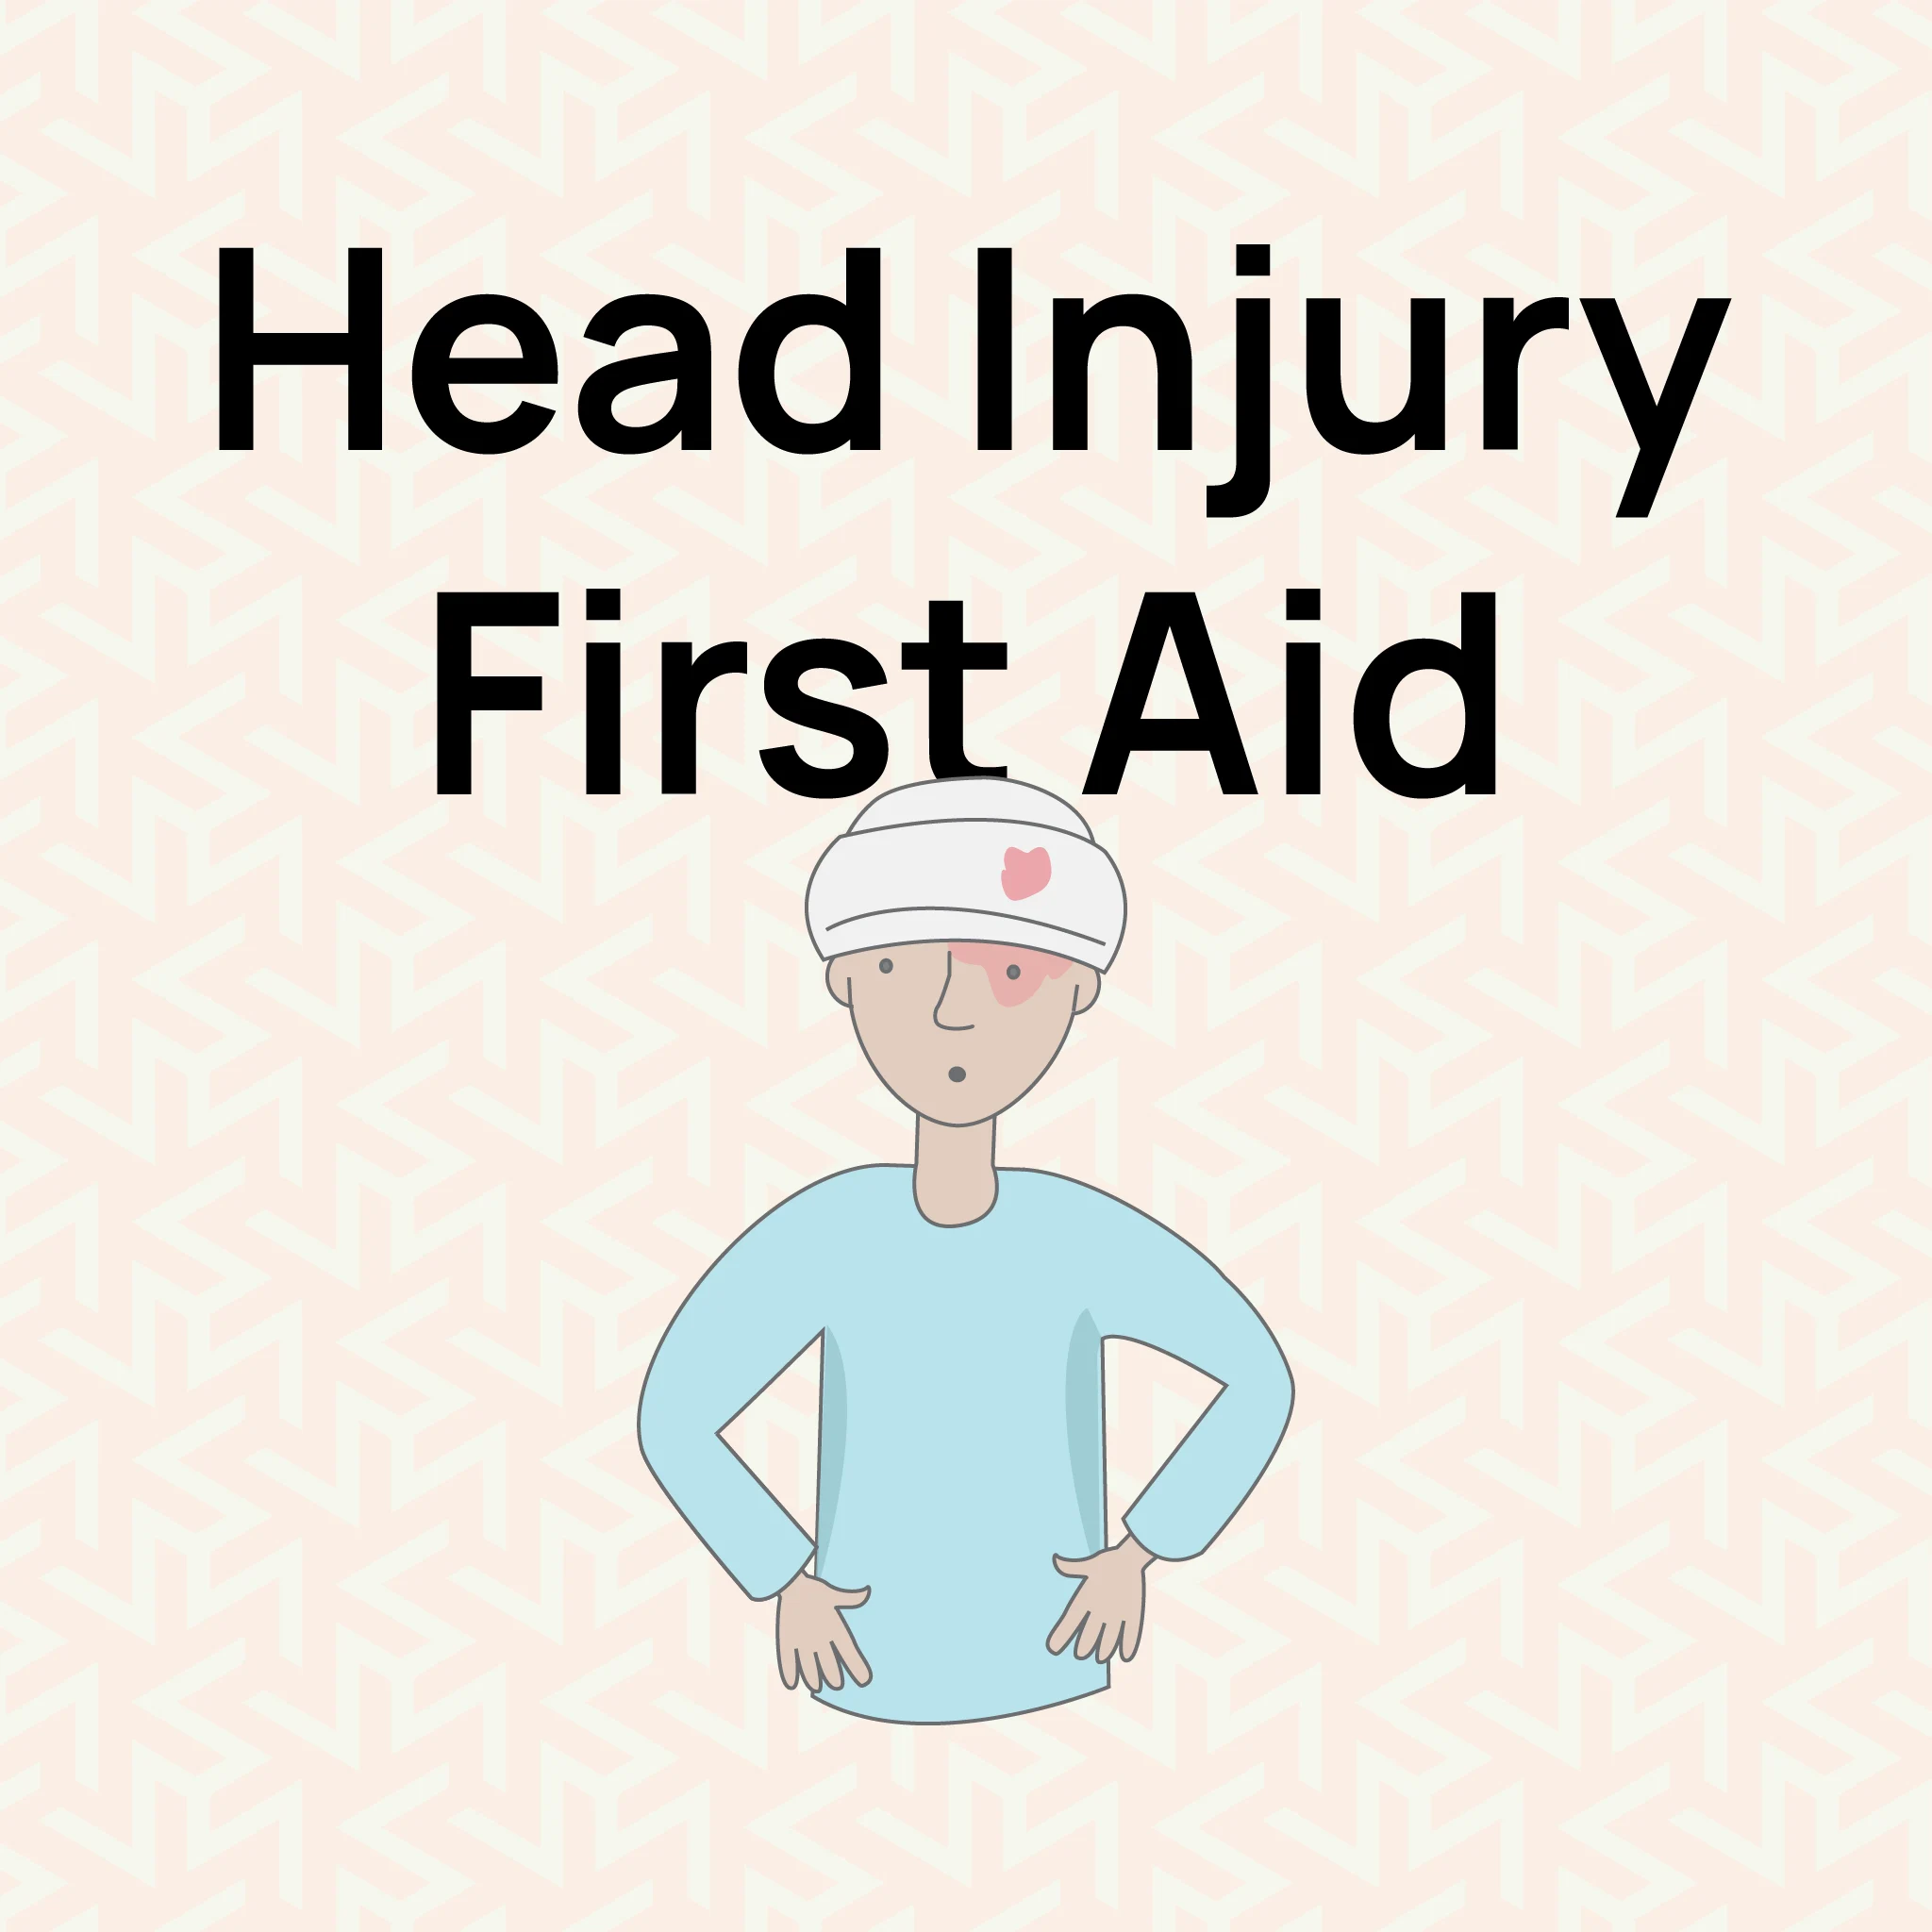
Head Injury First Aid: Key Steps for Minor and Serious Injuries
Whether minor or significant, injuries to the head should be well attended to and responded to in order to avoid escalating to a worse situation. It is also an easily injured area, and even what may look like minor injuries can so easily turn into major complications. In this writing, we will not only learn about casualty handling and treatment of our casualty with mild head swelling but also discuss more about serious injury, concussion first aid, and signals to look for when one may need the attention of a professional.How Would You Respond to a Person with a Minor Head Injury That Has Caused Visible Swelling?If someone has a minor head injury and they have signs of swelling, the same principles should be followed but with a little less severity. Here are the steps to follow:Assess the person: Make sure there is no sign of a more serious affliction. If the person is conscious and awake, go to the next steps. If they are unconscious, then get acquainted with emergency management procedures for unconscious individuals.Apply Ice or Cold Compress: If there is redness and/or puffiness, use an ice pack or cold towel on the affected area but ensure it is covered with a cloth. This minimizes the aching as clients are also tapered to prevent their skin from inflammation. Also, do not apply ice directly to the skin surface, as this will lead to frostbite.Monitor for Changes: Although the concerns may be as simple as bruises, observe the individual for any behavioural or mental changes. If the swelling increases or the person starts developing complications of severe head injury, call for help.Seek Medical Attention if Necessary: Minor redness and grains are common, but if the accident caused serious trauma or the symptoms worsen, seek medical attention.Compression Head Injury: Understanding the RisksThis particular kind of head injury usually happens whenever the force exerted on the brain is so strong that injury is inevitable. This can occur in road accidents, falls, or any other rigorous sports (close contact sports). Compression injuries may potentially result in severe fractures of the skull, besides leading to swelling of the brain or bleeding.First Aid: Compression Head InjuryCall Emergency Services ImmediatelyCompression injuries are life-threatening and require urgent medical attention.Ensure the Person Remains StillDo not move the person unless there is an immediate safety concern.Monitor for Severe SymptomsWatch for signs like:Worsening headache.Drowsiness or confusion.Vomiting or seizures.Weakness or paralysis in limbs.Unequal pupils or fluid (blood/clear) leaking from the ears or nose.Keep the Head ElevatedElevate the head (if possible) to reduce intracranial pressure.Do Not Offer Food, Drinks, or MedicationAvoid giving anything by mouth, as surgery may be required.Prevent Further HarmKeep the area safe to prevent additional injuries.Signs of Serious Head InjuryKnowing the signs of a serious head injury is essential in providing timely and appropriate first aid. This type of injury can quickly escalate to a life-threatening condition if not properly managed. Key signs of a serious injury to the head include:Loss of Consciousness: A casualty who is unconscious for more than a few seconds needs immediate medical attention.Severe Headache: A headache that worsens or is severe may indicate internal bleeding or swelling.Bleeding or Clear Fluid from the Nose or Ears: This could indicate a skull fracture and requires urgent care.Confusion, Dizziness, or Disorientation: When an individual is confused or disoriented, this may indicate a concussion or a more severe injury.Seizures: Seizures may be a sign of brain injury, and emergency services must be called immediately. .main{ border:3px solid #0f7c90; border-radius:20px; position: relative; font-family:roboto; font-weight: 400; color: #000; } .main-two{ position: absolute; top:-25px; left:45px; background-color:white; } .img-div{ border-radius : 100%; padding:2px 7px; background-color:#0f7c90; margin-right:5px; width: 50px; height: 50px; } .img{ width:30px; object-fit:contain; height:auto; border-radius : 100%; } @media only screen and (max-width: 600px) { .heading{ font-size:20px; } .img{ width:20px; object-fit:contain; height:auto; border-radius : 100%; } .img-div{ width: 40px; height: 40px; } .main-two{ left:25px; } } Take Action Now: Learn How to Save Lives with First Aid Training! Head injuries can happen anytime, and knowing how to respond quickly and effectively can make all the difference. Our First Aid courses offer complete training to help you handle critical situations. Whether you want to improve your skills or workplace safety, these courses help build confidence and expertise. View our Emergency First Aid at Work (EFAW) and Level 3 First Aid at Work courses. These courses meet the UK legal requirements and help you keep people safe. Recognizing the Signs and Symptoms of ConcussionA concussion is a mild injury to the brain resulting from being hit on the head. Concussions are very frequent, but they should never be considered as minor injuries. The signs and symptoms of a concussion include:Headache: Headache is perhaps one of the most typical symptoms of concussion and can either increase constantly for the first week after the injury or have its onset after this time.Dizziness and Nausea: Any incidence of dizziness, nausea, or vomiting after a head injury points towards a concussion.Confusion: The casualty may have amnesia of the incident, and they may be confused and not recognize the environment.Balance Issues: Stiffness, imbalance, or a tendency to fall, or difficulty in moving from place to place could also be present.Concussion First AidEnsure the Person Remains Still: Keep the casualty in a safe position and limit their movement.Avoid Further Impact: Prevent any further impact to the head, which could worsen the injury.Seek Medical Help: Even if the symptoms seem mild, it�s crucial to have a healthcare professional evaluate the injury to prevent complications.Pre Hospital Management: What You Need to Know about concussionsPre-hospital management of concussion is a very delicate area that requires great precautions and quick actions. After a head injury, if the person displays signs of concussion, take the following actions:Keep Them Calm: Try to make the person relax and do not encourage any tiring activities.Monitor Their Condition: Always look out for signs of the condition getting worse, such as confusion, a severe headache, or loss of consciousness.Do Not Allow Them to Sleep Immediately: The casualty should, in the first instance, remain awake so that there are good prospects for observing alterations in the situation.Transport to Medical Facility: If these symptoms start to worsen, or do not fade away after some time, then they need to get professional help at once. Sometimes concussions do cause headaches and dizziness, and it is necessary to have bed rest if one has a concussion. However, if one has a concussion, they are at risk of developing dangerous complications.First Aid for Head Bumps: Quick Steps to TakeHead bumps are frequently observed, but they should not be overlooked. They can produce such effects as swelling, weeping, or sometimes even a concussion. Here�s how to handle them:Ice the Bump: On the rare occasions that it is painful, you should put a cold compress or ice pack to minimize swelling.Check for Other Symptoms: During the assessment for a head or neck injury, look for symptoms of confusion, dizziness, or nausea. If any of these occur, please see a doctor right away.Encourage Rest: The casualty should not engage in any physical activity until they are ready to get up again.Watch for Delayed Symptoms: You should therefore observe any changes that may occur several hours after the bump, which may be symptoms of a serious head injury.ConclusionAll head injuries, no matter how small, should be looked into and treated. From raised lumps to puffed-up parts to indications of a broken head, it�s vital to move fast and effectively when someone is harmed. By identifying severe head injuries, using the right procedure, and getting the right medical help whenever required, one is safe from the dangers involved, and the individual injured will recover in the shortest time possible. Remember: Knowledge of how to handle a concussion or head bump first aid is crucial, as complications may arise at any time. It is always best to be safe than sorry. If you think you are in extreme pain or if the wound is major, consult a doctor immediately.