On This Page
July 19, 20268 min read
Repointing brickwork might seem like a simple task, but when done incorrectly, it can lead to long-term damage to your home or property. Mortar joints play a vital role in the structural integrity and weather resistance of brick walls. When mortar deteriorates, repointing restores protection. But to get lasting results, it's essential to use the right tools, materials, and methods and avoid common mistakes. Here is everything you need to know, from spotting when repointing is required to executing the job correctly.
For those new to brickwork or looking to improve their technique, be sure to check out our Common Bricklaying Mistakes guide to avoid errors that could affect your project's success.
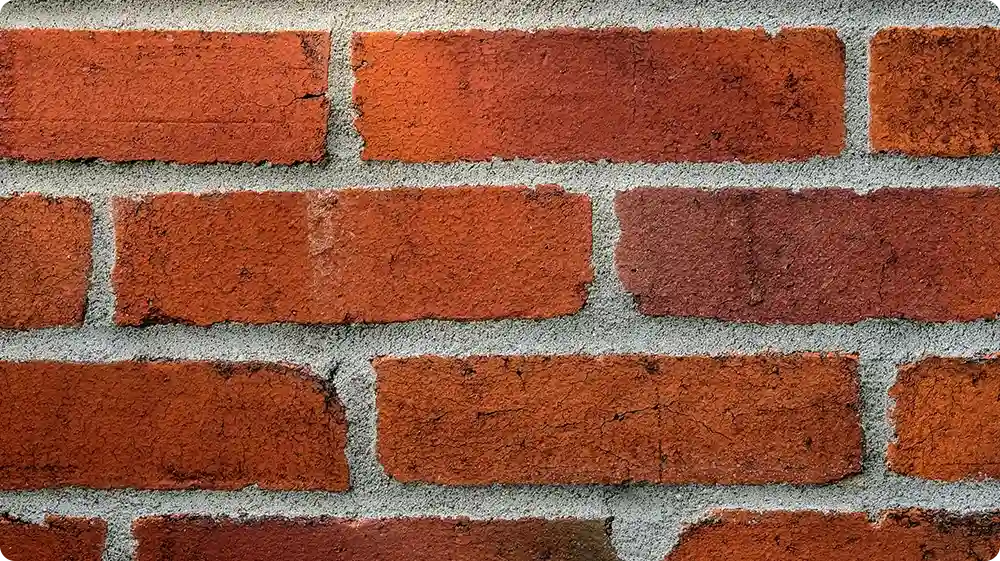
Repointing is the process of renewing the external part of mortar joints between bricks. Over time, weather exposure and general wear can cause mortar to crack or crumble, compromising the wall's strength. Repointing involves removing the weakened mortar and replacing it with a fresh mix, thereby sealing the joints and preserving the brickwork.
Why is repointing important? Because while bricks can last a century or more, mortar often starts to fail after just 20-30 years. Ignoring damaged mortar can lead to water ingress, frost damage, and even structural instability.
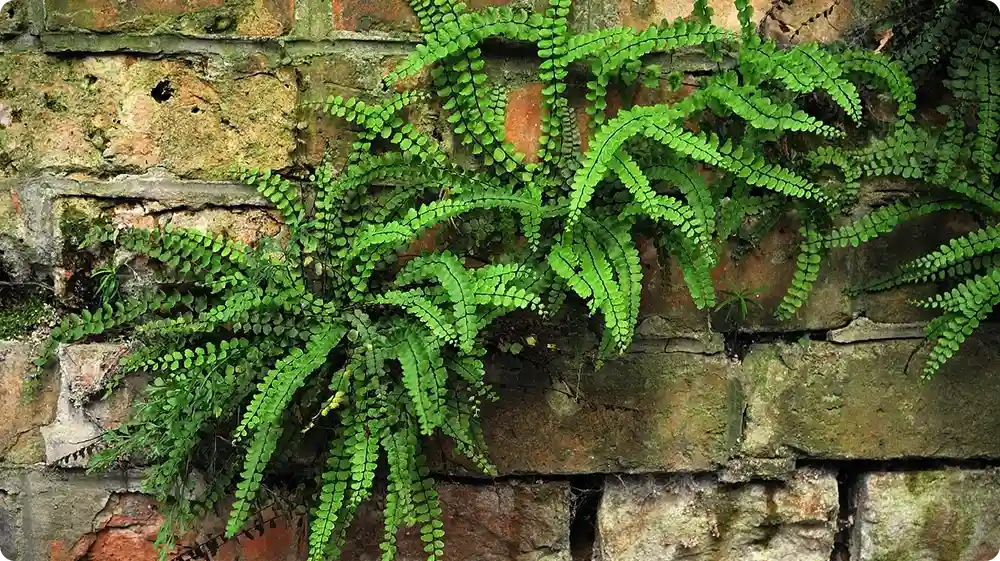
If you're unsure whether your brickwork needs repointing, there are several signs to watch for. Look out for cracks or gaps in the mortar lines, loose or wobbly bricks, and visible crumbling or flaking mortar. Damp patches or water staining on internal walls can also indicate issues, as can plants or moss growing out of the joints. In some cases, these symptoms may signal deeper structural problems that require underpinning to stabilize the foundation before repointing. Regular inspections, particularly after winter, are crucial for identifying these issues early and preventing further damage.
Repointing is best done in mild, dry weather. The ideal temperature range is between 8C and 25C. Spring and early autumn are typically the best seasons for repointing in the UK.
Avoid repointing in poor weather conditions. Rainy weather can introduce excess moisture, weakening the mortar bond and interfering with proper curing. Similarly, frosty conditions pose a risk as freezing temperatures can cause the mortar to expand and crack. On the other end of the spectrum, working in hot, direct sunlight can cause the mortar to dry too quickly, reducing its adhesion and potentially resulting in weak joints.
It's strongly advised not to repoint in the rain. Excess moisture prevents mortar from setting properly, reduces its strength, and increases the risk of staining. If rain is forecast, delay your project or use waterproof sheeting to protect the area until dry conditions return.
Explore the Bricklaying NVQ Level 2 course to build a strong foundation.
To carry out repointing effectively, you will need several basic tools, including a pointing trowel, a plugging chisel or cold chisel, a jointing tool, a mortar board or hawk, and a stiff brush. Additionally, some optional but useful tools include a mortar raking tool, either manual or power-assisted, a mortar gun for larger areas, and a bucket trowel.
In terms of materials, a suitable mortar mix (either lime-based or cement-based), clean water, and a brick cleaner (if needed) are essential. When choosing the right mortar, it's important to consider the type of building: older or listed buildings typically require breathable and flexible lime mortar, while newer constructions generally use cement mortar, which must be matched carefully in strength and appearance to the existing mortar to ensure proper adhesion and durability.
Choosing the right tools and materials is the foundation of any successful repointing job. The quality and compatibility of your mortar, the condition of your tools, and even the type of building you're working on can all make a significant difference to the final result. To help you get started quickly and confidently, here's a handy reference table outlining everything you'll need.
Category | Item |
Basic Tools | Pointing trowel |
Plugging chisel or cold chisel | |
Jointing tool | |
Mortar board or hawk | |
Stiff brush | |
Optional Tools | Mortar raking tool (manual or power-assisted) |
Mortar gun for large areas | |
Bucket trowel | |
Materials | Suitable mortar mix (lime or cement-based) |
Clean water | |
Brick cleaner (if needed) | |
Mortar Selection | Lime mortar (for older or listed buildings) |
Cement mortar (for newer buildings, match strength) |
Before starting, ensure you wear protective gear, including gloves, goggles, and a dust mask. Lay down dust sheets to protect surrounding surfaces from debris. Use a stiff brush to clean the wall surface, removing any loose dirt or dust to ensure a clean working area.
If you're looking to formalise your skills or advance your career, Everything You Need To Know About A Bricklayer CSCS Card is a great next step.
Using a plugging chisel or a mortar raking tool, carefully rake out the old mortar to a depth of about 15 to 20mm. Avoid using angle grinders unless absolutely necessary, as they can damage the edges of the bricks. Make sure all loose material is completely removed to provide a solid base for the new mortar.
Brush out all remaining dust and debris with a stiff brush. To improve adhesion, lightly spray water into the joints to dampen them, but be careful not to soak the area, as excess moisture can weaken the mortar bond.
Prepare the mortar by mixing sand with cement or lime, depending on the type of building you are working on. The mix should be firm and workable, not runny. Allow the mortar to rest briefly after mixing to improve its consistency and workability.
Using a pointing trowel, press the mortar firmly into the joints, starting with the horizontal (bed) joints before moving to the vertical (perp) joints. Compact the mortar well to remove any air pockets and ensure strong adhesion to the bricks.
Once applied, use a jointing tool to finish the mortar, matching the existing style of the wall, such as flush, weather-struck, or recessed joints. Neaten the joints while the mortar is still slightly workable for a clean, professional look.
Allow the mortar to cure slowly by protecting it from direct sunlight and rain. Mist the surface with water if needed to keep it damp during the initial curing phase. After the mortar has set, brush off any loose residue and clean the brick faces gently with a dry brush to complete the job.
Avoid common pitfalls and errors by reviewing our article on Common Bricklaying Mistakes (And How to Fix Them)
Repointing brickwork is one of the most effective ways to preserve the structure and appearance of your property. By understanding when repointing is necessary, selecting the appropriate materials, and following best practices step-by-step, you can avoid common mistakes that lead to costly repairs. Whether you're tackling a minor repair or maintaining a larger wall, proper preparation, technique, and timing are key to achieving long-lasting results. With the right tools and know-how, you can protect your brickwork for decades to come.
The Bricklaying NVQ Level 3 course offers advanced training to help you become a qualified bricklayer.
When done properly, repointing can last anywhere from 30 to 50 years depending on weather conditions and the quality of materials used.
You should remove mortar to a depth of around 15 to 20mm to ensure a strong bond with the new mix.
Generally no, unless your property is listed or in a conservation area. Check with your local authority if in doubt.
It's not recommended due to frost risks and poor curing conditions. If necessary, ensure the work area is adequately protected.
Lime mortar is better for older buildings as it's more flexible and breathable. Cement mortar is harder and better suited to modern construction.
If you're interested in advancing your skills beyond repointing and bricklaying basics, pursuing NVQ qualifications is a great way to build your expertise and qualify for various CSCS cards.
Level 2 NVQs | Level 3 NVQs |
These NVQs are typically completed through on-site assessments, allowing you to gain your qualification while continuing to work. Whether you want to enhance your bricklaying skills or explore related trades, pursuing these NVQs can open new doors and help you stay competitive in the construction industry.
Courses
Upskill with job-ready training.
Mock Tests
Measure your learning progress.
Create an online video course, reach students across the globe and earn money