On This Page
July 19, 202611 min read
Did You Know Germs Can Hide In Plain Sight?
We often think of dirt as something we see, like crumbs on a counter or stains on a surface. But the real danger lies in the germs and bacteria we cannot see. These can quietly accumulate on kitchen surfaces, door handles, tools, and even the objects we touch daily.
Keeping your kitchen clean is not just about appearance; it is about preventing food contamination, protecting health, and creating a safe environment for everyone. And this applies far beyond kitchens. Whether you work in a restaurant, clinic, office, or factory, a clean workplace is essential for health, safety, and efficiency.
That is why its essential to understand the 6 stages of cleaning, a simple yet powerful process used across industries to ensure spaces are not only clean but also safe.
Before we move on to the 6 stages of cleaning, it's essential to understand the differences between cleaning, disinfecting, and sanitising. These terms are often used interchangeably; however, they serve distinct purposes.
Understanding the difference helps you choose the correct method according to your requirements, ensuring that you not only clean the surface but also make it safe and hygienic.
Understanding the difference between cleaning, disinfecting, and sanitising is essential for maintaining hygiene, especially in environments where safety matters most.
The visual below explains how each process works and why all three are equally important in achieving a spotless and safe space.
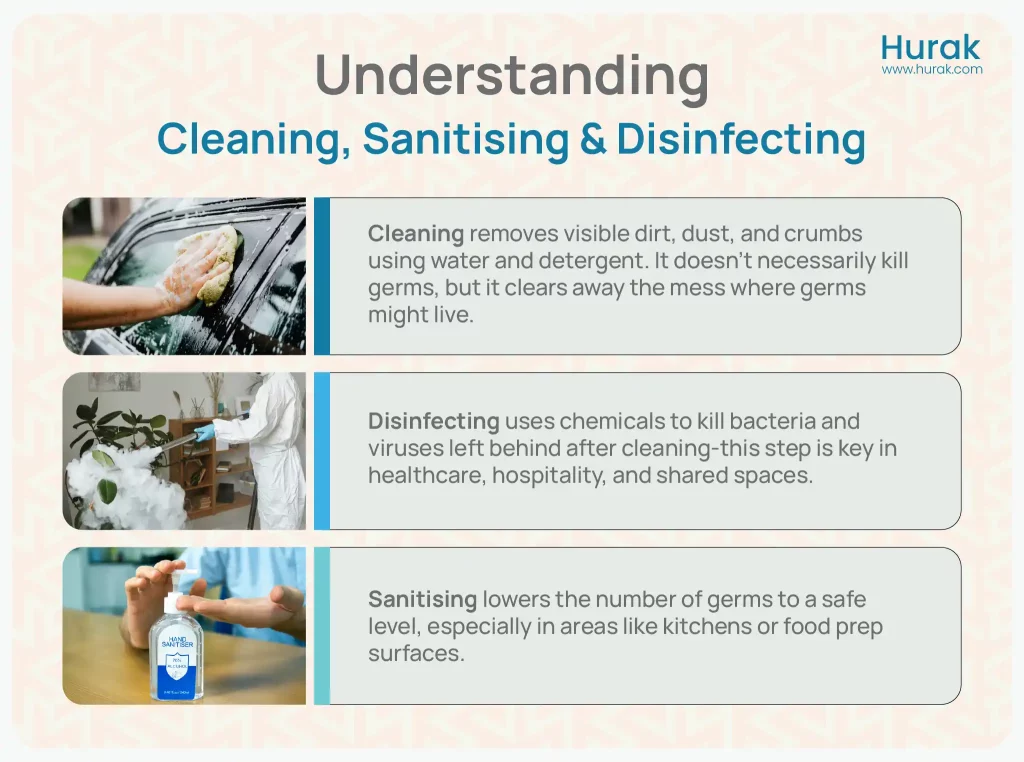
To put it simply, clean to remove, disinfect to kill, and sanitise to make it safe. Each one plays a unique role in keeping your environment truly clean.
Understanding the difference between cleaning, disinfecting, and sanitising is just the first step. The real challenge lies in applying them effectively in real-world settings, like a busy kitchen, a healthcare facility, or any shared workspace.
That's where the 6 stages of cleaning come in. This structured method ensures that every surface is not only visibly clean but also hygienically safe, helping prevent the spread of germs and keeping people protected.
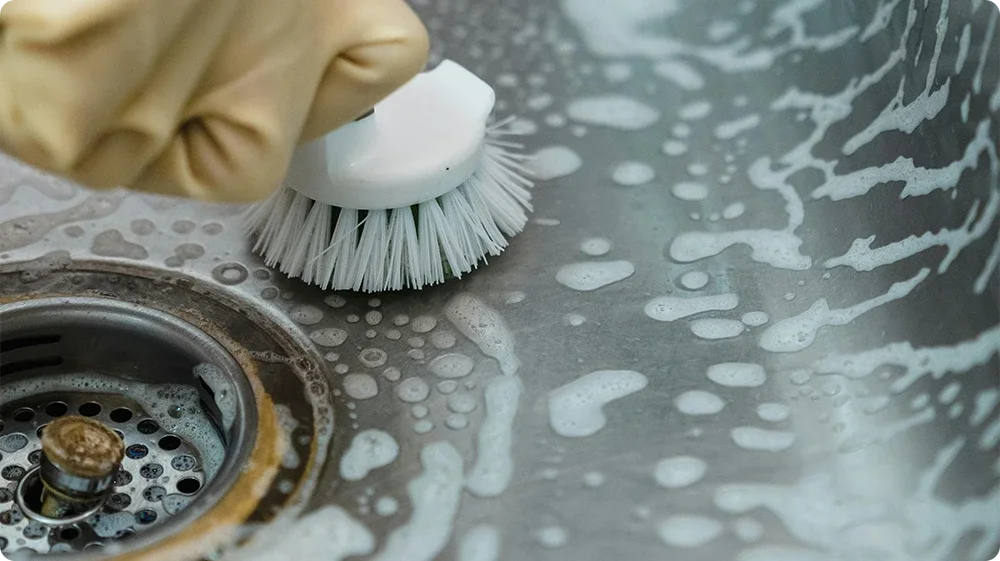
A quick wipe with a cloth might remove visible dirt, but it's not always enough to kill germs or stop the spread of illness.
To truly clean and disinfect a surface, a proper method must be followed. This simple, step-by-step process helps ensure every surface is not only clean but also safe.
It removes hidden germs, reduces health risks, and helps meet hygiene standards, especially in places where food is handled or equipment is shared.
Understanding these 6 stages is especially important if you work in:
Food handling or hospitality
Healthcare or caregiving
Beauty, salon, or tattoo industries
Cleaning services or facilities management
Or any job where cleanliness affects people's safety
Stay compliant and protect your workplace by taking our certified Food Hygiene Level 2 course. Practical, accredited, and designed for busy professionals.
Level 2 Food Hygiene and Safety for Catering
Level 2 Food Hygiene and Safety for Manufacturing
Level 2 food hygiene and safety for retail
Level 2 Food Hygiene and Safety
Whether you're in a commercial kitchen, a healthcare setting, or simply maintaining cleanliness at home, following a structured cleaning process ensures you're doing more than just shifting dirt around.
Understand the 6 stages of cleaning with real-life examples and learn how to apply them effectively in everyday situations to keep your environment safe and hygienic.
What does it mean:
Start by clearing away anything you can physically see, like food scraps, dust, hair, or packaging.
Example:
In a kitchen, this could mean wiping crumbs off a cutting board after making sandwiches.
In an office, it might be brushing dust and bits of paper off your desk before cleaning it.
Why it matters:
If you skip this step, dirt and debris can block your cleaning products from working effectively in the following stages.
What does it mean:
Now you apply warm water and detergent to scrub away stubborn messes, like sticky sauces, oil, or dried spills.
Example:
In a restaurant kitchen, this might be scrubbing greasy residue off a grill or stove.
In a clinic, detergent could be used to clean off any visible stains on a treatment bed.
Why it matters:
This step removes the stuff that soap can lift, but water alone can't handle. It prepares the surface for disinfection.
What does it mean:
Rinse the area with clean water to remove the loosened grime and leftover detergent from stage 2.
Example:
After scrubbing a chopping board with detergent, rinse it under running hot water.
In an office pantry, rinse the sink basin after cleaning it with soap and water.
Why it matters:
Leftover soap or dirt can react with disinfectant and reduce its power, so rinsing is key before moving on.
What does it mean:
Now it's time to kill harmful bacteria and viruses using a disinfectant or sanitiser. Apply and leave it for the right amount of time. To learn more about maintaining hygiene standards in food safety, refer to our comprehensive guide on HACCP principles.
Example:
Spray an antibacterial solution on kitchen counters after cleaning them, and let it sit for 5-10 minutes as per instructions.
In a salon, disinfectant spray on tools like scissors or tweezers.
Why it matters:
Even if something looks clean, it could still carry dangerous germs. Disinfection removes what you can't see.
What does it mean:
Some disinfectants need to be rinsed off with clean water to avoid leaving harmful chemical residues.
Example:
In a food preparation area, rinse countertops after disinfection to ensure that no chemical residue ends up in the food.
In a child care centre, rinse toys after disinfecting to prevent chemicals from getting on children's hands or mouths.
Why it matters:
Leftover disinfectant can be toxic if ingested or touched, especially around food, children, or sensitive skin.

What does it mean:
Dry the surface completely either by letting it air dry or by using a clean, disposable cloth.
Example:
In a bakery, leave trays to air dry after washing and disinfecting.
In an office kitchen, use a paper towel to dry the sink or counter after final rinsing.
Why it matters:
Germs thrive in damp places. If the surface stays wet, it can become contaminated again quickly.
By following all 6 stages - from pre-cleaning to drying - you go beyond surface-level cleaning and ensure a truly hygienic environment.
This methodical approach not only improves safety and hygiene but also helps meet compliance standards in food handling, healthcare, and other high-risk settings. Mastering these stages is a simple and effective way to prevent the spread of harmful germs and protect those around you.
While the 6 stages of cleaning provide a structured process, their effectiveness depends on proper preparation. Before you begin the actual cleaning steps, it's important to prepare appropriately.
The steps below help you set up correctly, ensuring your cleaning process is efficient, compliant, and thorough even in demanding environments.
If you are cleaning as part of your job, you likely have a cleaning rota or a risk assessment in place. Stick to it. These tools make sure:
You're cleaning the right areas at the right time
High-risk zones (like food prep areas or shared surfaces) are not missed.
The whole process runs smoothly and safely
Every job needs the right tools, and cleaning is no different.
Choose cleaning products that are:
Effective against the specific germs in your environment (e.g. food-borne bacteria in kitchens, viruses in healthcare)
Safe for the surface you're working on (some products can damage wood, stone, or stainless steel)
Never mix chemicals unless the label clearly says it's safe it can release dangerous gases.
Cleaning products come with instructions for a reason. Pay attention to:
How much to use (too much doesn't mean better)
How long should I leave it on the surface
Where and how to store it safely
If you're using strong chemicals, always check the manufacturer's guidelines, especially in commercial settings.
Before cleaning, wear proper personal protective equipment (PPE) like:
Gloves to avoid skin reactions from detergents and disinfectants
Aprons to prevent spills from reaching your clothes or skin
This is not just about comfort it's about your long-term health.
Always ensure the space you're cleaning is well-ventilated. Some cleaning chemicals release fumes that can cause:
Headaches
Breathing issues
Long-term respiratory problems
Open windows or turn on exhaust fans when needed.
To clean effectively and avoid cross-contamination:
Start from the cleanest area and move to the dirtiest
Clean top to bottom (so dust doesn't fall onto already-cleaned areas)
Use an S-shaped motion with your cloth, which helps cover the whole surface without re-contaminating it
Even if you wear gloves, wash your hands after cleaning. This prevents any lingering germs from spreading to food, surfaces, or other people.
Place hand sanitisers and disinfectant wipes in visible, easy-to-reach areas to promote regular hand hygiene.
Set a regular schedule for deep cleaning, especially for shared items like:
Kitchen appliances
Touchscreens, phones, and printers
Light switches and door handles
Encourage everyone in the workspace to:
Cover coughs and sneezes with a tissue or their elbow
Dispose of tissues properly
Disinfect any surface they may have sneezed or coughed on
Don't let rubbish pile up. Keep waste bins:
Covered
Cleaned regularly
Emptied frequently
Following these ten steps will not only make your cleaning routine more efficient but also help maintain a healthier, safer environment for everyone around you.
Getting these fundamentals right sets the stage for proper disinfection and long-term hygiene.
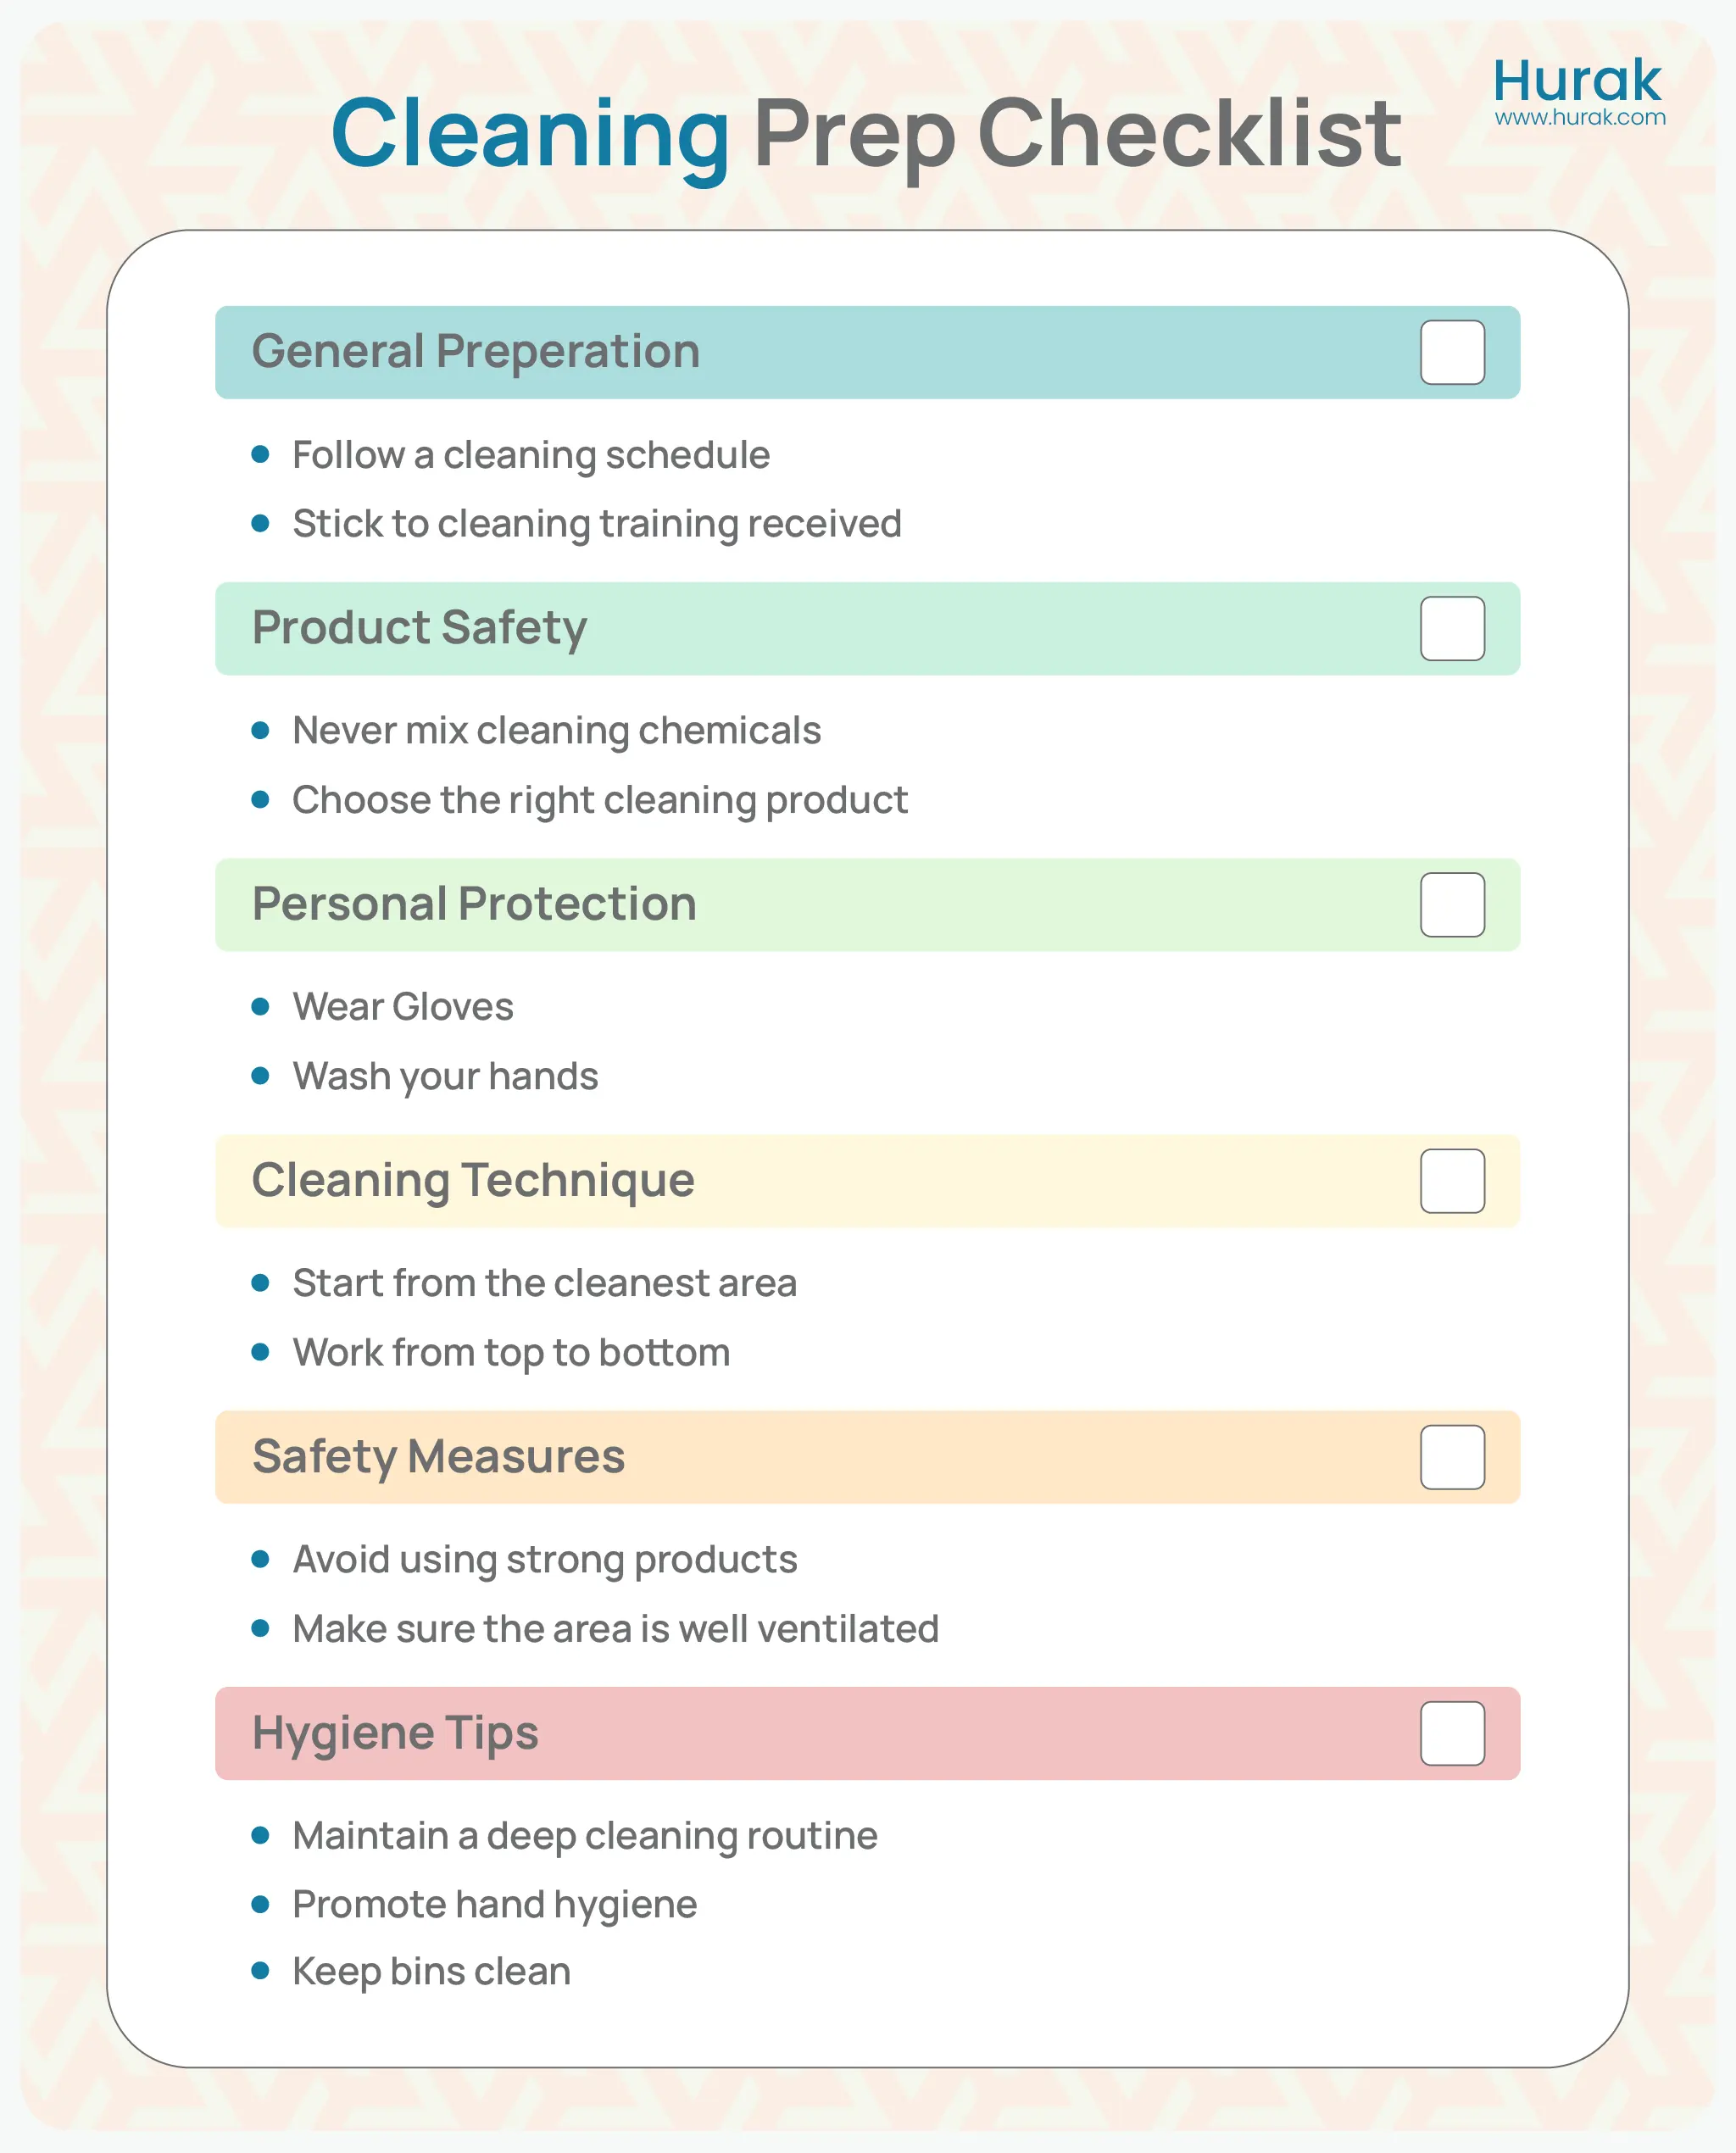
Use this quick checklist as a reminder to keep your cleaning process safe, effective, and fully compliant.
A clean workplace is crucial for maintaining health, ensuring safety, and promoting productivity.
By following the 6 stages of cleaning, you ensure that your environment is not only free from visible dirt but also hygienically safe for everyone.
These stages are applicable across a wide range of industries, including food production, hospitality, healthcare, and facilities management, and provide a reliable framework for meeting high hygiene standards and complying with regulations.

The cleaning process typically follows six key stages: pre-clean, leading clean, rinse, disinfection, final rinse, and drying. This ensures all surfaces are safe and free from contaminants.
There are several types of cleaning depending on the environment and need:
Routine cleaning: Regular, daily cleaning tasks to maintain hygiene.
Deep cleaning: More intensive cleaning is performed periodically to remove hidden dirt and contaminants.
Reactive cleaning: Immediate response to spills, accidents, or other forms of contamination.
Preventive cleaning: Scheduled cleaning to prevent the build-up of germs and maintain standards.
Understanding the type of cleaning required helps you choose the right products, tools, and methods.
Rinsing removes detergent and loosened dirt, preventing residue buildup that could interfere with disinfection or contaminate food.
The final rinse removes any remaining disinfectant using clean, potable water. This step is critical in food areas to prevent chemical residues.
Pre-cleaning involves removing loose dirt, food particles, or debris before using cleaning agents. It improves the efficiency of subsequent cleaning steps.
Drying is the final step where surfaces are allowed to air dry or are dried using clean cloths. This helps prevent microbial growth on damp surfaces.
In this stage, detergents are applied to remove grease, grime, and food residues. It's essential for breaking down contaminants before rinsing and disinfecting.
The cleaning and disinfection steps involve two critical actions:
Cleaning: Physically removing dirt, grease, and residues from surfaces using detergent and water.
Disinfection: Applying a disinfectant to kill harmful bacteria, viruses, and other microorganisms after cleaning.
Both steps are essential cleaning removes what you can see, while disinfection tackles what you can't
The last stage is drying. Surfaces must air dry or be dried with clean cloths to avoid moisture buildup, which can harbour bacteria.
Courses
Upskill with job-ready training.
Mock Tests
Measure your learning progress.
Create an online video course, reach students across the globe and earn money