Imagine you’re at home, and your baby suddenly stops breathing or becomes unresponsive. Panic sets in, but knowing how to perform baby CPR could mean the difference between life and death. In such emergencies, every second truly counts.
CPR, or cardiopulmonary resuscitation, is a lifesaving technique designed to restore breathing and circulation in infants and children when their heart or lungs stop working correctly. It involves a combination of chest compressions and rescue breaths that help keep oxygen flowing until professional help arrives.
In this guide, we’ll explain how to perform CPR on a child or baby step by step, including the correct compression depth, CPR ratio, rescue breaths, and ideal compression rate per minute. Whether you’re a parent, caregiver, teacher, or first aid learner, understanding these essential skills can give you the confidence to act quickly and calmly when it matters most.
What is CPR?
CPR (Cardiopulmonary Resuscitation) is an emergency lifesaving procedure used when someone’s heart or breathing has stopped. It combines chest compressions to keep blood circulating with rescue breaths to supply oxygen to vital organs, especially the brain.
When it comes to babies and young children, CPR must be performed differently from adults. A baby’s body is smaller and more fragile, which means that the pressure, depth, and breathing techniques must be adjusted carefully. Using adult force or techniques could cause harm rather than help.
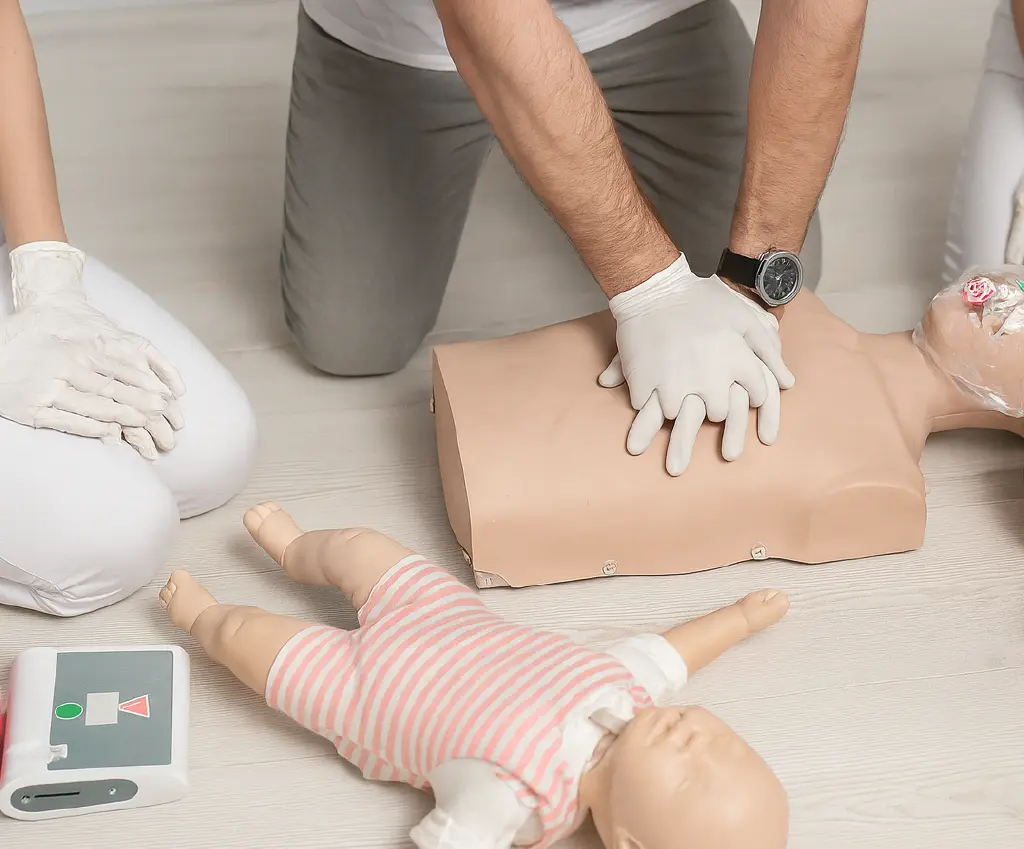
Baby resuscitation focuses on gentle but effective actions using only two fingers for compressions and soft puffs of air for rescue breaths. The goal is to restore normal breathing and circulation without overwhelming the baby’s delicate chest and lungs.
When Should You Perform CPR on a Baby or Child
You should perform CPR on a baby or child if they are unresponsive, not breathing normally, or show no signs of life. In these situations, their heart may have stopped beating effectively. and their body is no longer receiving enough oxygen. Acting quickly can make all the difference.
Before beginning CPR, always check the baby’s response by gently tapping their foot or shoulder and calling their name. If there is no reaction and you cannot see or feel normal breathing, start CPR immediately while someone calls for emergency help (999 in the UK).
It’s important to remember that babies and children can lose consciousness or stop breathing for different reasons, many of which are preventable with proper awareness and safety precautions.
Common Causes of Breathing Emergencies in Children
- Choking on food or small objects
- Drowning or water-related incidents
- Suffocation from bedding, toys, or accidental obstruction
- Severe allergic reactions (anaphylaxis)
- Electric shock or injury
- Serious infections or sudden illness
Understanding these risks and knowing how to respond with baby CPR can help save a child’s life before professional medical assistance arrives.
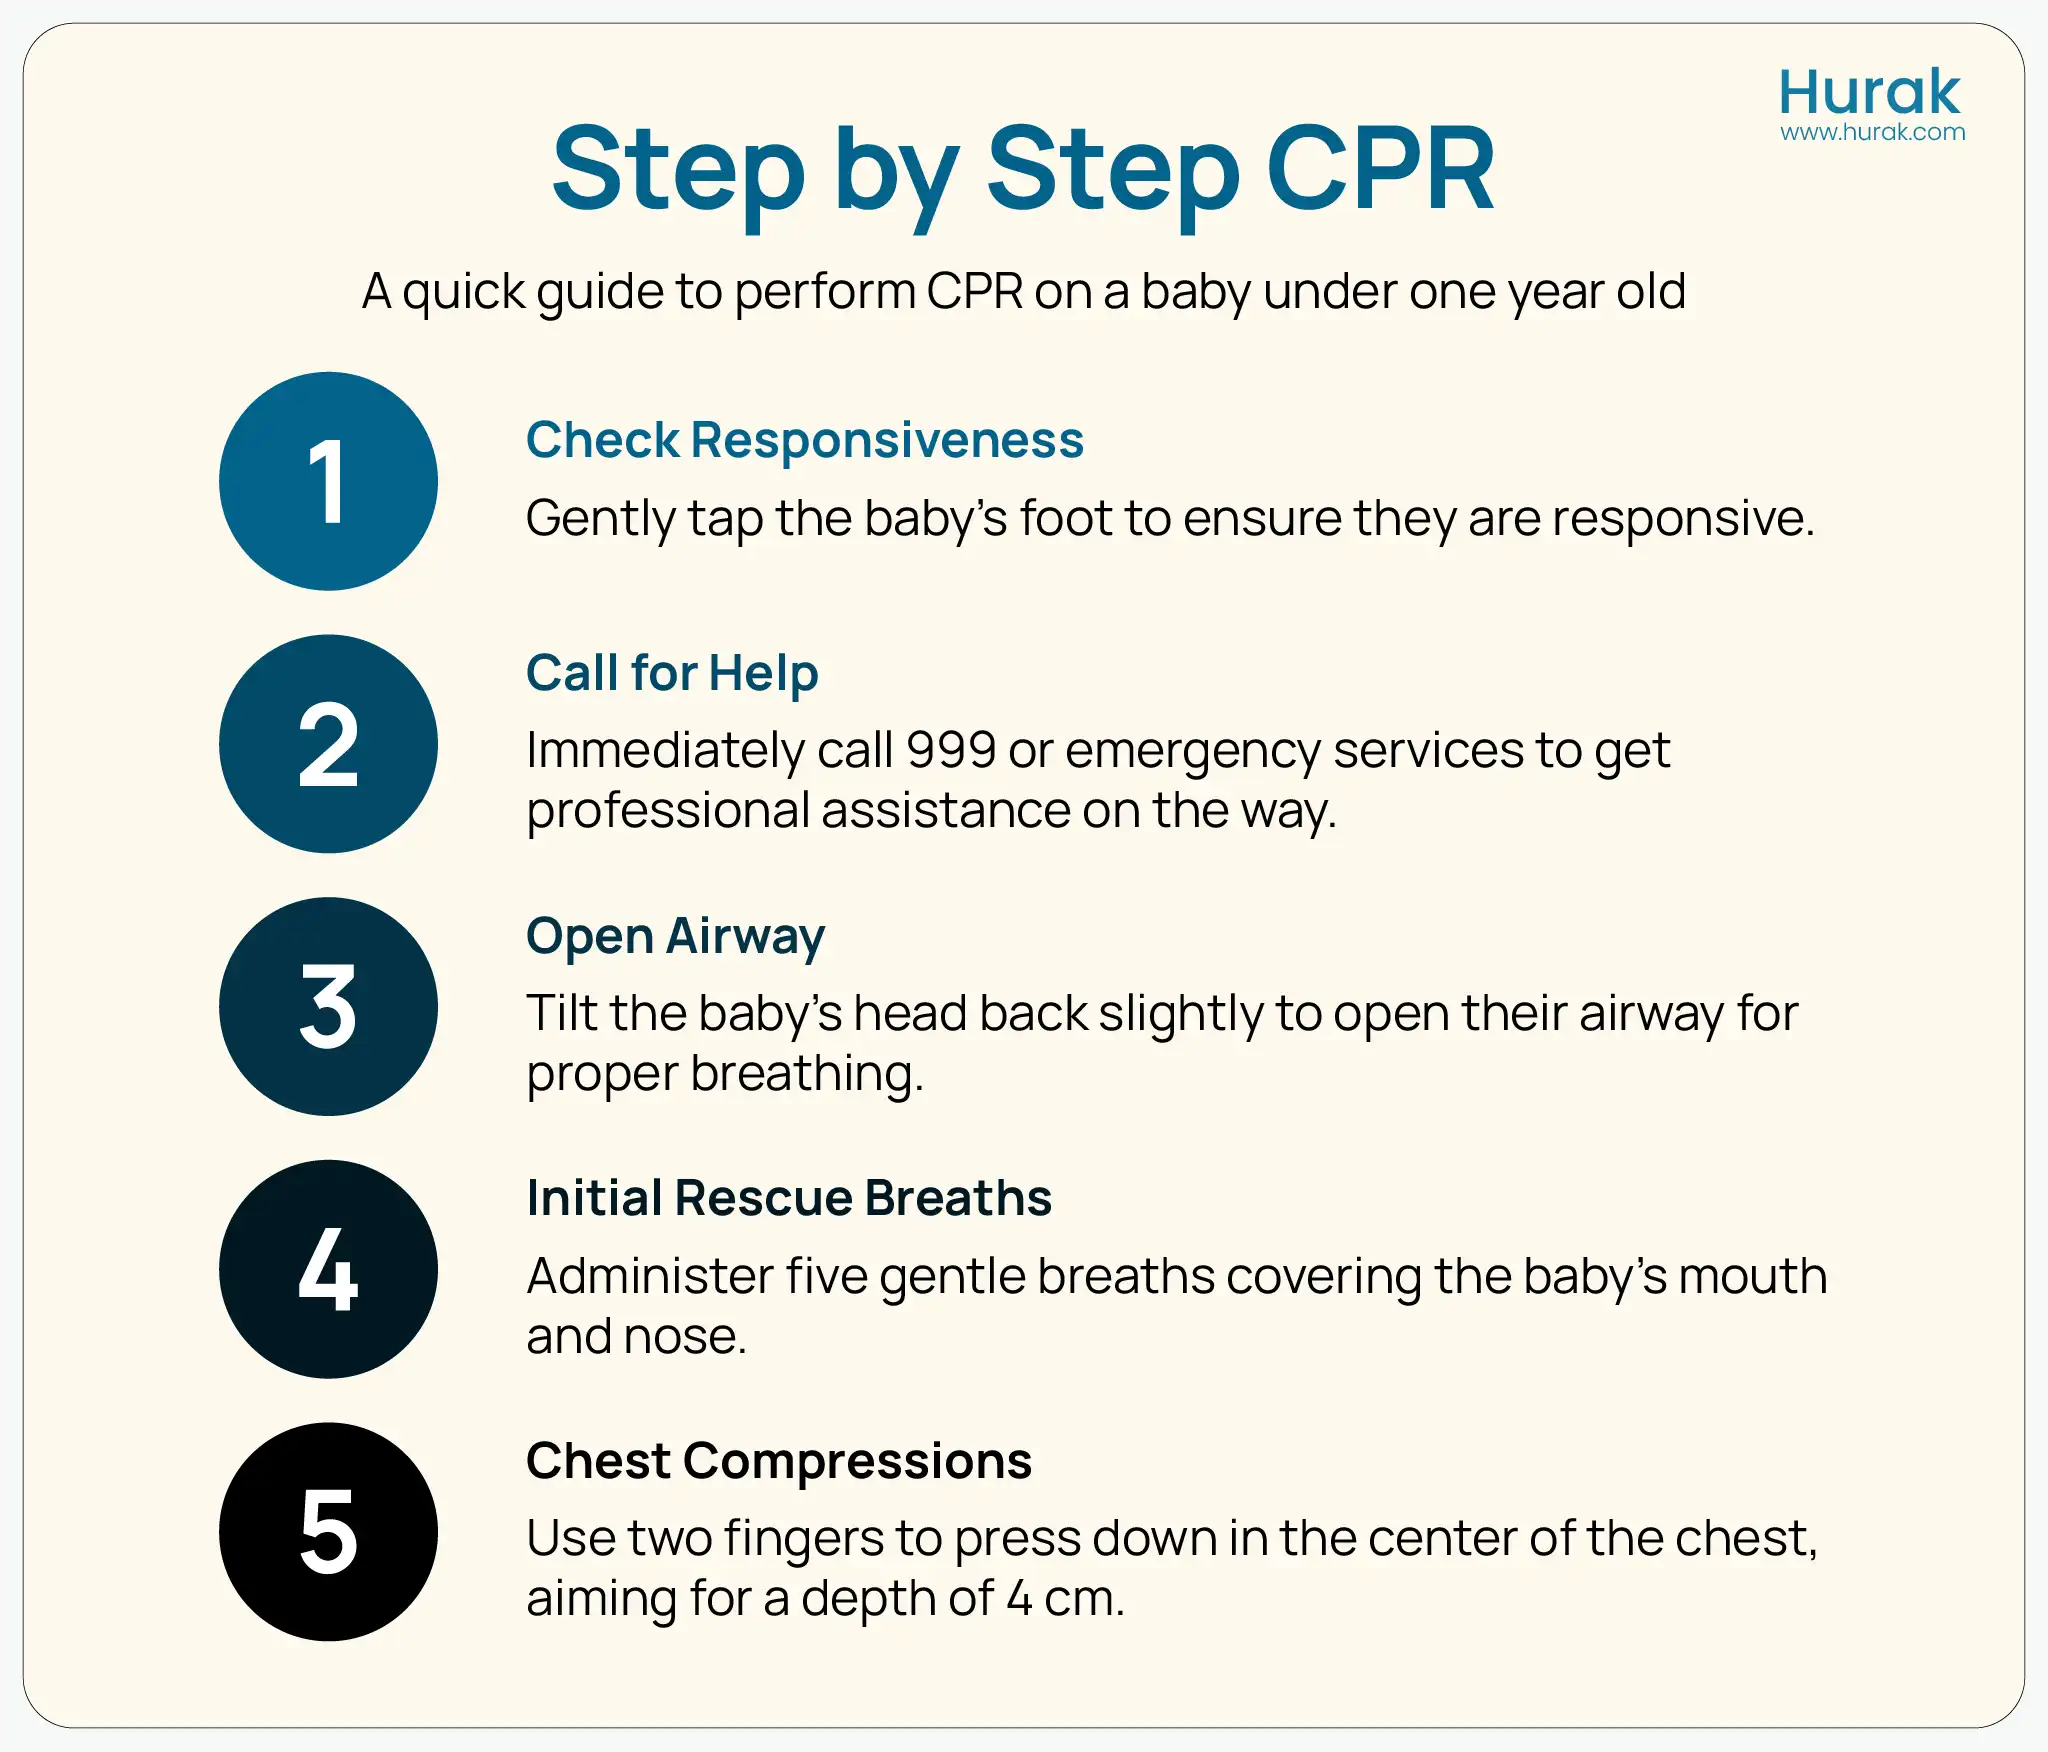
Step-by-Step Guide: How to Perform CPR on a Baby (Under 1 Year)
Performing CPR on a baby can feel overwhelming, but staying calm and following these steps can make a crucial difference. Always remember your goal is to keep oxygen circulating until emergency help arrives.
1. Check for Responsiveness and Breathing
- Gently tap the baby’s foot or shoulder and call their name.
- Look, listen, and feel for normal breathing for no more than 10 seconds.
- If the baby is not responding or breathing normally, proceed to the next step.
2. Call for Help or Emergency Services (999 in the UK)
- If someone is with you, ask them to call 999 immediately.
If you’re alone, give one minute of CPR before leaving to call for help. - If available, send someone to get an AED (defibrillator), though it’s rarely needed for babies.
3. Open the Airway
- Place the baby on a firm, flat surface.
- Gently tilt the head back and lift the chin. Be careful not to overextend the neck.
- Check for any visible blockage in the mouth or nose (remove it only if easy to reach).
4. Give Initial Rescue Breaths
- Cover the baby’s mouth and nose with your mouth, creating a seal.
- Give 5 gentle rescue breaths.
- Each breath should last approximately 1 second, just enough to allow the chest to rise.
- If the chest doesn’t rise, reposition the head and try again.
5. Start Chest Compressions
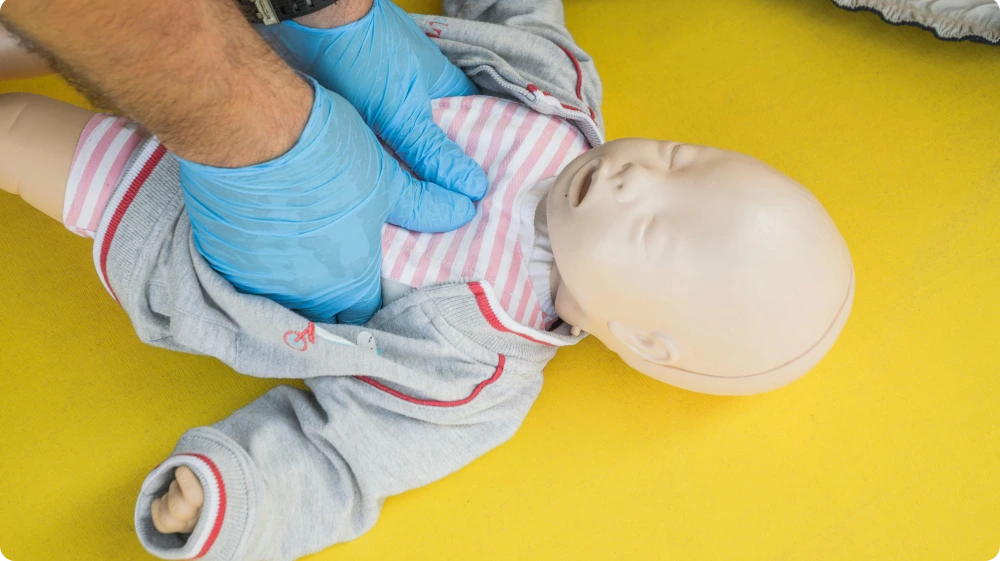
- Place two fingers in the centre of the baby’s chest, just below the nipple line.
- Press down to about 4 cm (1.5 inches); this is one-third of the chest depth and aligns with the correct CPR compression depth for child and baby.
- Perform compressions at a rate of 100–120 per minute, the correct compression rate per minute.
- Allow the chest to rise fully between compressions.
6. Alternate Between Compressions and Breaths
- Give 30 compressions followed by 2 rescue breaths (ratio 30:2).
- If two trained rescuers are present, use a 15:2 ratio, which is the standard child CPR ratio.
- Continue the cycle of compressions and breaths steadily and calmly.
7. Continue Until Help Arrives or the Baby Recovers
- Keep performing CPR until:
- The baby starts breathing normally.
- Emergency responders take over, or
- You become too exhausted to continue.
If the baby begins to breathe again, place them in the recovery position and monitor their breathing until help arrives. Performing baby resuscitation. Gain the confidence to act in an emergency.
Step-by-Step: How to Perform CPR on a Child (1 Year to Puberty)
Knowing how to perform CPR on a child can help you act quickly and confidently in an emergency. While the basic steps are similar to baby CPR, the technique and force used are slightly different because a child’s body is larger and stronger.
1. Check for Response and Breathing
- Gently tap the child’s shoulder and call their name loudly.
- Look for normal breathing, chest movement, and any response for up to 10 seconds.
- If the child doesn’t respond and isn’t breathing normally, start CPR immediately.
2. Call for Help
- Shout for assistance and ask someone to dial 999 right away.
- If you are alone, give one minute of CPR before calling emergency services.
- If an AED (defibrillator) is available, ask someone to bring it and follow the voice prompts.
3. Give 5 initial rescue breaths.
- Tilt your head back slightly and lift your chin to open your airway.
- Pinch your nose closed, cover your mouth with yours, and blow steadily for about 1 second per breath, watching for your chest to rise.
- Give five rescue breaths before starting compressions
4. Start Chest Compressions
- Place the heel of one hand in the centre of the child’s chest (use two hands for older or larger children).
- Press down about 5 cm (2 inches), roughly one-third of the chest’s depth.
- Maintain a steady rhythm of 100–120 compressions per minute, the correct compression rate per minute.
- Allow full chest recoil between compressions to let the heart refill with blood.
5. Alternate Between Compressions and Breaths
- Perform 30 compressions followed by 2 rescue breaths if you are the only rescuer.
- If two rescuers are present, use the child CPR ratio of 15:2.
- Keep your movements controlled and consistent; quality compressions are key to effective child resuscitation.
6. Continue CPR Until Help Arrives or the Child Recovers
- Keep going until:
The child starts breathing normally.
- Emergency responders take over, or
- You are too exhausted to continue.
If the child regains breathing, place them in the recovery position and monitor them closely until help arrives.
Common Mistakes to Avoid During Baby CPR
Even with the best intentions, it’s easy to make mistakes during an emergency. Performing CPR on a baby correctly requires calmness, care, and proper technique. Avoiding these common errors can make your actions far more effective and increase the baby’s chances of recovery.
Pressing Too Hard or Too Fast
A baby’s chest is delicate, so applying too much pressure can cause injury. Compress the chest to approximately 4 cm (1.5 inches), roughly one-third of the chest depth, and maintain a steady rhythm of 100–120 compressions per minute.
Forgetting to Check Breathing Before Starting
Always check for signs of normal breathing before beginning CPR. Sometimes a baby may be breathing irregularly but not completely stopped. Starting compressions too soon can cause unnecessary harm.
Not Tilting the Head Properly
A baby’s airway is narrow and easily blocked. Failing to gently tilt the head back and lift the chin can prevent air from reaching the lungs. Be careful not to overextend the neck, as this can also restrict airflow.
Giving Too Much Air During Rescue Breaths
Babies have tiny lungs. When giving rescue breaths, use only gentle puffs of air just enough to make the chest rise slightly. Blowing too forcefully can cause air to enter the stomach instead of the lungs.
Stopping CPR Too Early
Continue CPR until the baby starts breathing normally or professional help arrives. Stopping too soon can interrupt oxygen flow to vital organs. If you become tired, try to get help from another trained person to continue compressions.
Avoiding these mistakes during baby resuscitation helps ensure your efforts are as safe and effective as possible. With the right training and technique, you can make a life-saving difference in a critical moment.
Why Everyone Should Learn Baby and Child CPR

Emergencies can happen anywhere: at home, in the park, or even during playtime. In those crucial moments before professional help arrives, knowing baby and child CPR can make the difference between life and loss.
Learning how to perform CPR on a baby or child equips parents, teachers, and childcare professionals with the confidence to act quickly and effectively. Many cardiac arrests in children result from breathing problems rather than heart failure, meaning early rescue breaths and chest compressions can significantly improve survival chances.
For parents, this knowledge offers peace of mind, especially during those early, anxious years of a baby’s life. For nursery staff, teachers, and carers, it’s not only valuable; it’s often a professional requirement under health and safety or childcare regulations.
Learn how to perform CPR on babies and children.
At Hurak, we believe that first aid training should be practical, easy to understand, and accessible to everyone. Enrolling in a Paediatric First Aid course, Emergency First Aid at Work (EFAW) and First Aid at Work ensures you learn the correct CPR compression depth, CPR ratio and rescue breath techniques under expert guidance.
Conclusion
Knowing how to perform CPR on babies and children is a vital skill that can save lives. Emergencies involving infants and children often happen suddenly, and every second counts. By learning the correct compression depth, CPR ratio, and rescue breath techniques, you can act quickly and confidently, providing critical support until professional help arrives.
Whether you are a parent, carer, teacher, or childcare professional, understanding how to do CPR on a baby or child gives you the confidence to respond calmly in a crisis.
Remember, starting CPR even if you’re unsure is always better than doing nothing. Your actions could make the difference between life and death.
FAQs
How many initial rescue breaths should I give to a child?
Give 5 gentle rescue breaths before starting chest compressions. Each breath should last approximately 1 second and cause the chest to rise slightly.
What is the correct compression rate per minute for babies and children?
Perform compressions at a rate of 100–120 compressions per minute. A steady rhythm ensures adequate blood circulation.
What is the CPR compression depth for a child?
Press down about 1/3 of the chest depth: roughly 4 cm for babies and 5 cm for children.
How do you perform CPR on a baby?
Use two fingers for compressions, give gentle rescue breaths, and follow a 30:2 ratio (single rescuer) until help arrives.
What is the child CPR ratio for two rescuers?
When two rescuers are present, use 15 compressions followed by 2 rescue breaths.
How do I perform CPR on a child aged 1 year to puberty?
Place the heel of one or both hands on the centre of the chest, compress about 5 cm, and alternate with rescue breaths following the correct child CPR ratio.
Other First Aid Courses at Hurak
Ready to take your first aid knowledge further? Whether you’re renewing your certification, preparing to train others, or stepping up from basic to advanced skills, these courses will help you stay confident, compliant, and ready to act when it matters most.
- Emergency First Aid at Work (1 Day): A one-day course covering essential life-saving skills, including CPR, choking, bleeding control, and managing emergencies. Ideal for low-risk workplaces.
- First Aid at Work (3 Days): A comprehensive three-day training that prepares you to respond to a wide range of injuries and illnesses in the workplace. Meets HSE requirements for high-risk environments.
- Paediatric First Aid (2 Days): Designed for those working with infants and children. Covers child-specific emergencies like choking, febrile seizures, allergic reactions, and more.
- Basic First Aid Course: Perfect for general awareness. It covers basic skills like dealing with minor wounds, burns, shock, and fainting and is suitable for non-workplace settings.
- Advanced First Aid Training: Intended for those needing higher-level skills. Includes oxygen administration, advanced trauma management, and secondary assessments.
- First Aid for Mental Health: Focuses on identifying, understanding, and supporting individuals with mental health conditions. Covers stress, anxiety, depression, and early intervention strategies.