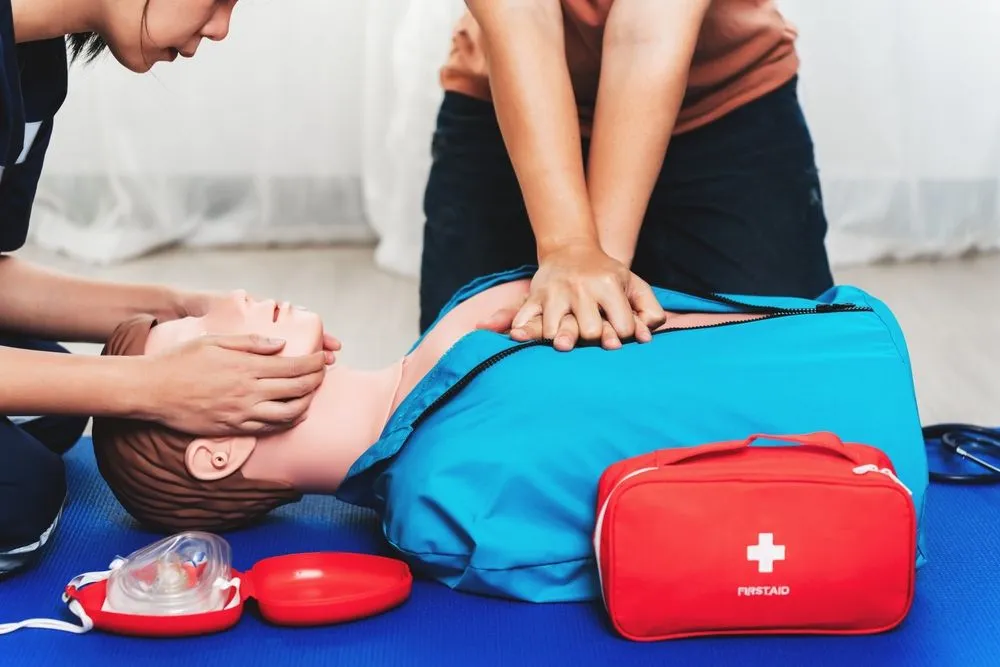
The secondary survey assesses the injuries of an awake, responsive person. It involves thoroughly examining the person’s health history, assessing the four vital signs and conducting a systematic head-to-toe examination. If we discover any injuries, we administer first aid accordingly. Finally, we document all our actions and findings of the entire process. A secondary survey is performed after completing the primary steps of first aid (remembered as DRABC).
What is the Difference Between a Primary and a Secondary Survey
First, we always do a primary survey to quickly find and stop any life-threatening injuries. Once the person is more stable, we do a secondary survey. This is where we gather more information about what might have caused the person’s injuries or illness.| Primary Survey | Secondary Survey |
| First examination | Second examination |
| Assesses and stabilities a person in life threatening conditions | Diagnoses and treats major injuries after stabilisation |
| Follows DRABC steps | Follow AMPLE steps |
| Does not involves a head to toe examination | Involves a head to toe examination |
| For responsive or unresponsive patients | Typically for responsive patients |
Why Do We Perform the Secondary Survey in First Aid
In a secondary survey, we look for injuries. We physically examine every part of the injured person’s body from head to toe. We check the front, back, sides, underneath, and top. This survey includes looking at the airway again and checking the lungs again.
When To Perform the Secondary Survey in First Aid
- If the person has more than one injury
- If it will take more than 20 minutes for medical help to arrive
- If you’re taking the person to get medical help

Ready to Learn More?
Put your knowledge of the secondary survey into practice by enrolling in a course today! Our First Aid courses offer complete training to help you handle critical situations. Whether you want to improve your skills or workplace safety, these courses help build confidence and expertise. View our Emergency First Aid at Work (EFAW) and Level 3 First Aid at Work courses. These courses meet the UK legal requirements and help you keep people safe.
How to Perform a Secondary Survey in First Aid
SAMPLE History Taking
Ask questions to learn more about the person’s medical background.
Remember the word “SAMPLE” to help you remember what to ask:
S stands for Symptoms: What the person feels, like pain or weakness.
A stands for Allergy: Do they have any allergies? These could be to nuts or medicines like penicillin or aspirin.
M is for Medication: Are they taking any medicines?
P is for Previous medical history: Do they have any ongoing health conditions like diabetes or epilepsy? Have they had any surgeries or injuries before?
L is for Last Meal: When did they last eat or drink?
E is for Event history: What happened, and where did it happen? Was it because of an illness or an accident? Talk to anyone nearby to find out more, and look for any clues that could help understand what happened. Also, check if they have any special jewellery that might have medical information on it.
Vital Signs
Check four critical things:
Level of Consciousness: Are they awake and aware?
Breathing: Are they breathing normally?
Pulse: What’s their heartbeat like?
Skin Condition and Temperature: Is their skin normal, and are they warm enough?
By conducting this secondary survey, we ensure that we’ve covered everything and helped the person in the best possible way.
Check the Level of Consciousness
Checking someone’s level of consciousness (LOC) helps us understand how aware they are. We often use the letters AVPU to do this:
- A for Alert: If someone is alert, they’re fully awake and can answer questions. They know who they are, where they are, and what time it is.
- V for Verbal: If they respond only when spoken to but aren’t fully alert, they’re in the verbal stage. They might seem confused and not know where they are or what’s happening.
- P for Pain: If they only react when you give them a little pain, like pinching them, they’re in the pain stage. They might move or make noises, but they cannot communicate appropriately.
- U for Unresponsive: If they’re not reacting, even to pain, they’re unresponsive. This is serious, and we need to act quickly to help them.
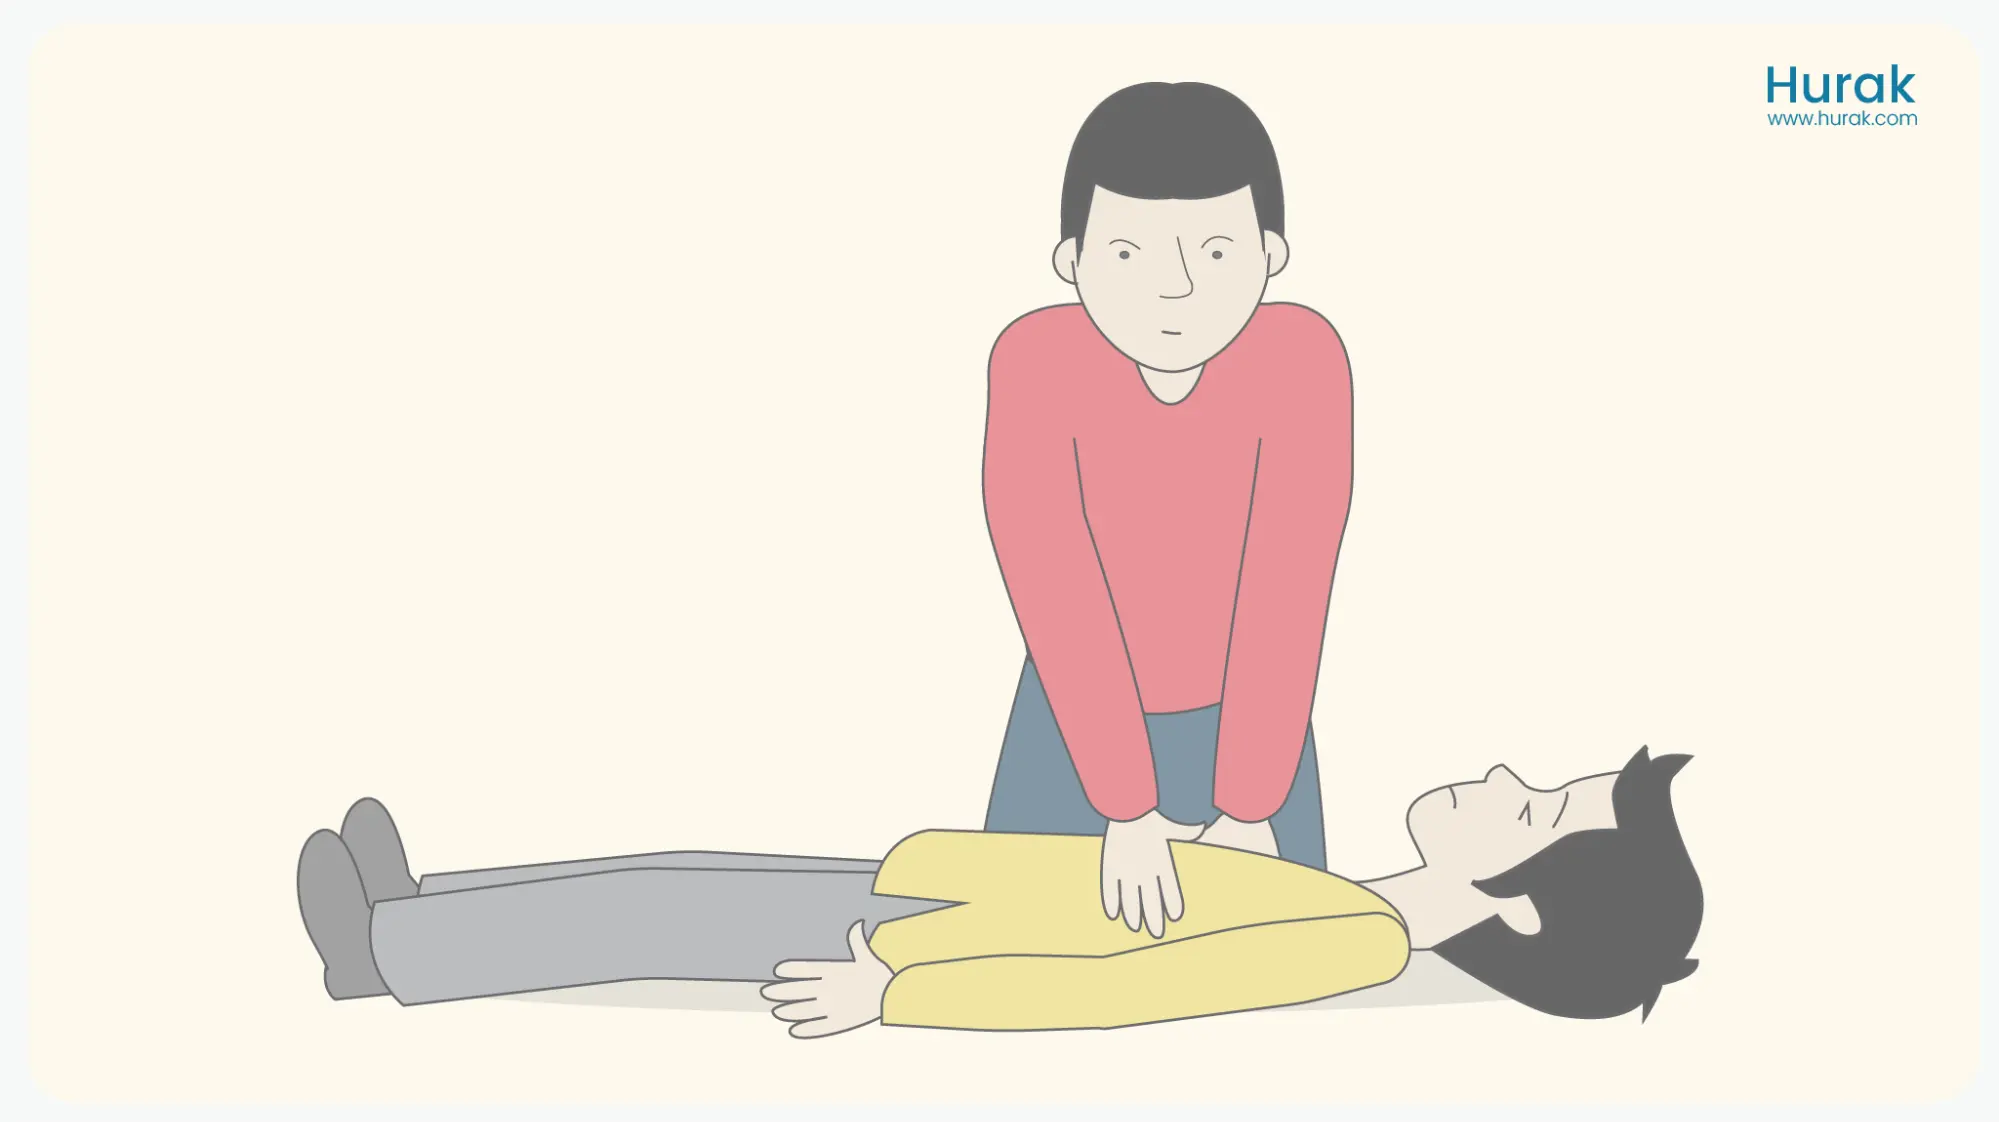
Remember, another quick way to check is to look at their eyes, listen to what they say, and see if they can follow simple commands like squeezing your fingers.
Breathing
To check someone’s breathing, watch their chest rise and fall for 30 seconds. You can also gently place your hand on their stomach to feel it. Count how many breaths they take in that time, and then double it to know how many breaths they take per minute. Here’s what’s expected:
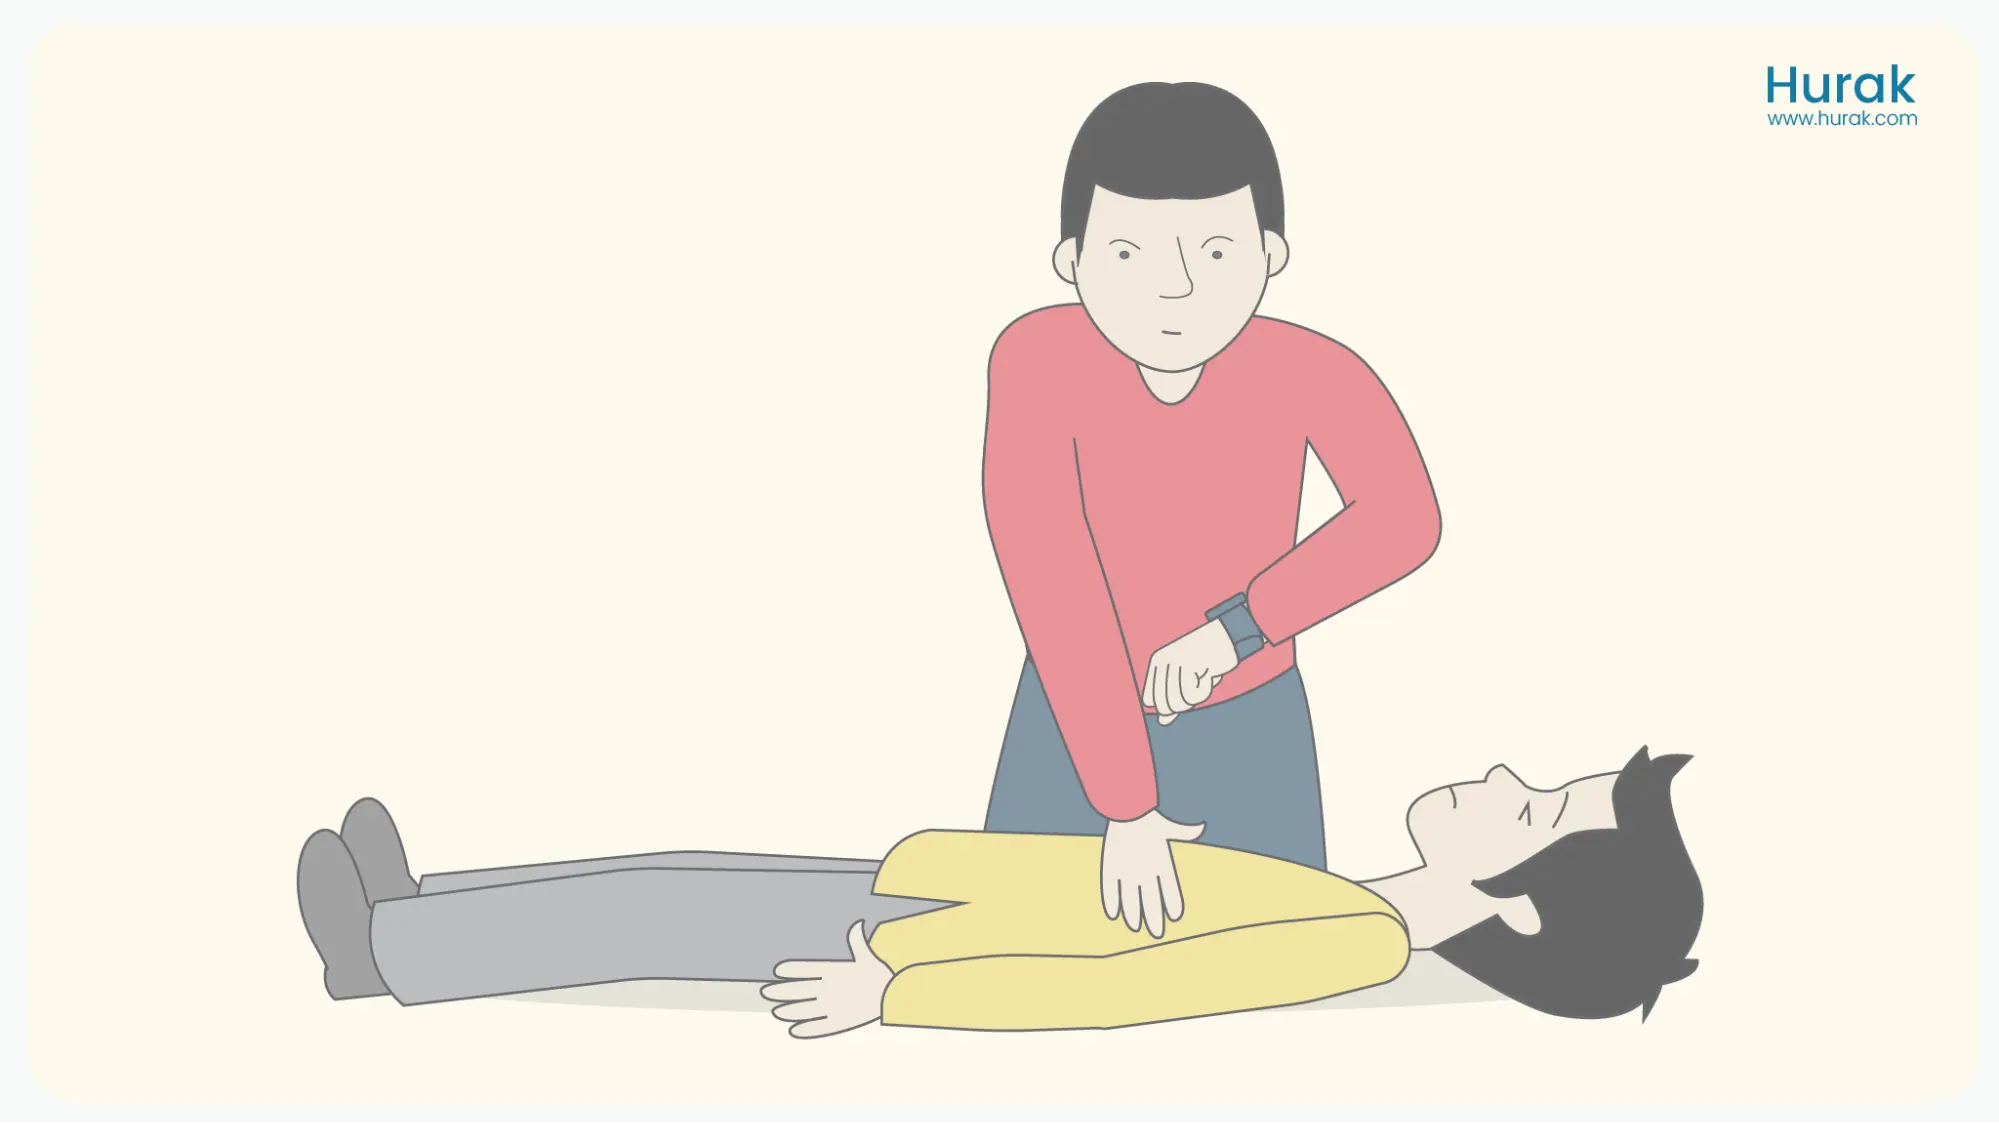
- For babies, breathing below 25 breaths is too slow, 30-50 is normal, and over 60 is too fast.
- For children: Below 15 is too slow, 20-30 is normal, and over 40 is too fast.
- For adults: Below 10 is too slow, 10-20 is normal, and over 30 is too fast.
Normal Breathing Rated (no. of breaths) | |
Infant | 30-50 |
Child | 20-30 |
Adult | 10-20 |
Pulse
Your pulse shows how often your heart beats in a minute. You can check it by feeling the person’s wrist, neck, or upper arm. Use two fingers and press gently until you feel the pulse. Count how many beats you feel in 30 seconds, then double it to get the beats per minute.
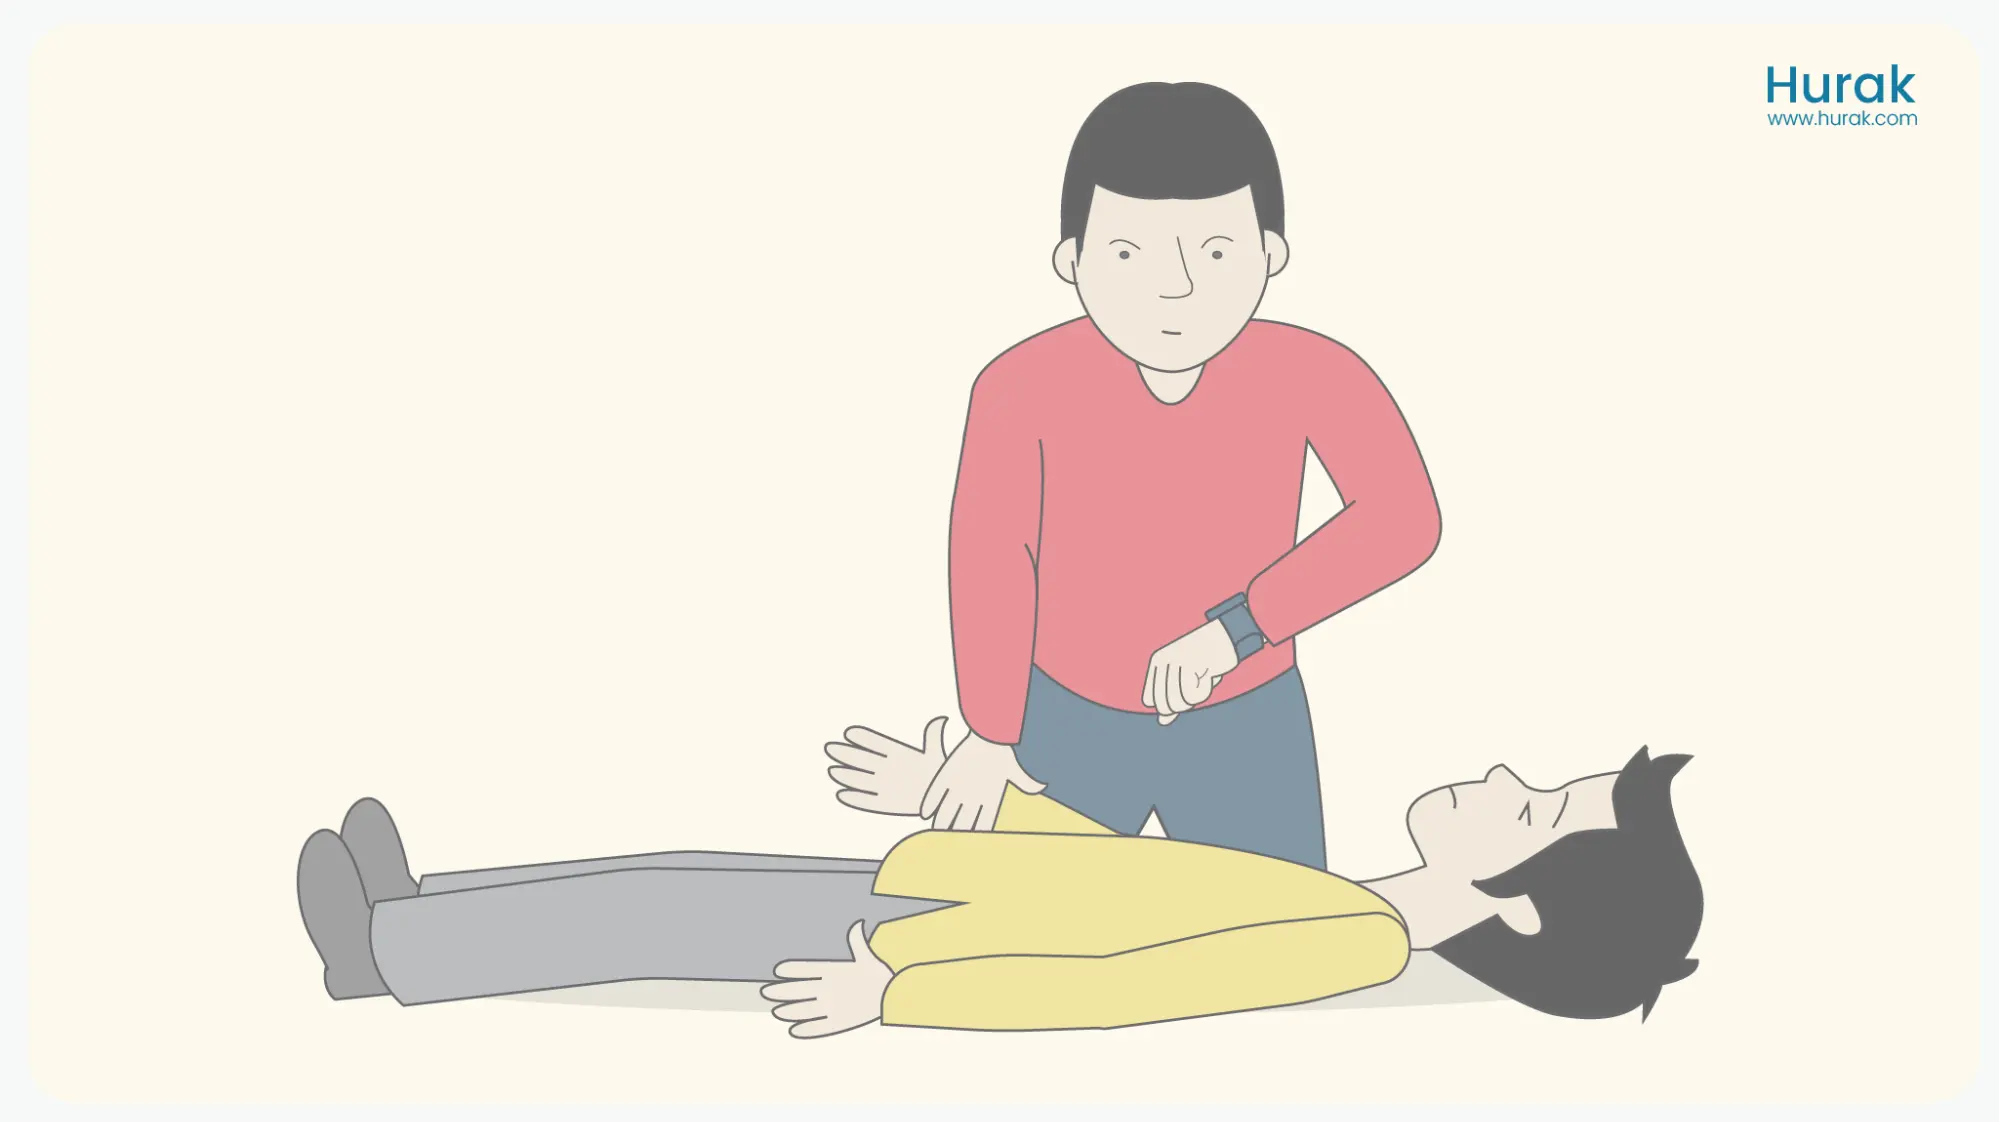
Normal Pulse Rates:
- For babies: A normal pulse range is between 120 and 150 beats per minute.
- For children: It can vary between 80 and 150 beats per minute.
- For adults: The average pulse rate is usually between 60 and 100 beats per minute.
Normal Pulse Rates (beats/min) | |
Infant | 120-150 |
Child | 80-50 |
Adult | 60-100 |
Skin Condition and Temperature
When we check someone’s skin, we’re looking at a few things:
- Temperature: Is their skin warm or cold?
- Colour: Does their skin look normal or pale?
- Dryness: Is their skin dry or wet/sweaty?
To check, gently feel their forehead and cheeks with your hand. If their skin is normal, it should feel warm and dry and be a regular colour. But if it’s pale, cold, and sweaty, it could mean they’re going into shock.
Head-to-Toe Examination
This is a thorough check of the person’s whole body for any injuries we might have missed earlier. Here’s how to do it:
- Before you start, ask if they feel any pain and explain what you will do.
- Talk to them throughout, & watch their face for any signs of pain.
- Keep going, and even if you find something, make a note and continue.
- Be respectful and only expose areas you need to check.
- Look for any bumps, bruises, or anything unusual.
- If they’re unconscious, look for any medical alert tags or jewellery.
- Always look before touching.
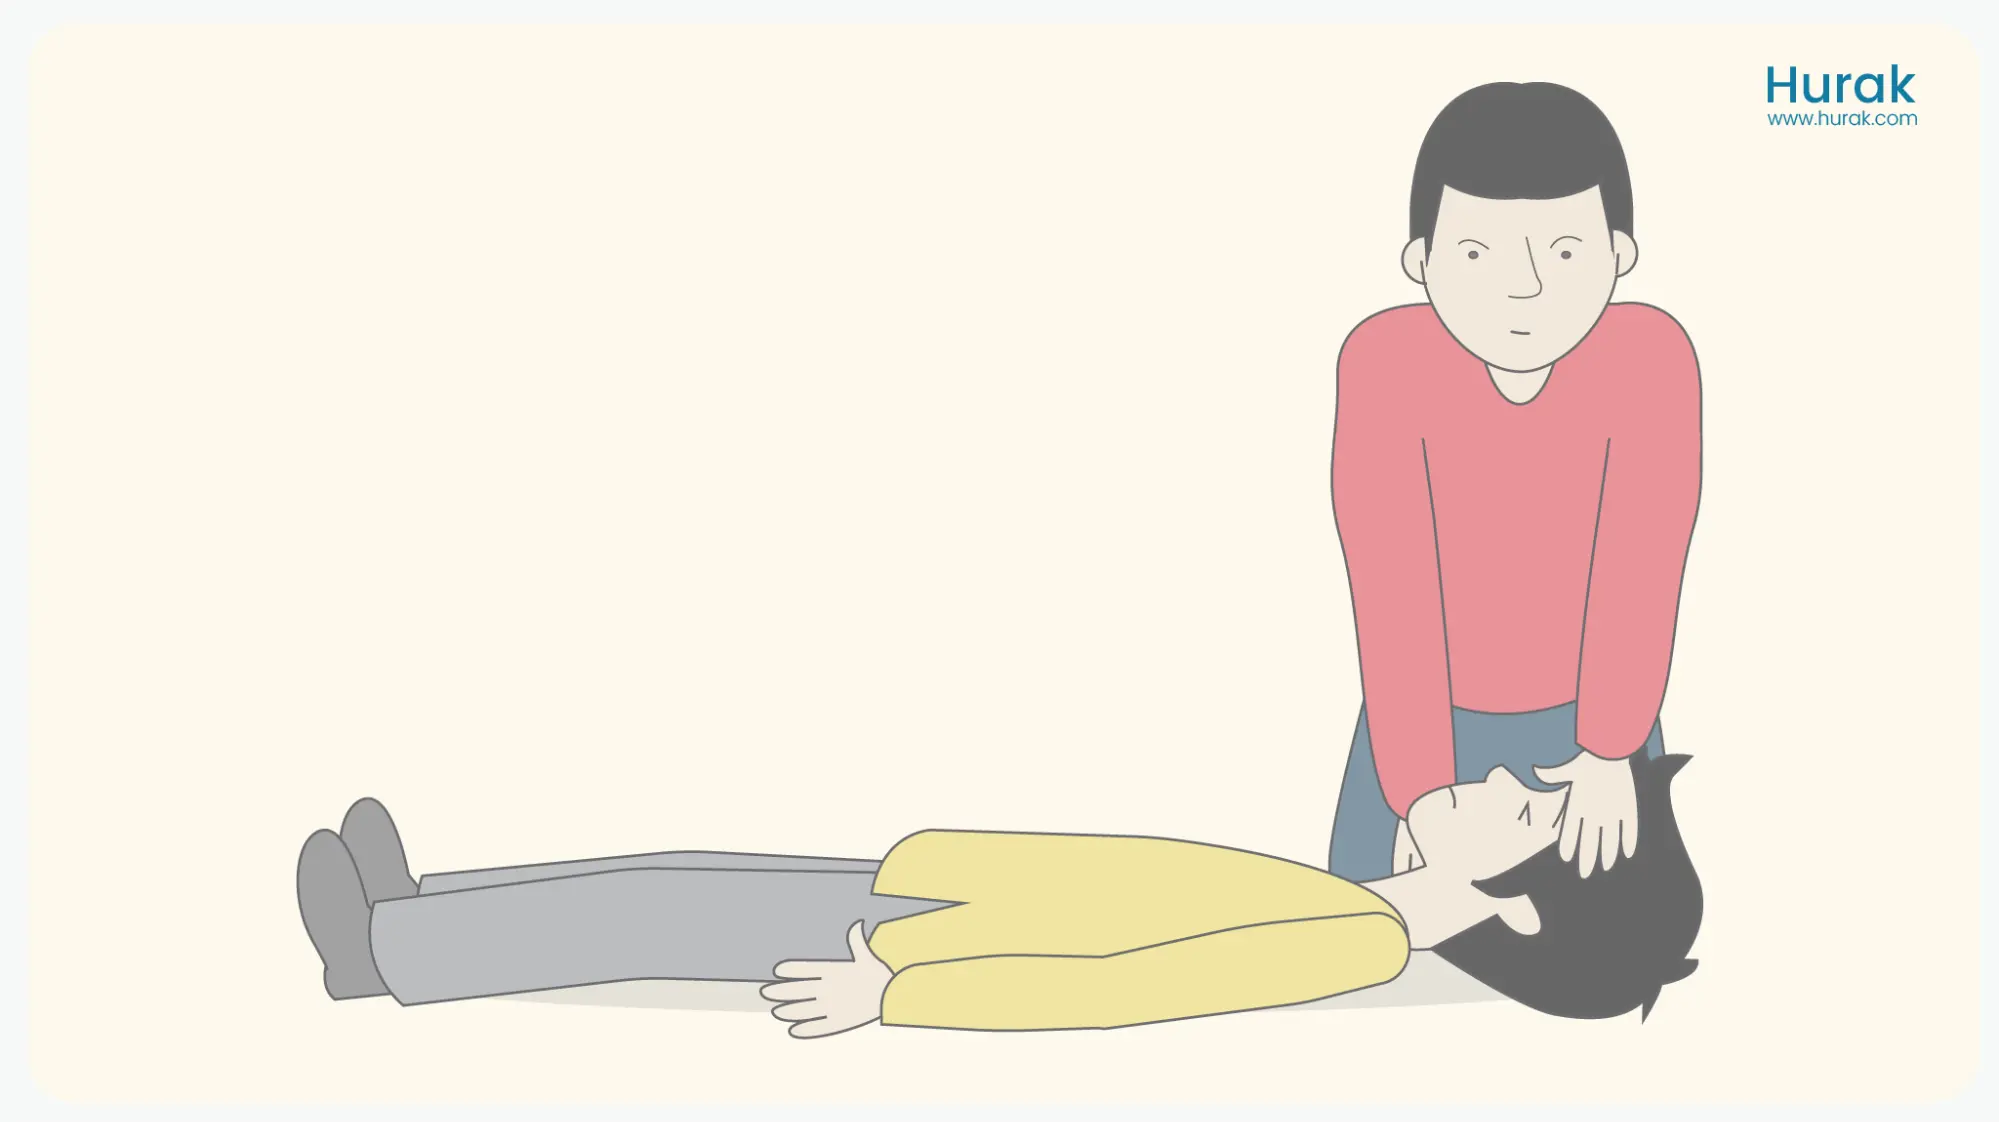
Let’s start at the head:
- Feel the skull for anything unusual.
- Check the ears for any fluid.
- Look at the eyes. Are the pupils the same size?
- Check the nose for any runny stuff.
- Look inside the mouth. Are the teeth okay? Are the lips a standard colour?
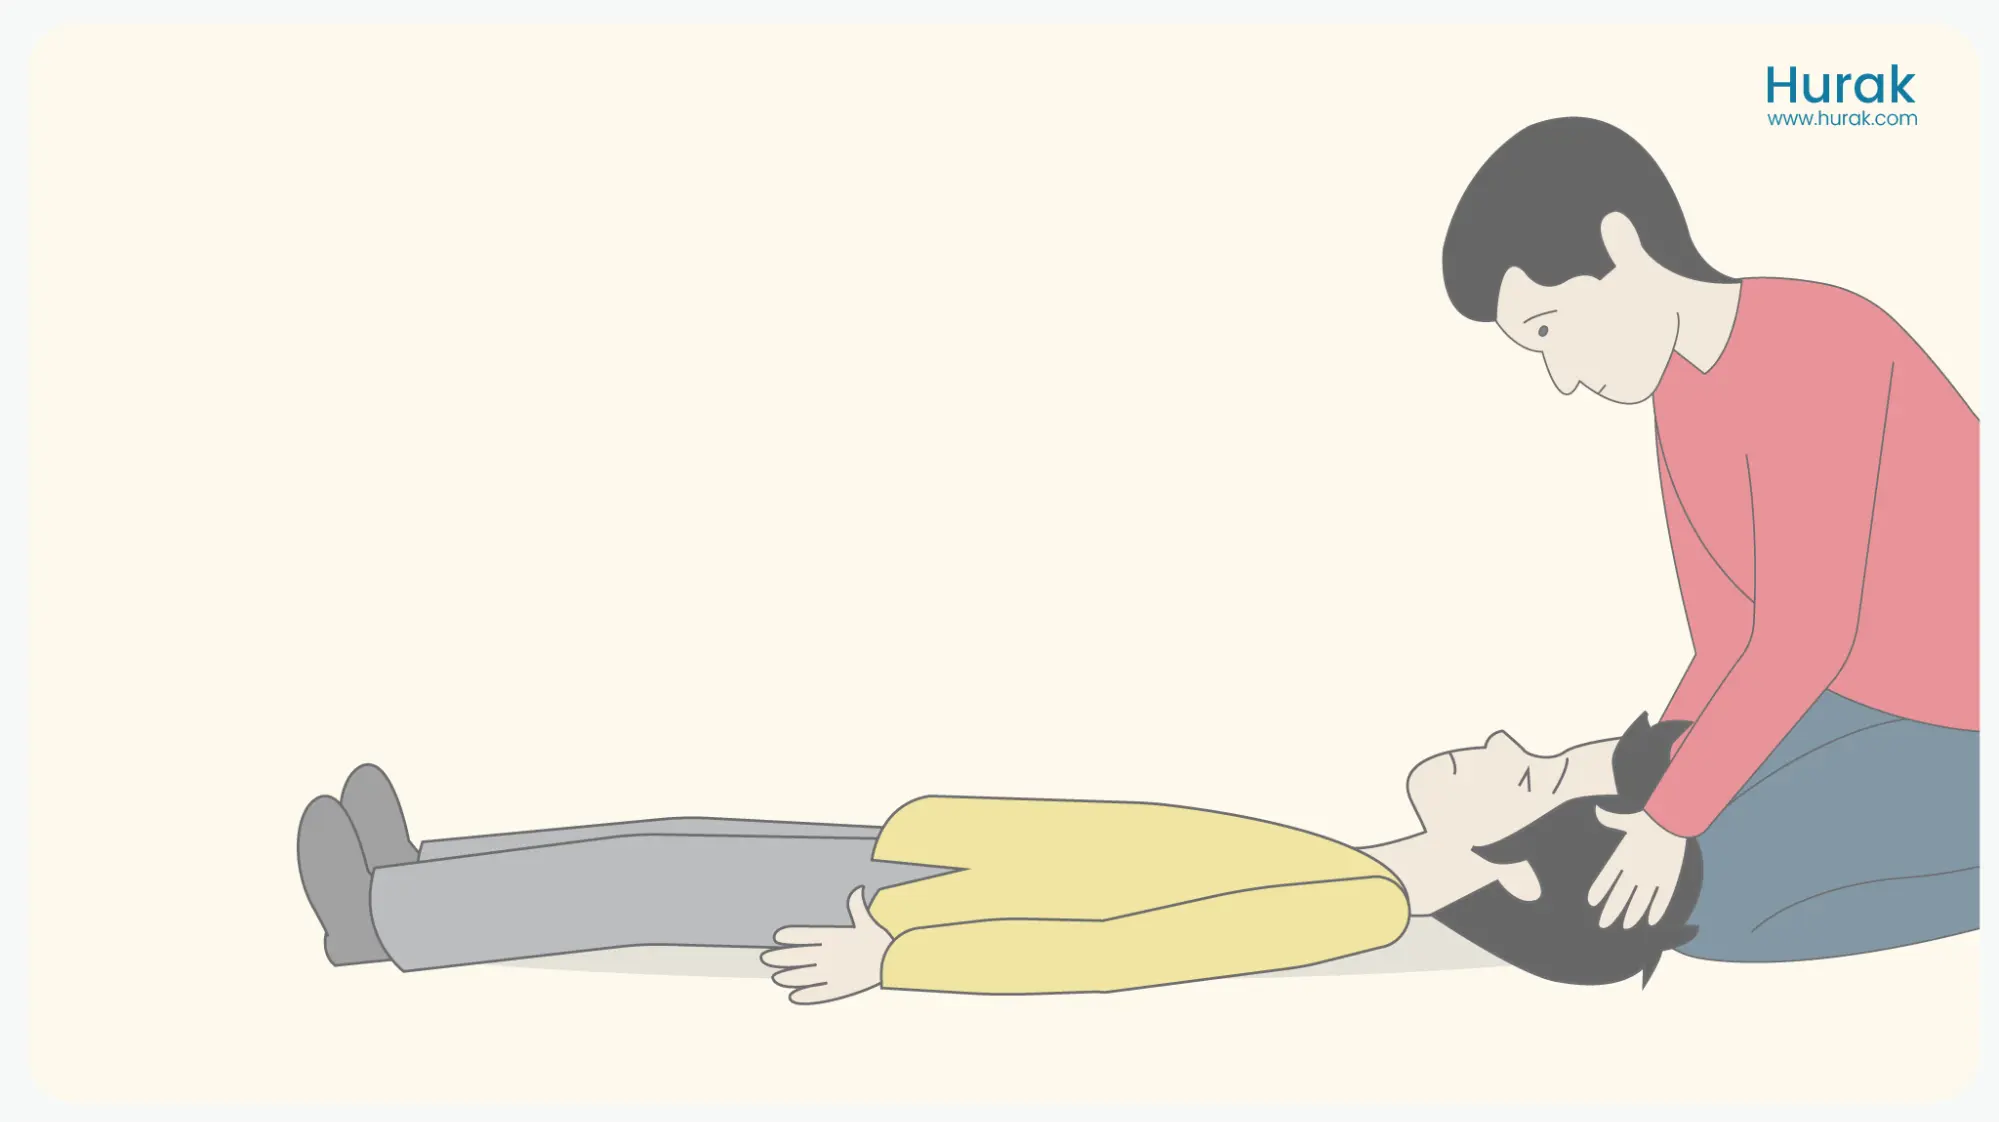
Now, let’s move to the neck:
- Check if the neck veins look big or bulging.
- See if they’re wearing a necklace with medical info.
- Feel the collarbones.
- Check both shoulders.
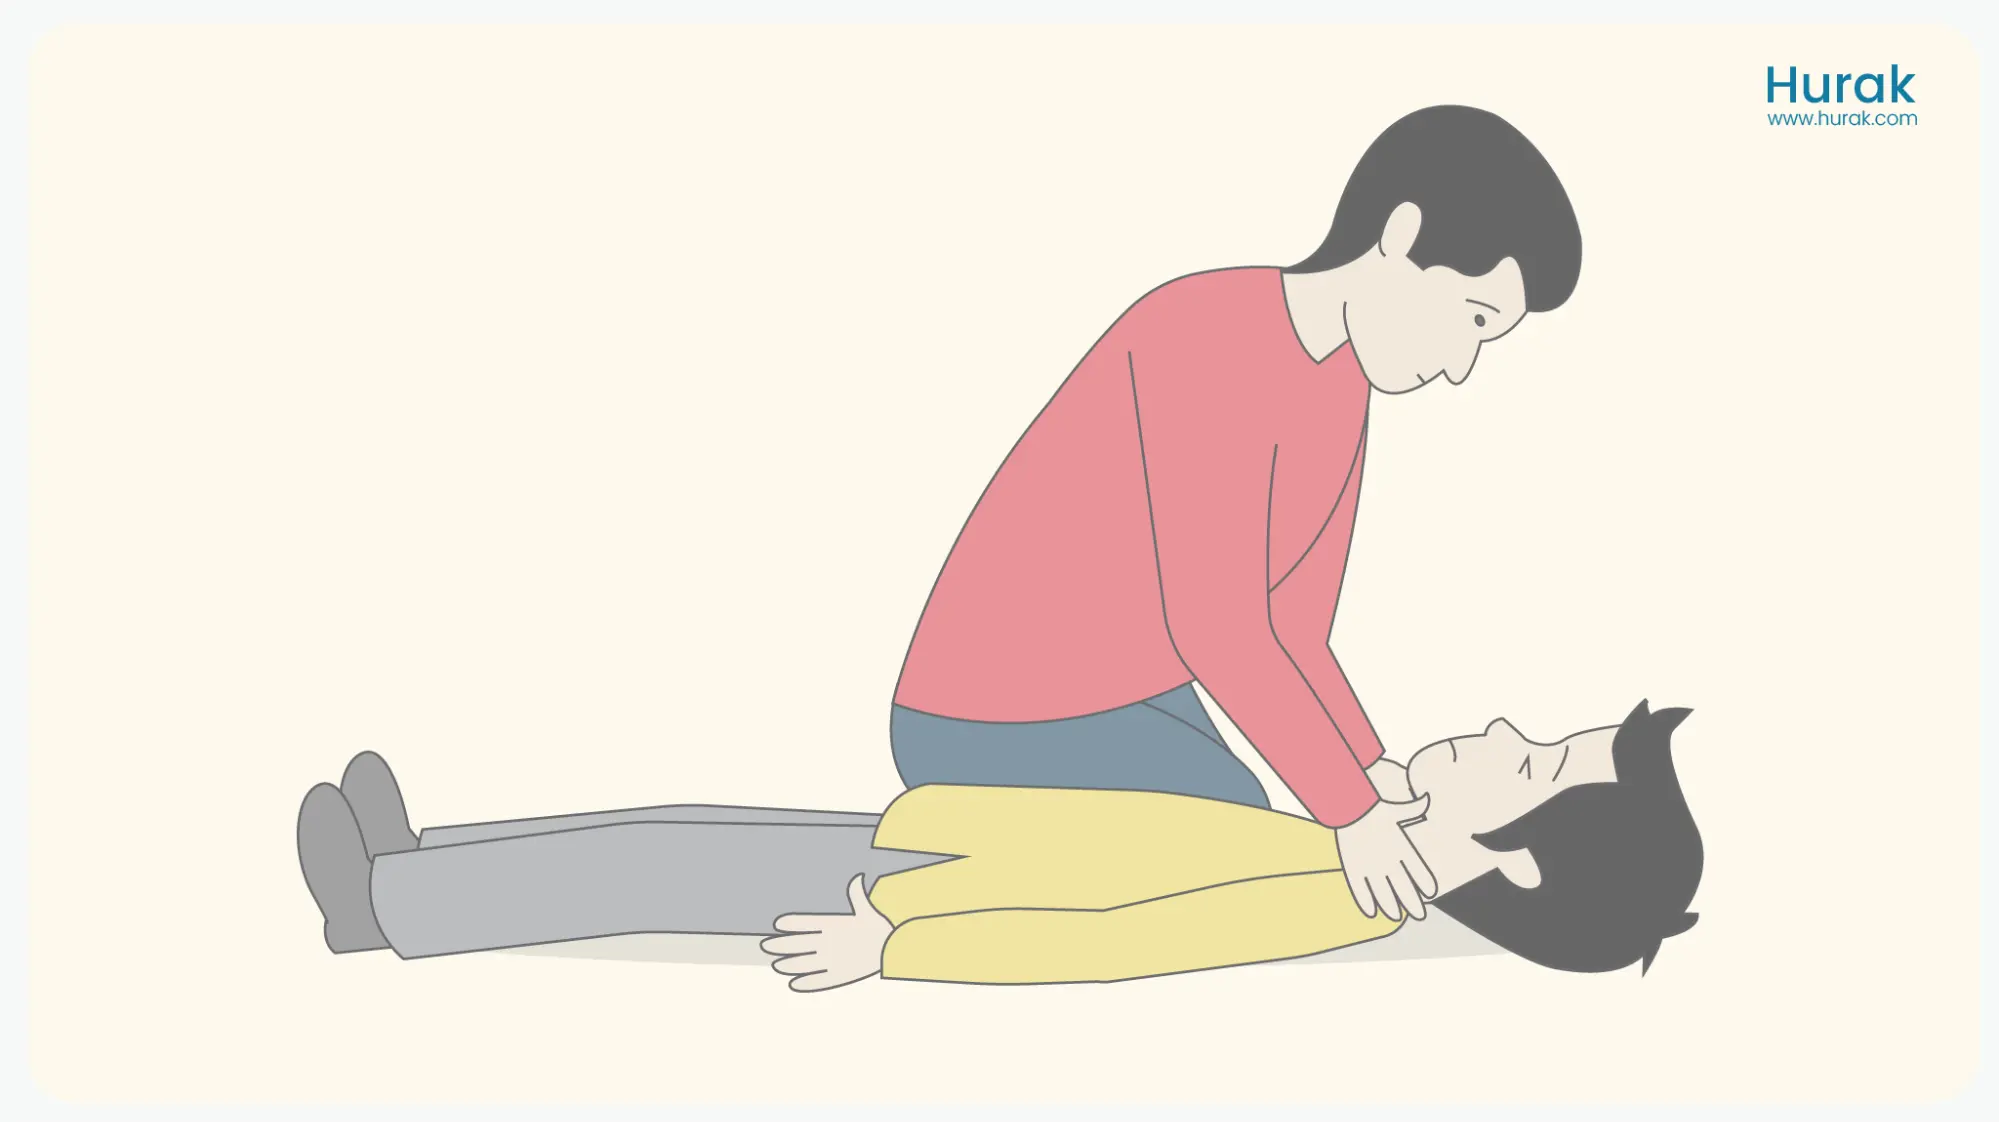
Now, onto the arms:
- Check each arm carefully.
- Squeeze each fingernail and see if the colour comes back quickly.
- Ask them to squeeze your fingers. Are they strong enough and equal on both sides?
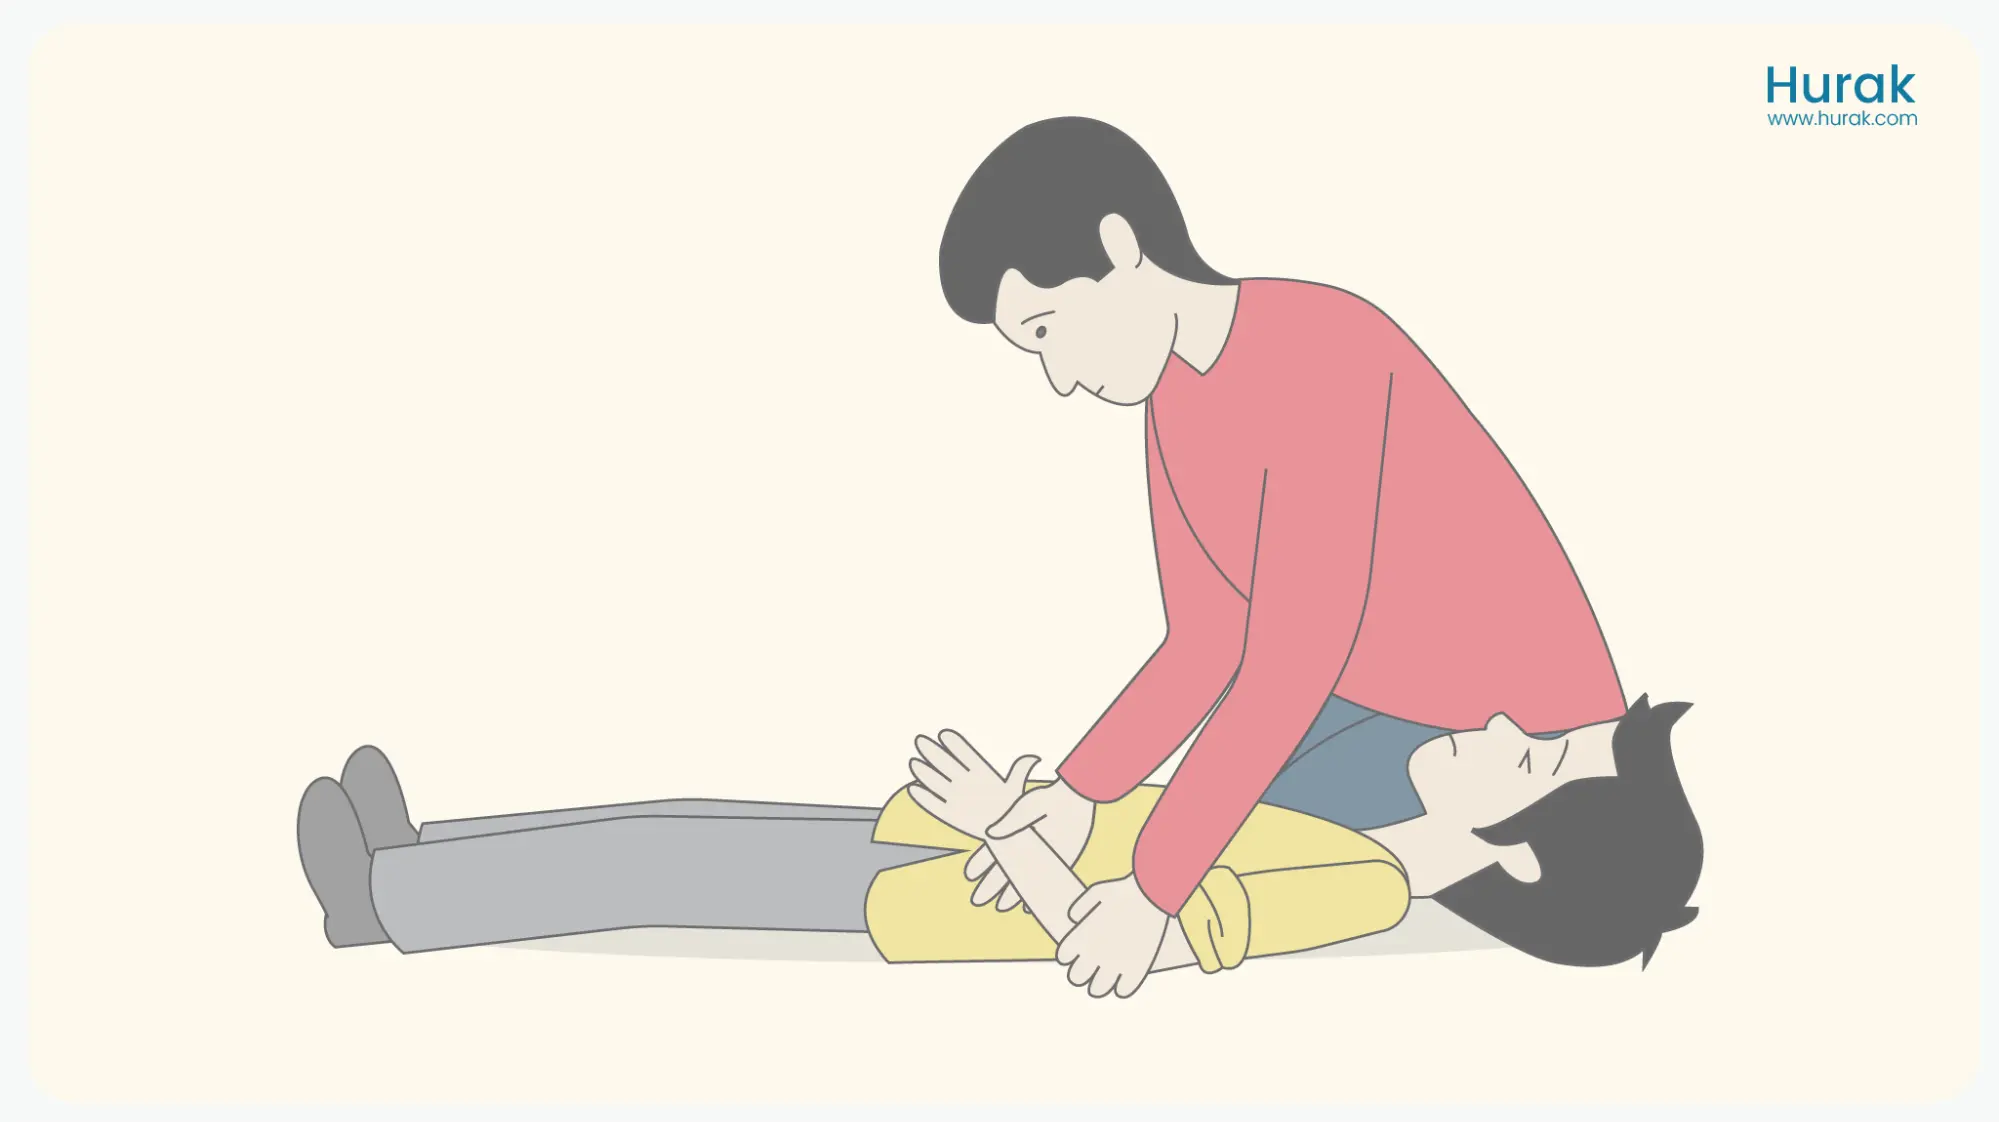
Next, let’s look at the chest and underneath:
- Ask if it hurts when they breathe.
- Make sure the chest goes up and down as it should with each breath.
- Reach around to the back as far as you can.
Let’s check the tummy and underneath:
- Use your hands flat to feel the tummy gently.
- Don’t press too hard. Just see if there’s any pain, tenderness, or stiffness.
- Put your hand flat on their tummy and ask them to push against it. Does it hurt?
- Reach around to the back as far as you can.
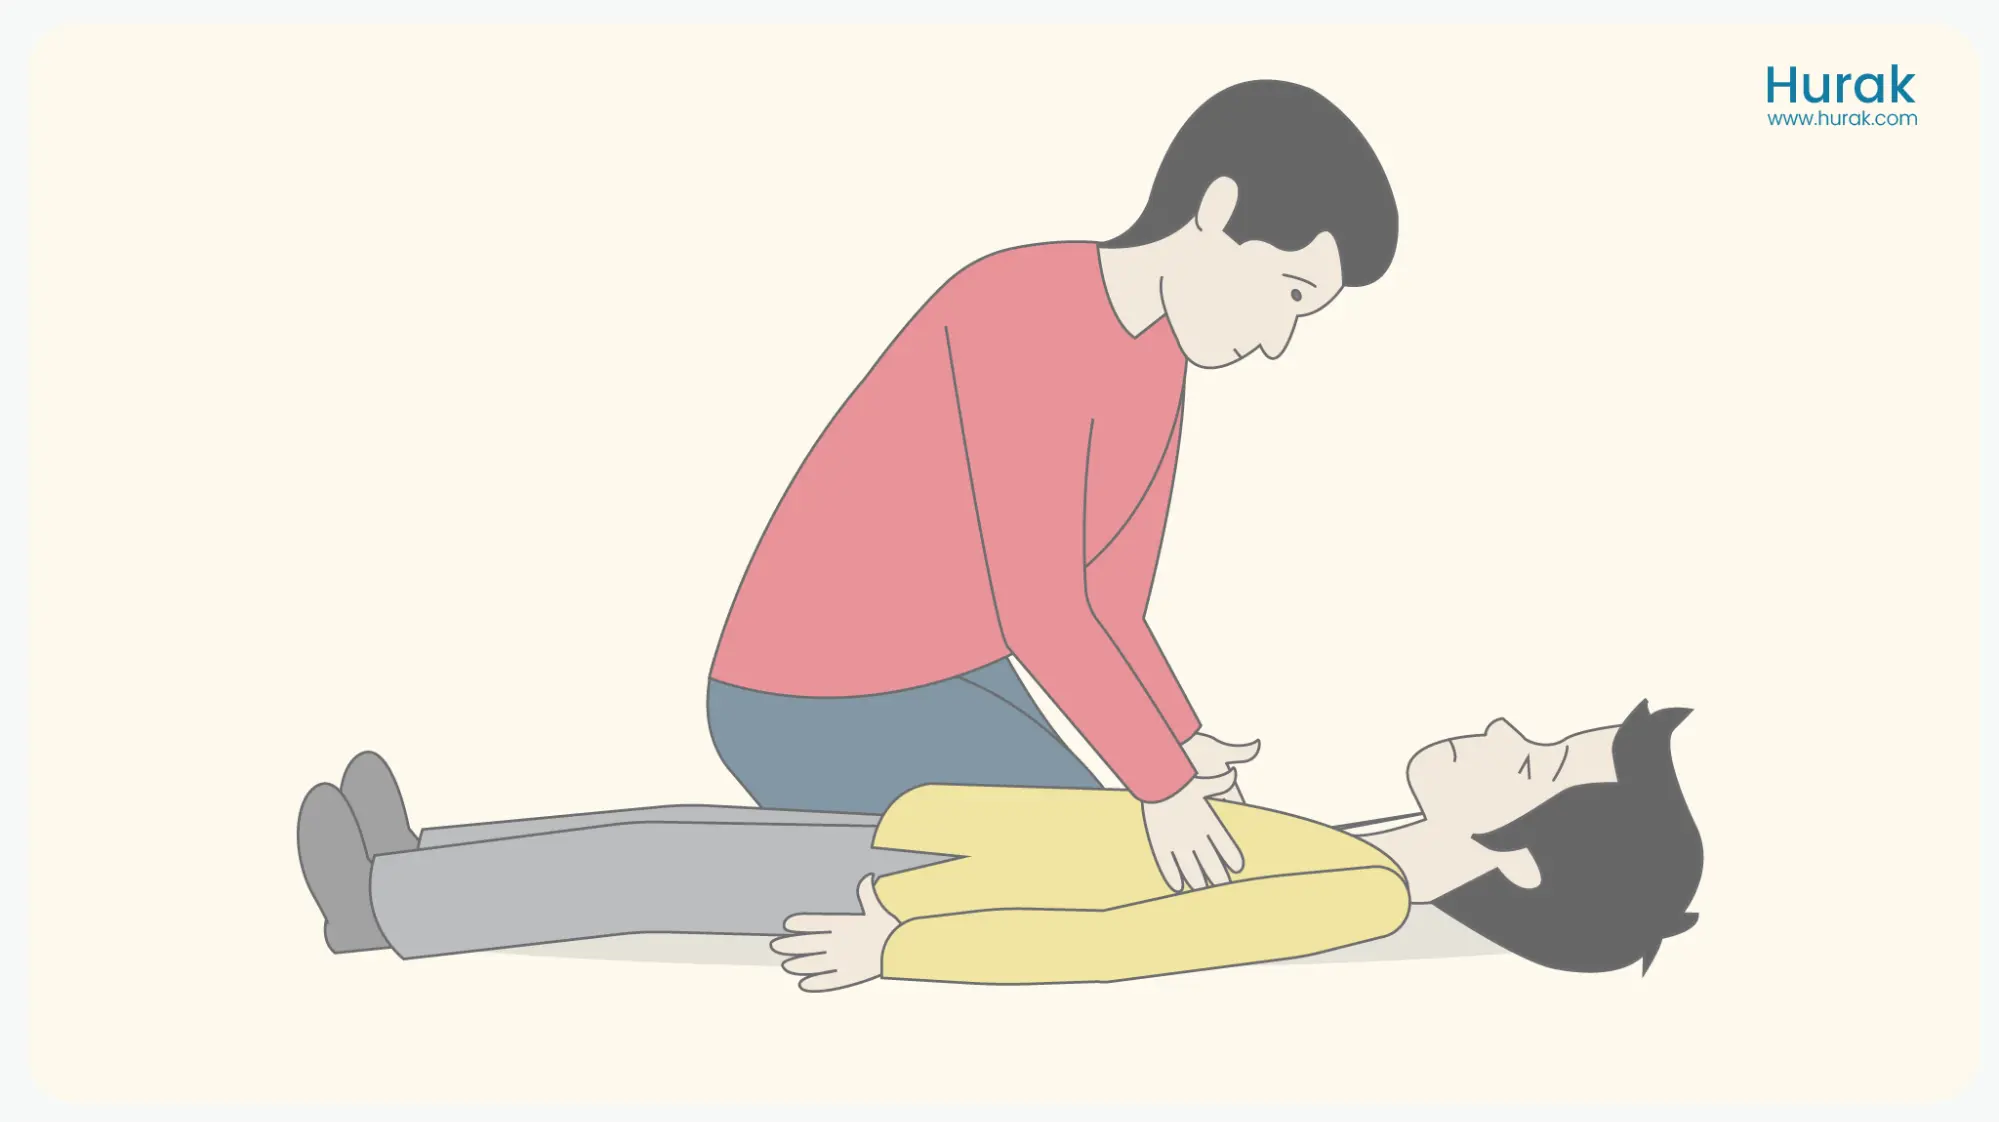
Now, let’s look at the hips:
- Please put your hands on the hip bones and gently squeeze to check they’re stable.
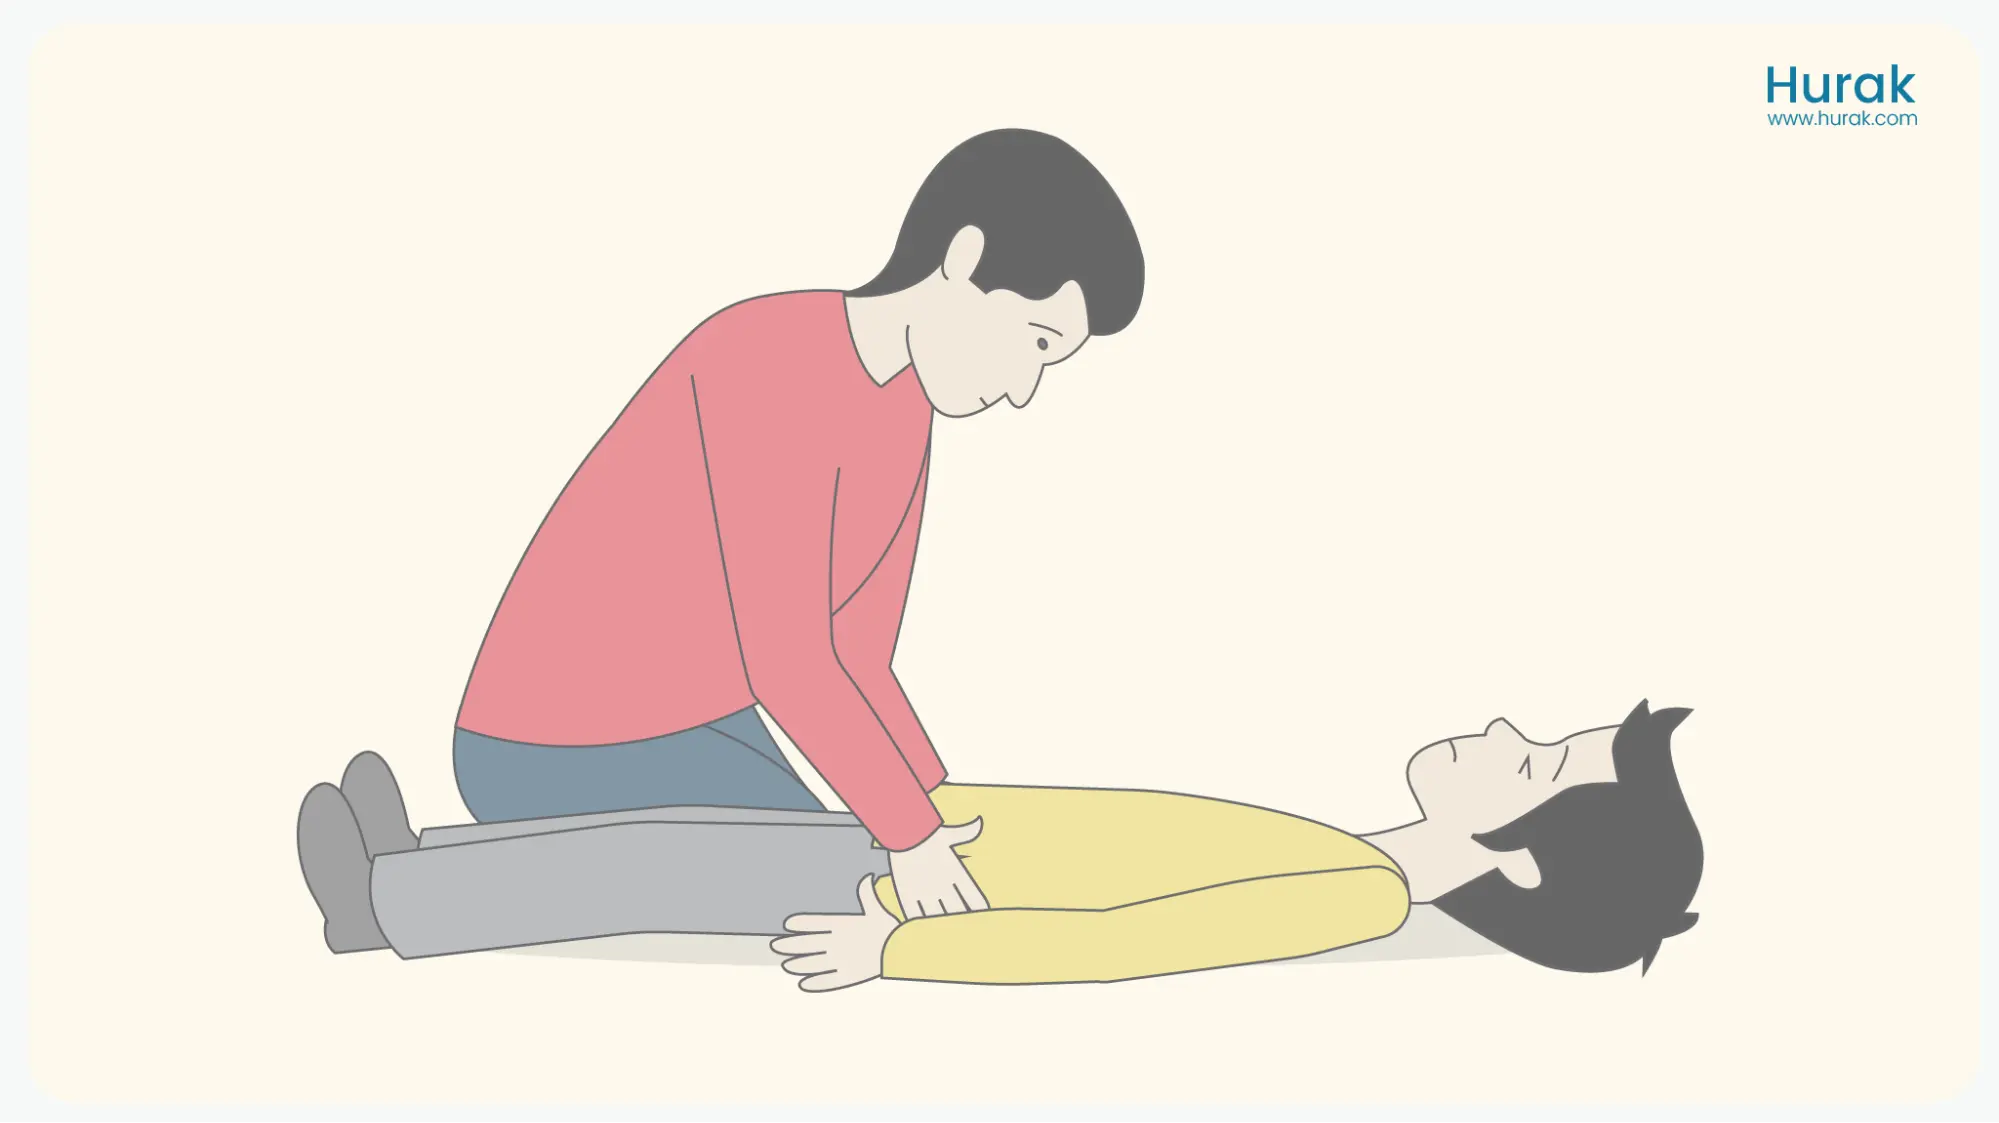
Moving down to the legs, ankles, and feet:
- Check each leg one by one.
- See if one leg is shorter than the other.
- Check the kneecap and the area underneath carefully.
- Give a little pinch on the foot and ask if they felt it.
- Could you put your hands on their feet? Ask them to push and then pull against your hands. Are they equally strong on both sides? Ask them to wiggle their toes and see if they can do it.
- Check the circulation in their legs.
Provide First-Aid for Injuries
Once you’ve finished checking everything, it’s time to give the right first aid for any injuries or illnesses you find. If the person has more than one injury, start with the most serious one.
Documentation
After you’ve given first aid, write down what you’ve found and what you’ve done. This information can help doctors or other medical staff who will care for the person later. It is important to know if the injury happened at work because it might need an investigation. You’ll usually fill out forms provided for this purpose, and you should keep them as required by the rules in your area.
First-Aid Training
The Emergency First Aid training course is designed for low-risk environments such as offices and small retail stores. It gives participants the fundamental knowledge and skills to manage emergencies in these settings effectively.
On the other hand, First Aid Training at Work is one of the extensive first aid courses that meets the requirements specified in the Health and Safety Regulations (First Aid) 1981 and goes a step beyond the Emergency First Aid at Work (EFAW) course, qualifying you to work in high-risk workplaces.
Get Trained in All First-Aid Skills
First Aid Courses
Book NowRated Excellent
on major review sites

FAQs
What are the four vital signs for a secondary survey?
The four vital signs of a secondary survey are checking the level of consciousness (LOC), breathing rate, pulse rate, skin condition and temperature.
What does SAMPLE stand for in a secondary survey?
SAMPLE stands for Symptom, Allergy, Medication, Previous medical record, Last meal and Events leading to the casualty. It is the order in which the history of the injured person is taken.
What is the main aim of the secondary survey?
The main aim of the secondary survey is to check for major injuries that might have been missed during the primary survey.
What are the steps included in Emergency Scene Management?
The steps included in ESM include scene survey, primary survey, secondary survey and ongoing casualty care.


