First Aid

How to Make a Sling for Your Arm

image
Anum

January 24, 2025

Read time : 08 mins

Table of contents

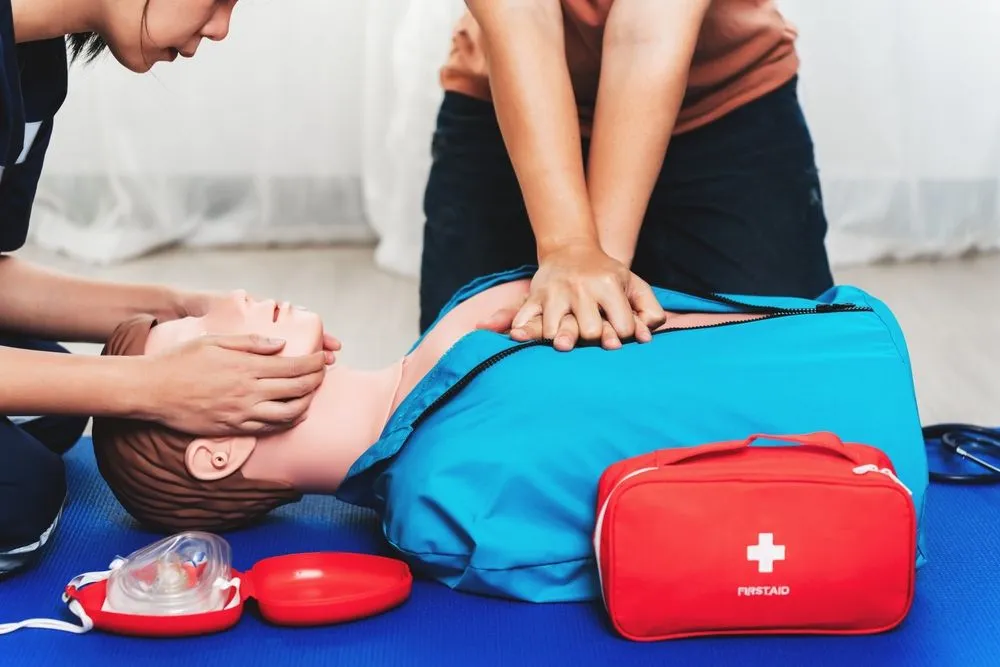
An arm sling is crucial when one has a strained arm, shoulder, or wrist or after sustaining an injury or undergoing surgery. Knowing how to make a sling for your arm is very important, especially when an accident happens in remote areas where a doctor cannot be accessed immediately. Here are step-by-step instructions on how a sling can be fashioned using a triangular bandage or an improvised sling.

Step by Step Triangular Bandage Sling

Step-by-Step Triangular Bandage Sling Instructions

  1. The first step involves gathering your materials. To create the sling, you will require a triangular bandage or, alternatively, a large piece of cloth about 40 inches long. Once you have your materials ready, carefully position the injured arm. The arm should be bent gently at the elbow to form a 90-degree angle, with the forearm resting comfortably on the chest.

  2. Next, place the triangular bandage over the arm. Spread it evenly so that the apex of the triangle points toward the elbow to provide proper coverage and support for the injured arm. Then, take the two long ends of the bandage and tie them securely behind the neck, forming a loop to hold the arm in place. Adjust the sling so it is neither too tight nor too loose to ensure comfort and support.

  3. Finally, fold the loose end of the bandage at the elbow, secure it with a safety pin, or tuck it in neatly. This ensures the arm is well-supported and the sling is positioned correctly. Following these steps, you will successfully create a simple arm sling bandage to support an injured arm.

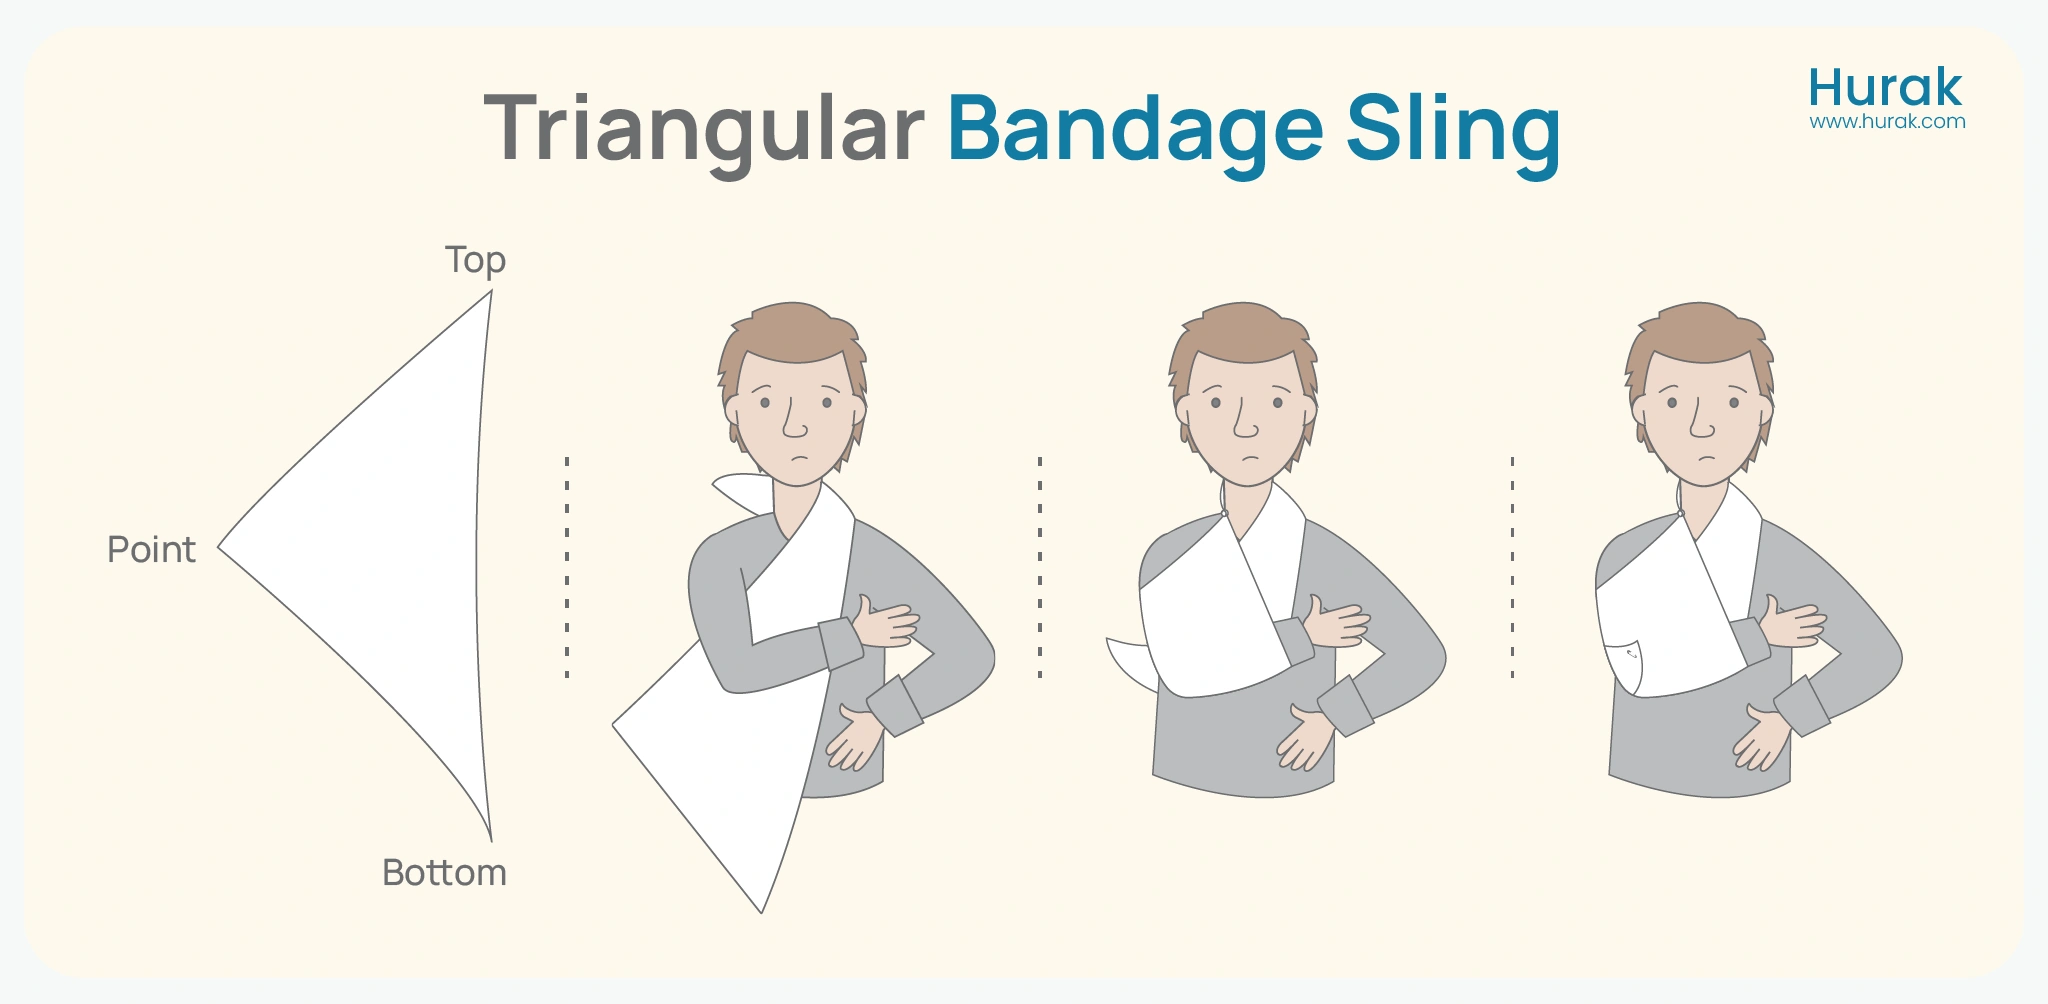
Ready to Learn More?

Want to gain life-saving skills and confidence in handling emergencies? Our First Aid courses offer complete training to help you handle critical situations. Whether you want to improve your skills or workplace safety, these courses help build confidence and expertise. View our Emergency First Aid at Work (EFAW) and Level 3 First Aid at Work courses. These courses meet the UK legal requirements and help you keep people safe.

Difference Between Arm Sling and Elevation Sling

Arm slings and elevation slings both provide support but serve distinct purposes. An arm sling is used to prevent the movement of the arm, making it suitable for cases of fractures, strains, or dislocations. On the other hand, an elevation sling is designed to raise the arm higher. Its purpose is to reduce swelling or control bleeding, commonly applied in situations requiring compression or elevation to decrease inflammation.

After Applying a Sling, How Elevated Should the Patient’s Hand Be?

When properly positioned in the sling, the patient’s hand should be slightly above heart level. This helps enhance blood flow, reduce swelling, and alleviate pain. Ensure the sling supports the arm securely without excessive pressure, which could increase the patient’s discomfort or impede blood circulation.

The Importance of Arm Sling Instructions with Pictures

The application of visual aids, such as arm sling instructions with pictures, substantially improves sling-making accuracy. Photographs or diagrams can be invaluable for people unfamiliar with the process. Visual aids ensure the sling is applied correctly and securely, allowing it to support the injured arm adequately.

Final Tips

Knowing how to make a sling for arm injuries is invaluable during emergencies, as it allows immediate action to be taken. Ensure the material is clean and strong, and check the sling frequently for comfort. Adjust the fit as necessary to minimise strain or discomfort for the patient. In cases of severe injuries, always consult a qualified medical professional.

By learning the basics of sling application, including arm and elevation slings, proper hand elevation, and the use of visual aids, you can provide early and practical support for an injured arm in critical situations.